
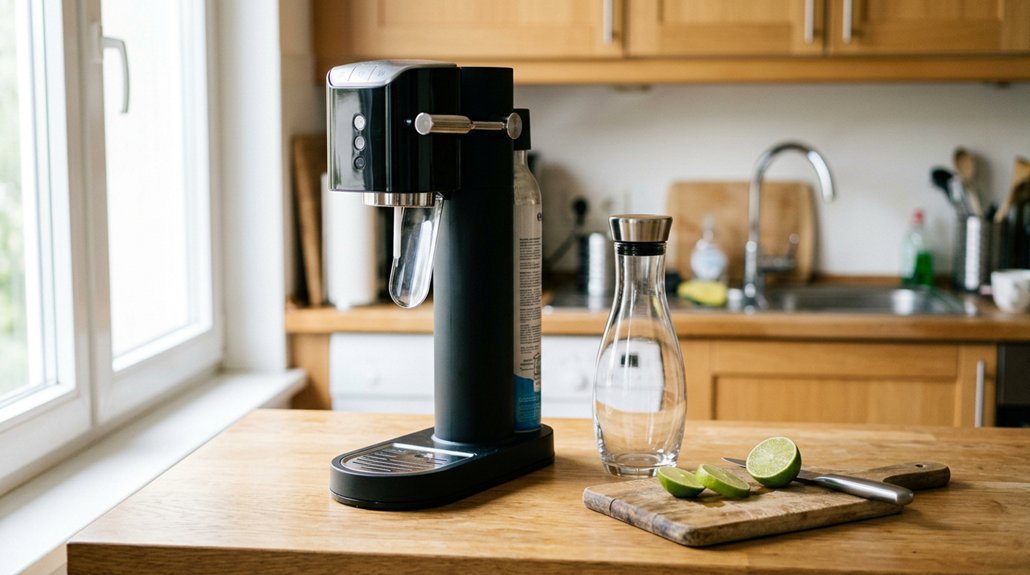


You want fizzy drinks without hauling bottles from the store, and a SodaStream delivers exactly that. The process is simpler than you might expect, with just three quick moves between you and fresh sparkling water. First, you’ll fill and prep your bottle. Then you’ll lock it into place with a satisfying click. Finally, you’ll control the bubbles yourself, light or strong. But here’s the catch: skip one small detail, and you’ll end up with flat water, a messy countertop, or a machine that won’t cooperate at all. The fixes are easy once you know them, so let’s walk through each step together.
Fill Your Sodastream Bottle to the Marked Line With Cold Water Only
Before you start carbonating, you’ll want to get your water ready the right way.
Take your Sodastream carbonating bottle with cold water. Fill it only to the fill line marked on the bottle. Don’t go above this line, or you’ll get poor results and possible safety issues.
Fill your Sodastream bottle with cold water only to the marked line—never above—for safe, effective carbonation.
Make sure your Water is fully cold before you attach it to the Sparkling Water Maker. Cold water absorbs CO₂ better, giving you fizzier results. If you spot tiny ice pieces during carbonating, don’t worry, they’ll melt naturally.
Important reminders:
- Don’t add flavors, juice, or anything else before carbonating.
- Add these only after you’ve made your sparkling water.
You’ll hold the bottle properly once it’s filled and ready. For now, focus on getting that cold water level right at the fill line. This sets you up to hold the bottle in vertical position suspended in your Sodastream unit, with everything filled correctly for great carbonating results.
Recommended Products

💧 Perfectly Carbonated Every Time: These SodaStream carbonating bottles ensure your sparkling water stays fresh and fizzy longer with hermetically sealed caps; enjoy refreshing drinks at home, work, or on the go without losing that delightful carbonation

SAY GOODBYE TO SINGLE-USE PLASTICS: Keep one bottle chilling in the fridge and one on the go - store different flavours ready to pour, for everyone in the house. Every SodaStream carbonated water bottle twin pack can replace up to 2,000 single-use plastic bottles. Refill again and again, and cut the cans and disposable bottles out of your weekly shop.
Tilt, Insert, and Push Until the Bottle Suspends With a Gap Below
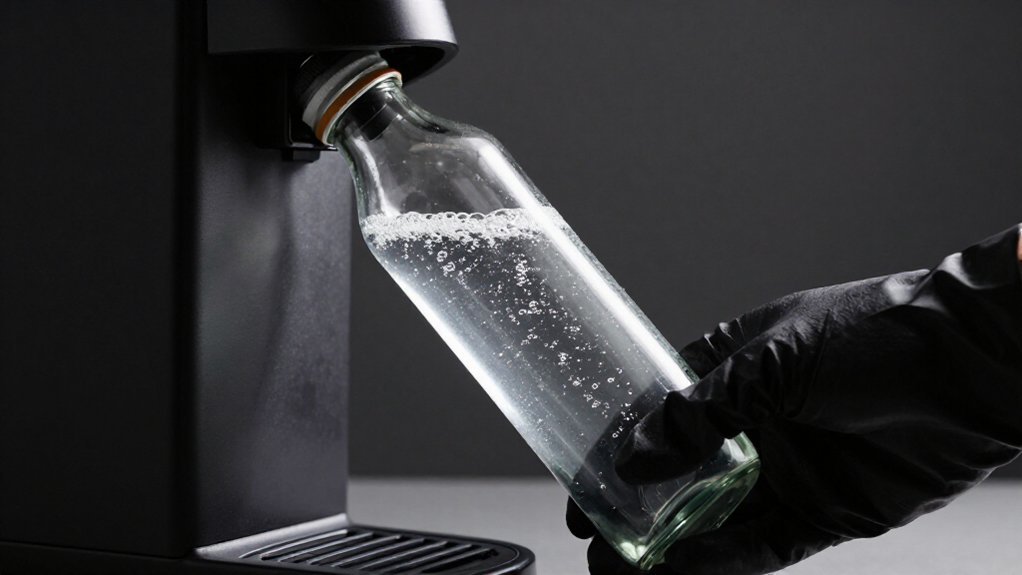
With your bottle filled with cold water, you’re ready to release it into place.
Tilt the bottle rest out toward you until you hear a click sound. This releases the mechanism so you can insert the bottle neck into the Snap-Lock (that’s the fastener that grabs your bottle). Push until you feel resistance give way. Your bottle with cold water should now rest in a vertical suspended position, not touching down below.
Check this: there must be a visible gap between bottle and base. This gap proves you’ve got the right carbonation level setup. If the bottle’s angled or sitting on the base, carbonation won’t work properly.
Don’t remove the bottle from the Snap-Lock during prep. Wait until after carbonation finishes and excess CO₂ releases.
Recommended Products
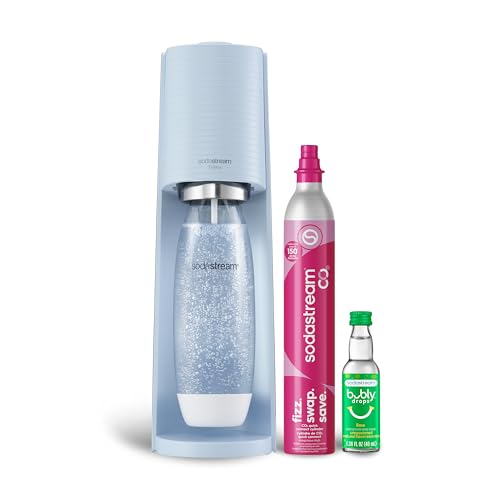
🥤 Elevate Your Hydration Experience: Transform ordinary water into refreshing sparkling water with the sleek SodaStream Terra; perfect for creating personalized beverages with your favorite Bubly, Pepsi or Mountain Dew flavors | Enjoy a delightful fizz with every sip

🍹 Elevate your hydration game with the SodaStream ART Sparkling Water Maker Starter Pack; transform ordinary tap water into refreshing sparkling water with a simple pull of a lever; ideal for creating fizzy beverages for family gatherings or solo refreshment moments. This kit contains 1x 32 Fl Oz Slim Carbonating Bottle and 1x 16 Fl Oz On-The-Go My Only Bottle with a carrying strap, making it easy to take your bubbles with you for any occasion
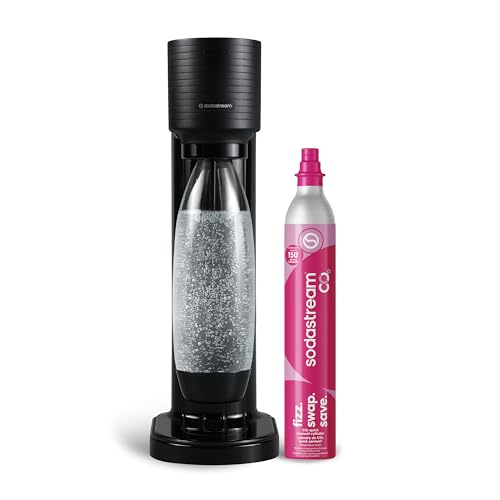
Make fresh sparkling water at the push of a button.
Press the Button 3 Times for Standard Fizz or 5 for Strong
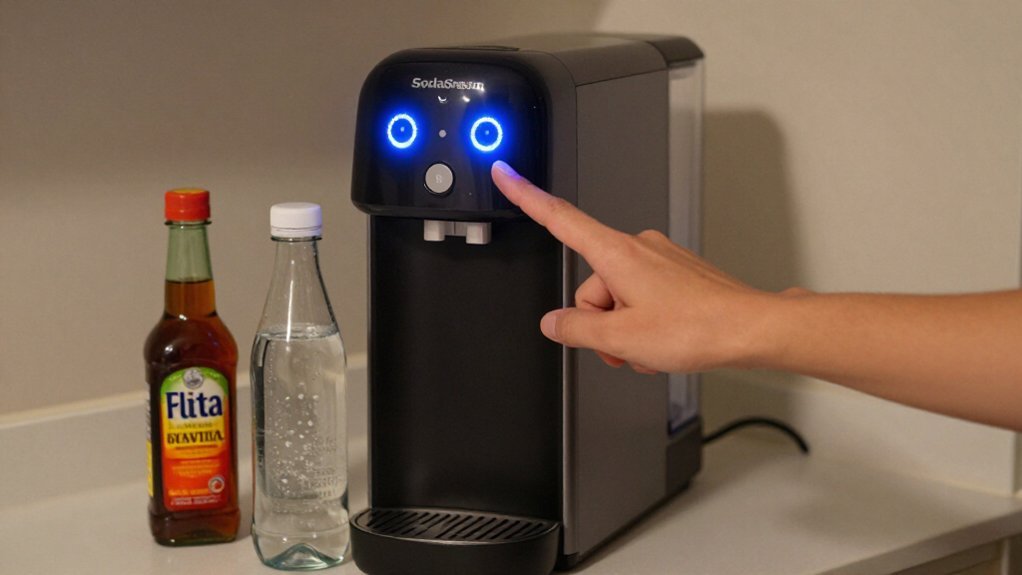
Your bottle’s locked in and hanging with that gap, so now you’re ready to add the bubbles. Make sure your carbonating bottle stays in a vertical position with the Snap-Lock holding it fully forward position.
Press firmly and hold 1–2 seconds each time you push the carbonating button. You’ll hear puffing noises and see bubbles forming.
Firm pressure, quick hold—listen for the puff, watch the bubbles rise. Repeat as desired.
For standard fizz, press the carbonating button 3 times total. This gives you a nice, invigorating sparkle that’s perfect for everyday drinking.
Want more kick? Go for strong fizz instead. Just press the carbonating button 5 times. That’s it!
Pro tip: Always fill with cold water before you start. It carbonates better and you might even spot tiny ice pieces that’ll melt quickly.
Snap-Lock will hold the bottle steady while you work. Enjoy your custom fizz level!
Recommended Products

🥤 Transform your hydration routine with our sleek 34 Fl Oz Slim carbonating bottles; perfect for creating refreshing sparkling water at home. Compatible with all SodaStream machines except the Aqua Fizz, these bottles are essential for soda enthusiasts, ensuring you always have a spare SodaStream bottle on hand

2x 1L carbonating bottles for SodaStream soda makers, compatible with all SodaStream machines except SodaStream Aqua Fizz, Duo and e-Duo
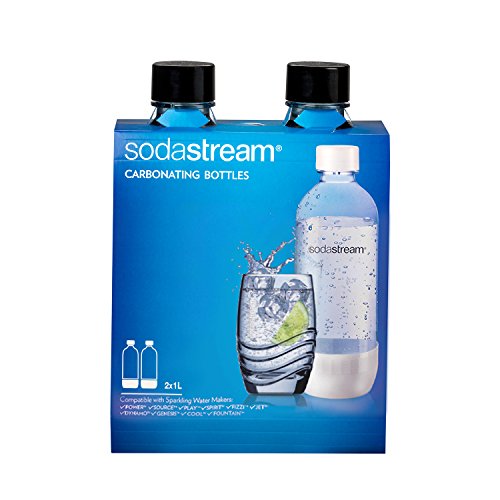
Extra carbonating bottles for SodaStream soda makers

I am Đinh Ai Nguyễn, a content writer at SoftAuraHome.com. For me, home is more than just a place to live. It is where we recover from long days, hold our quiet moments, and create the atmosphere that shapes how we feel. That belief is one of the biggest reasons I wanted to be part of this blog. I started writing about home decor because I have always been drawn to spaces that feel soft, peaceful, and emotionally grounding. I believe a calm room can do more than look beautiful. It can bring comfort, restore energy, and help people feel more connected to themselves and the life they are building. Through Soft Aura Home, I want to share ideas that are not only visually inspiring, but also meaningful in everyday life. With experience in SEO writing and niche content publishing, I understand how to create articles that are clear, useful, and easy to discover. But beyond strategy, I care deeply about how a piece of content makes someone feel. Every article I write is created with the hope of helping readers shape homes that feel gentle, personal, and full of quiet warmth.
Follow on Facebook