
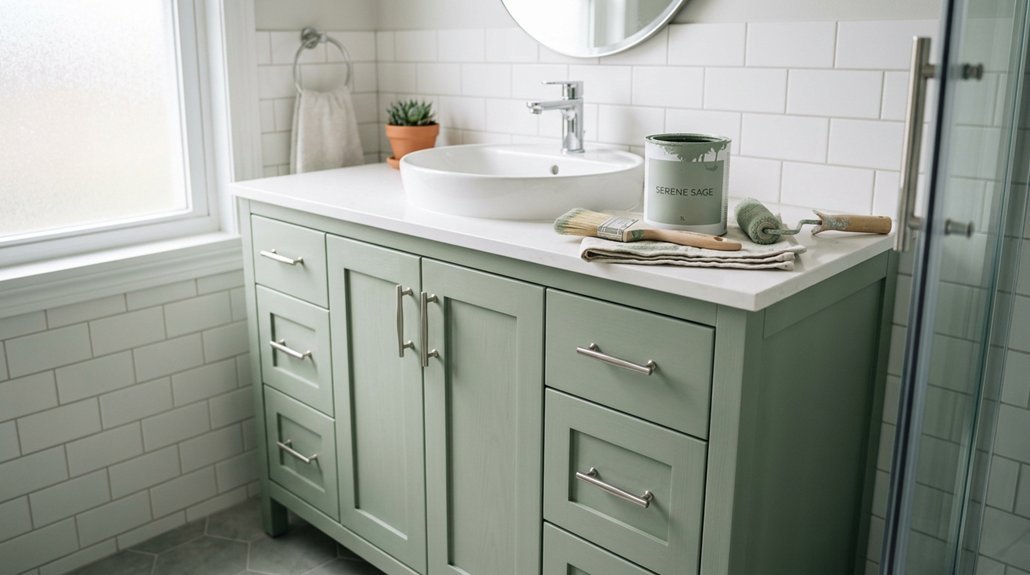


You want a fresh-looking bathroom, but those dated cabinets are dragging everything down. Painting them yourself isn’t just possible, it’s surprisingly straightforward with the right approach. You’ll need patience, decent ventilation, and a few specific products that handle moisture better than standard paints. The real challenge isn’t the brushing, it’s the prep work that makes or breaks your finish. Stick around, and you’ll learn exactly how to avoid the peeling and chipping that ruins most DIY cabinet jobs.
What Makes Paint and Primer Work for Bathrooms
Though you might be tempted to grab any paint can off the shelf, bathroom cabinets need special attention because they face constant moisture, steam, and daily wear. You’ll want products built for this tough environment.
Bathroom cabinets endure moisture, steam, and daily wear—choose products built to last in tough conditions.
Start with the Right Primer
After you thoroughly clean and scuff-sand your cabinets, apply a Waterborne Bonding Primer. This primer coat grips slick surfaces and prevents peeling in humid conditions. Proper adhesion starts here, so don’t skip this step.
Choose a Tough Topcoat
For your color layer, pick Emerald Urethane Trim Enamel or similar urethane-modified paint. It delivers a durable finish that resists yellowing and wipes clean easily. Satin or gloss sheens work best in bathrooms.
Remember the Cure Time
Your paint feels dry quickly, but full hardness takes 1–2 weeks. Handle cabinets gently until then.
Recommended Products
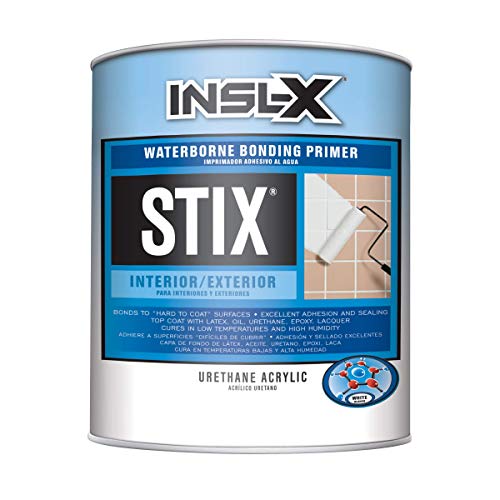
Premium-quality, acrylic-urethane bonding primer-sealer with unparalleled adhesion to the most challenging surfaces, including glossy tile, PVC, vinyl, plastic, glass, glazed block, glossy paint, pre-coated siding, fiberglass, and galvanized metals.

VERSATILE APPLICATIONS: Ideal for use as wall paint, cabinet paint, or house paint. Suitable for both interior and exterior surfaces, providing a bright white finish for any project.

Premium-quality, acrylic-urethane bonding primer-sealer with unparalleled adhesion to the most challenging surfaces, including glossy tile, PVC, vinyl, plastic, glass, glazed block, glossy paint, pre-coated siding, fiberglass, and galvanized metals.
Remove and Label Doors, Drawers, and Hardware
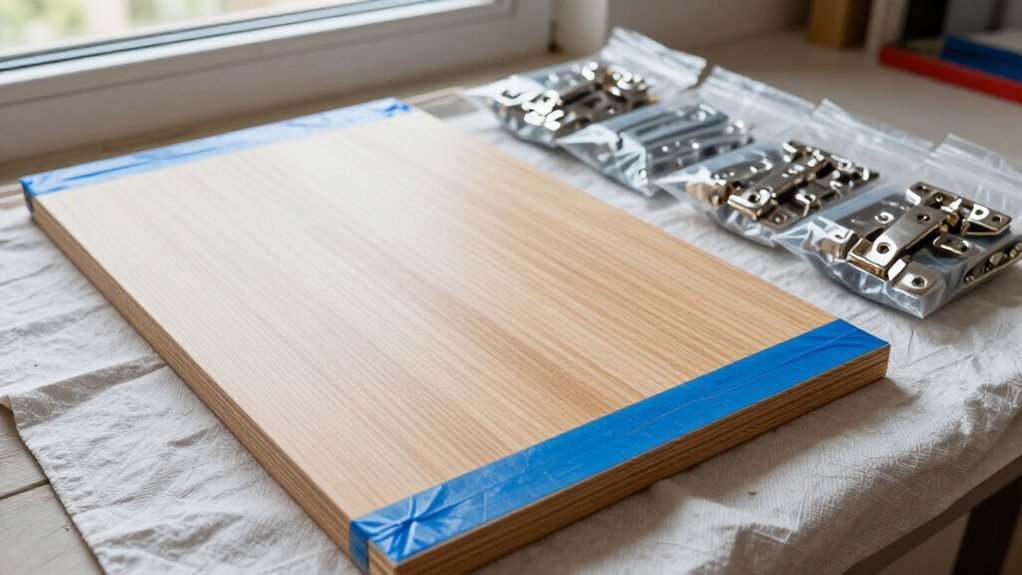
Before you open a single paint can, you’ll want to strip your cabinets down to the bare frame. Remove cabinet doors, drawers, false fronts, and any extras like tilt-out trays so only your bathroom vanity cabinet frame stays put. This gives you uniform painting access everywhere.
Remove and label doors clearly. Snap photos or jot notes while you work, especially for tricky pieces like a middle door that connects to a pull-out hamper.
Use a screwdriver to remove hardware: hinges, knobs, and pulls. Drop everything into sealed, labeled bags so screws don’t wander off.
Remove drawers and lay all flat pieces on protected drop cloths. This stops drips and lets you paint both sides evenly. If you’re swapping hardware later, fill old holes now and drill fresh ones only after painting wraps up.
Recommended Products

The ultimate acrylic cabinet paint for a “factory-like” finish when refurbishing kitchen and bathroom cabinets, shelving, furniture, trim, and crown molding.

The ultimate acrylic cabinet paint for a “factory-like” finish when refurbishing kitchen and bathroom cabinets, shelving, furniture, trim, and crown molding.
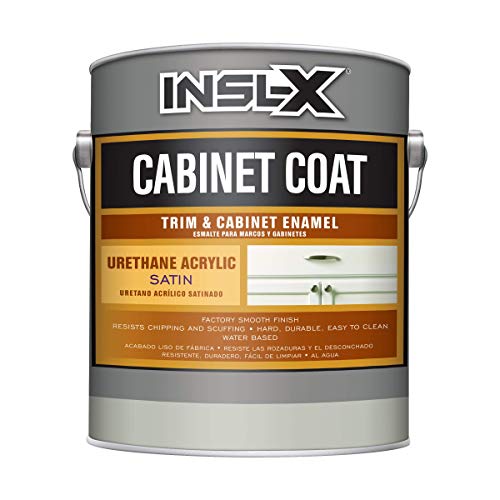
The ultimate acrylic cabinet paint for a “factory-like” finish when refurbishing kitchen and bathroom cabinets, shelving, furniture, trim, and crown molding.
Degrease With TSP or No-Rinse Substitute
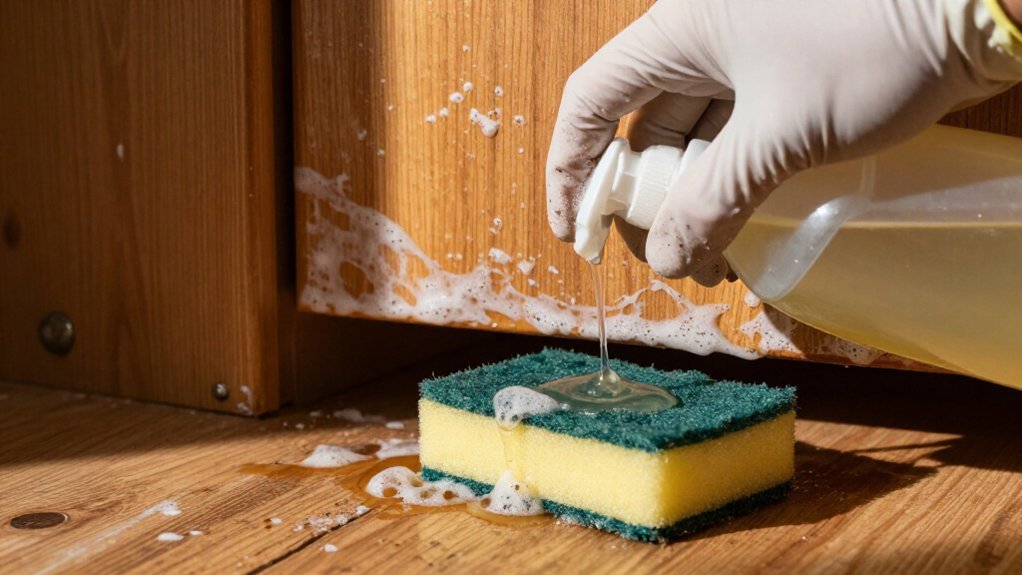
You’ll need to cut through bathroom buildup before paint can stick, so grab TSP (trisodium phosphate) or a no-rinse TSP substitute, which works like the original but skips the rinsing step. Both cleaners strip away oils, soap scum, and grime that hide in corners and hardware spots, but they ask for slightly different handling. Choose traditional TSP if you don’t mind rinsing afterward, or pick the no-rinse version when you want to speed things up; just wear gloves and eye protection either way, since these cleaners are tough on skin.
Recommended Products

MULTI-PURPOSE CLEANER: Max Strip Painter's Prep is a versatile pre-painting surface cleaner that removes grease, dirt, grime, adhesive residues, and paint splashes from various substrates
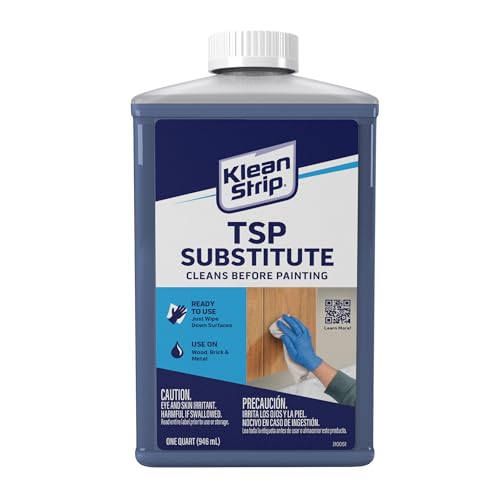
This item is Klean-Strip 0408 TSP Trisodium Phosphate Substitute No-Rinse Quart

SKIP THE RINSE STEP: Scrubbing walls and then rinsing them twice before you paint wastes an afternoon. This ready-to-use spray lifts grease and grime, then dries residue-free so you can prime sooner.
TSP Cleaning Steps
Since your cabinets have built up grease, soap scum, and bathroom grime over time, you’ll need a powerful cleaner to strip all that away before painting. Start by mixing trisodium phosphate or a no-rinse TSP substitute according to the label directions. Wear gloves and eye protection, then degrease cabinet frames, doors, and drawers with a cloth dampened in the solution. Focus extra attention on handles, edges, and glossy areas where grease and soap scum hide most stubbornly. Scrub doors and drawers thoroughly to lift every trace of residue that could ruin your paint job.
Rinse if using regular TSP to remove any cleaner film that blocks primer from gripping the surface. Skip the rinse if you chose the no-rinse substitute. Finally, let cabinet parts dry completely before you touch sandpaper or primer. Trapped moisture causes peeling and poor adhesion, so patience now prevents headaches later.
No-Rinse Alternative
You’ve got two solid choices for cutting through that bathroom buildup: traditional TSP or a no-rinse substitute. Both will degrease your vanity paint prep, but they work slightly differently.
A no-rinse alternative saves you time and water. You simply apply it with a clean damp cloth, scrub the grime away, and move on. No rinsing means no waiting for surfaces to dry twice.
Traditional TSP (trisodium phosphate) packs serious punch for tough grease, but check your label. Some formulas need rinsing; others don’t. If yours requires it, rinse well and wipe completely dry. Residue left behind can ruin your primer’s grip.
Whichever you choose, don’t skip doors and drawers. That same oily film builds up everywhere you plan to Paint Bathroom cabinets.
- Apply degreaser to corners, edges, and around hardware where grime hides
- Wear gloves and eye protection while you work
- Let surfaces dry fully before sanding; trapped moisture blocks primer cure
- Clean damp cloth works best for working the cleaner into the surface
Fill Holes and Sand for Primer Adhesion
Fill each opening, dent, or mark with wood putty before you proceed to priming. Push wood filler into every cavity, then wipe away the surplus once it tightens.
Once the first coat has dried, you’ll need to smooth things out. Begin with 150-grit sandpaper to level the repair, then switch to 220-grit to produce a consistent, matte surface. This supports primer adhesion so your finish endures.
Vacuum all sanding dust thoroughly, then use a lightly damp microfiber cloth to remove any leftover particles. Allow the surface to dry fully.
Remove every trace of dust—vacuum first, then wipe with a damp cloth before letting the surface dry completely.
If your cabinets are glossy, lightly sand the whole surface, still finishing with 220-grit. Always sand along the grain and blend the edges of repairs so you don’t notice lumps through the paint. This additional step will help the paint appear smooth and professional.
Recommended Products

Ready to use, pre-mixed door and trim paint offers a fresh new look on interior or exterior metal, wood and fiberglass

COMPLETE CABINET SYSTEM: Includes Krud Kutter Cleaner and Degreaser, Bond Coat and Protective Top Coat for a complete cabinet transformation project

Ready to use, pre-mixed door and trim paint offers a fresh new look on interior or exterior metal, wood and fiberglass
Mask Walls, Floors, and Vanity Top
Before you open that first can of primer, take time to protect everything you don’t want to paint.
Mask the bathroom walls, floors, and nearby trim with painter’s tape so only the cabinet, doors and drawers stay exposed. Press the tape edge firmly to seal it tight. Cover the floor completely with a drop cloth to catch sanding dust and drips. Keep cabinet parts on a separate taped work surface. Tape off the underside and edges of the vanity top, plus the backsplash line if you have one. Recheck your masking after sanding, since dust can make the tape lift. Smooth down any loose edges quickly before you start.
Here’s your masking checklist:
- Run painter’s tape along walls, trim, and floors
- Lay a drop cloth to protect flooring from drips
- Seal all vanity top edges against stray primer
- Recheck tape adhesion post-sanding
Recommended Products
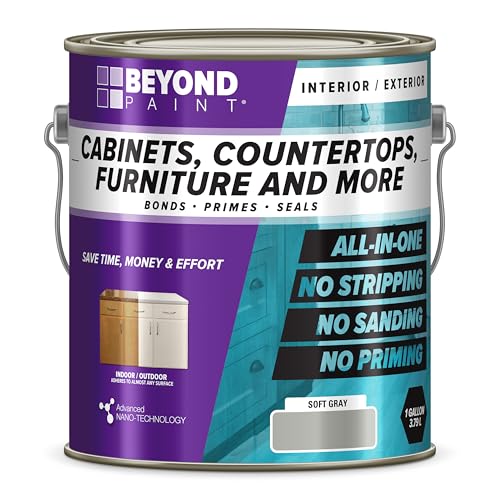
Beyond Paint furniture, cabinets and more all-in-one refinishing paint gallon, color: Soft gray

Powerful Color Blocking: High-hide acrylic formula blocks wood tannins and old paint colors, ensuring vibrant and accurate color payoff from your final cabinet or furniture paint layer.
Apply Bonding Primer and Let Dry 4 Hours
Start by brushing INSL-X STIX Acrylic Waterborne Bonding Primer into all the edges, corners, and detailed areas of your vanity frame, doors, and drawers. Then roll it onto flat surfaces for even coverage. Before you begin, check your painters tape; it should still seal tight around your Bathroom walls, floors, and vanity top.
INSL-X STIX is a type of Extreme Bond Primer. It grips slick surfaces so your new coat of paint won’t peel. If you’re making a big color change, plan for a second primer coat after the first dries.
Let Dry at least 4 hours, or check your can’s label for your exact temperature and humidity. Touch the primer: it should feel sealed and tack-free. Your Vanity is now ready for paint.
Recommended Products

Stix primer bonds to challenging surfaces like tile, PVC, vinyl, plastic, glass, glazed block, glossy paints, fiberglass, galvanized metals, etc. Cabinet Coat delivers an ultra smooth, durable finish on cabinets, shelving, furniture, trim and crown molding.(INSL-X)

Strong Bonding Performance: Specially formulated waterborne penetrating primer seeps deep into porous concrete, cement and masonry materials. It builds a firm underlayer for epoxy colored sand floor paint, polyurethane, or acrylic topcoats, effectively avoiding surface flaking, bubbling and layer separation to extend service life of garage, basement and factory ground surfaces.

Product 1: Premium-quality, acrylic-urethane bonding primer-sealer with unparalleled adhesion to the most challenging surfaces, including glossy tile, PVC, vinyl, plastic, glass, glazed block, glossy paint, pre-coated siding, fiberglass, and galvanized metals.
Paint Bathroom Cabinets: Apply First Coat
Once your primer is sealed and tack-free, you’re ready to put color on your cabinets. This first step transforms your space, so take your time.
Use a tapered trim brush to edge around hinges and corners, then roll large flat areas with a small foam roller. This combo keeps brush strokes minimal and your coat smooth.
Keep the paint thin, you’re avoiding drips, not chasing coverage. Paint frames, drawers, and doors the same day so everything matches.
- Edge tight spots with your angle brush for clean lines
- Roll flat panels quickly to prevent texture ridges
- Work the same day so your finish stays consistent
- Stay gentle, painted surfaces dent easily while soft
Allow to dry fully before handling. Later, you’ll gently sandpaper to remove any bumps before your second coat goes on.
Recommended Products

The ultimate acrylic cabinet paint for a “factory-like” finish when refurbishing kitchen and bathroom cabinets, shelving, furniture, trim, and crown molding.


Interior and Exterior Oil Enriched Enamel, Satin
Sand Lightly Between Paint Coats
After your first coat is completely dry, grab some 220-grit sandpaper. You’re not stripping, just scuffing gently to de-nib any bumps or brush marks. Don’t press hard, you don’t want to cut through to bare wood or primer.
Sand edges and details with extra care. Doors and drawer fronts show texture easily, so keep it light and even.
Vacuum up all the remaining dust, then wipe with a clean damp microfiber cloth. Let it dry again so your second coat grips properly and stays silky.
When you paint again, use that same edge-first technique to avoid drips. Don’t rush, light, patient coats beat heavy ones every time.
Let everything dry fully after your second coat before touching or reassembling. Trapped moisture ruins hard work.
Recommended Products

KITCHEN CABINET DEGREASER THAT WON'T STRIP THE FINISH - Built on 50 years of family cabinet refinishing, not by a chemical company. This cabinet cleaner degreaser lifts cooking grease off wood and painted cabinets without attacking the factory coating underneath.
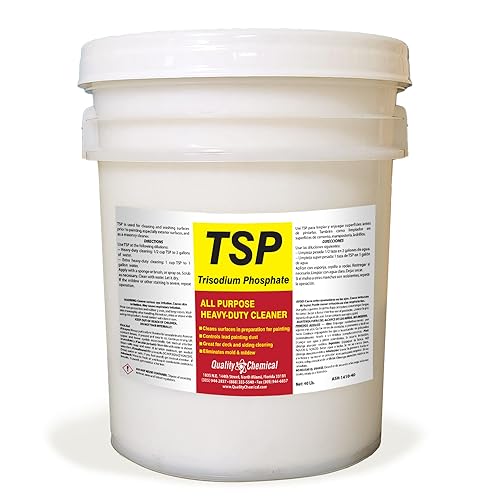
QUALITY CHEMICAL TRISODIUM PHOSPHATE (TSP)-40 lb. Pail - Our TSP is a powerful cleaner and degreaser that is safe to use on all surfaces. It can be used to clean walls, floors, and other surfaces of grease, dirt, oil stains, and more.

S: Better paint adhesion, better look, better coverage and better finish
Final Coat: Allow 7-Day Cure for Bathroom Humidity
You’ll need to give your final coat a full 7 days to cure before you start using your bathroom cabinets normally, since paint keeps getting harder long after it feels dry. Keep your bathroom fan running and the door open during this week so humidity doesn’t slow down curing or leave soft spots in the finish. Once the week is up, you can gently reassemble everything, knowing your cabinets have reached full durability and are ready for daily steam and moisture.
Recommended Products

Ready to use, pre-mixed door and trim paint offers a fresh new look on interior or exterior metal, wood and fiberglass

MATERIAL:Champagne Bronze cabinet handles made of high quality Stainless Steel,they are hollow construction,lightweight but durable and anti-corrosive,can be used for many years.

COMPLETE CABINET SYSTEM: Includes Krud Kutter Cleaner and Degreaser, Bond Coat and Protective Top Coat for a complete cabinet transformation project
Cure Time Importance
Keep cabinets out of use because:
- Steam from showers softens fresh paint
- Wet towels nearby add harmful moisture
- Handling creates tacky fingerprints and dents
- Friction ruins the smooth finish before it hardens
Maintain stable humidity and ventilation during the week. When the 7-day cure passes, do a gentle touch test. No tack? You’ve earned durable cabinets.
Humidity Protection Methods
Bathroom moisture is your new paint’s biggest enemy during that first week. You’ll want to let that final coat cure for a full 7 days so humidity can’t trap moisture at the surface, which risks softening or tackiness. Latex paint might feel dry to the touch quickly, but don’t be fooled. The real cure time takes longer. Keep your ventilation running and wipe down mirrors and walls right after hot showers. You’ll prevent steam from lingering where it can slow how completely the finish dry completely. Avoid wiping the cabinets or returning heavy items during this length of time, even if you’re anxious to finish. Water resistance builds only after the paint fully hardens, not when it merely feels ready.
Full Hardness Timeline
Since your final coat just went on, you’re in the most critical window for protecting that finish. Follow the paint and primer instructions closely, but treat the 7-day cure timeline as your bathroom-specific minimum.
- Wait a full week before reinstalling doors, drawers, or hardware so moving parts don’t scuff your soft paint job.
- Skip heavy wiping or steam exposure even if the surface feels dry; curing takes longer than drying, especially with alkyd paint.
- Buff away tiny brush marks with a microfiber cloth only after the finish hardens; don’t apply a new coat to fix flaws during this window.
- Ease into normal cleaning once the week passes, avoiding soaking to maximize durability.
Reattach Hardware After Full Cure
After your paint has fully hardened, you’re ready to put everything back together. Don’t hurry this step. Reattach hinges, knobs, pulls, and any hardware only once the surface is completely cured. Expect roughly 1–2 weeks for maximum hardness, with at least 1–2 days of dry time before handling.
Prep Your Hardware
Check your documented photos or labels so each door and drawer returns to its original spot. If you’re adding new hardware, drill screw holes first and test the fit for proper alignment.
Mount with Care
Use those same locations to ensure latches and hinges function smoothly. Keep doors and drawers flat during early curing to prevent sagging that could throw off your installation.
Watch the Finish
Wipe away smudges immediately while the topcoat develops its durability. Your patience now protects the smooth, professional look you’ve worked hard to achieve.

I am Đinh Ai Nguyễn, a content writer at SoftAuraHome.com. For me, home is more than just a place to live. It is where we recover from long days, hold our quiet moments, and create the atmosphere that shapes how we feel. That belief is one of the biggest reasons I wanted to be part of this blog. I started writing about home decor because I have always been drawn to spaces that feel soft, peaceful, and emotionally grounding. I believe a calm room can do more than look beautiful. It can bring comfort, restore energy, and help people feel more connected to themselves and the life they are building. Through Soft Aura Home, I want to share ideas that are not only visually inspiring, but also meaningful in everyday life. With experience in SEO writing and niche content publishing, I understand how to create articles that are clear, useful, and easy to discover. But beyond strategy, I care deeply about how a piece of content makes someone feel. Every article I write is created with the hope of helping readers shape homes that feel gentle, personal, and full of quiet warmth.
Follow on Facebook