
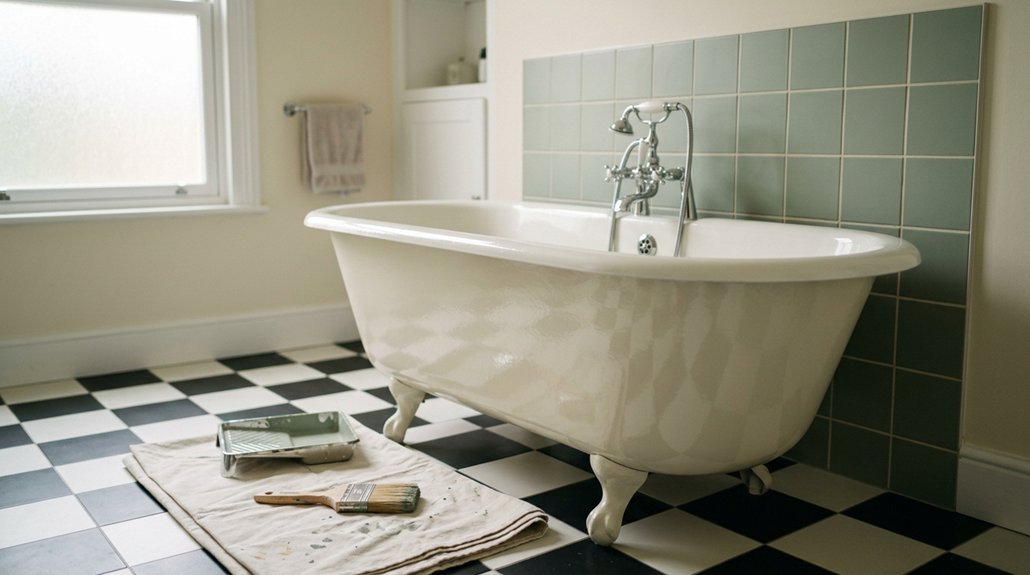


Like the ancient alchemists who tried to turn lead into gold, you’re staring at your stained, dated tub and wondering if a simple coat of paint could work magic. You’re not alone. Thousands of homeowners face this exact crossroads every year, weighing a weekend project against a costly replacement. The short answer is yes, you can paint a bathtub, but there’s a catch that could make or break your bathroom.
What Is Bathtub Paint? (And Why You’ll Ruin Your Tub With Regular Paint)
When you’re staring at a stained, chipped tub and dreaming of a fresh look, grabbing a can of regular wall paint might seem like a quick fix. Don’t do it. Regular paint can’t handle the heat, moisture, and daily wear your bathtub faces. It’ll peel, bubble, or grow mildew fast, leaving you with an even bigger mess.
Regular wall paint can’t handle your bathtub’s heat, moisture, and daily wear—it’ll peel, bubble, or grow mildew fast.
What Bathtub Paint Actually Is
Bathtub paint means specialized epoxy coatings made for ceramic, porcelain, and fiberglass surfaces. These aren’t like wall paints. They’re tub-and-tile refinishing kits built to bond tightly and resist mildew.
Why Proper Prep Matters****
You’ll need to remove old caulk, clean thoroughly with bleach and water, repair chips, and roughen the surface so the epoxy sticks. Apply multiple coats with 1–2 hours between them, let it cure overnight, then re-caulk. Do it right, and your tub stays fresh for years.
Recommended Products

TUB & TILE REFINISHING KIT: Renews ceramic tile, porcelain, fiberglass, acrylic, cast iron, and steel tubs and sinks without costly replacement.

TUB & TILE REFINISHING KIT: Renews ceramic tile, porcelain, fiberglass, acrylic, cast iron, and steel tubs and sinks without costly replacement.
Can You Paint Your Bathtub Yourself? Or Should You Call a Pro?
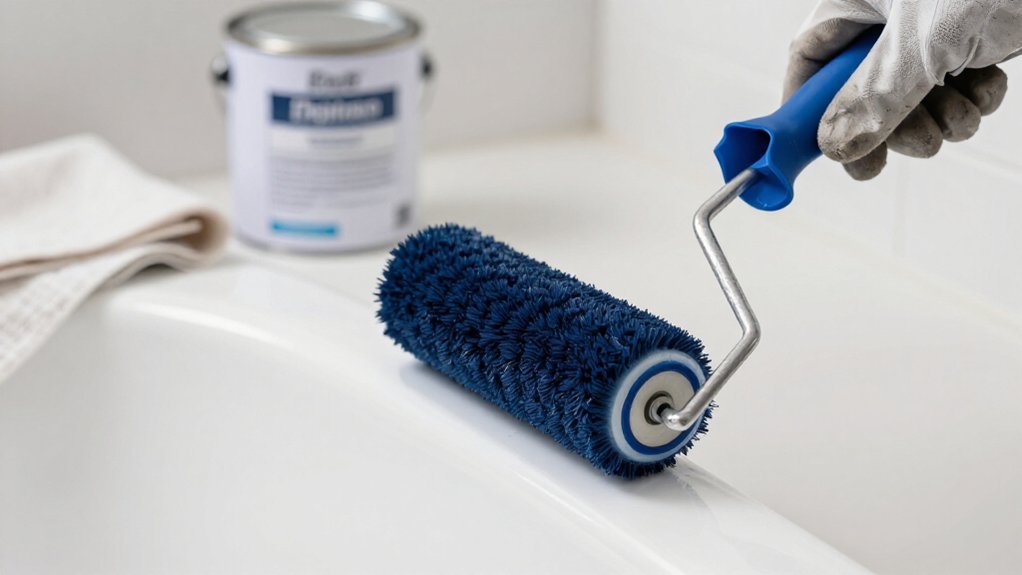
You can absolutely paint your own bathtub, but it’s not quite as simple as rolling a fresh color on your bedroom walls.
DIY bathtub refinishing demands serious prep work. You’ll strip old caulk, deep-clean with bleach to kill mildew, patch chips, and roughen the surface so epoxy sticks. Apply light coats with a sprayer or small roller to avoid drips, then wait: one to two hours between coats, overnight before re-caulking, and several days before using the tub. Rush it, and you’ll face peeling, yellowing, or scratches.
Calling a pro costs more but delivers durability. Pros bring spray equipment, controlled environments, and experience with curing times you might miss.
Ask yourself: do you trust your patience for detailed prep work and precise timing? If you want guaranteed results without the stress, a professional refinish often proves worth the investment.
Recommended Products

【Acrylic Formula】Our tub paint boasts an advanced water-based acrylic formula designed for durability and longevity. The high-quality acrylic resin ensures a strong, resistant finish that combats flaking and wear, providing a lasting transformation for your tiles

TUB & TILE REFINISHING: Renews the appearance of tubs, sinks, showers, and ceramic tile with a smooth, glossy finish.

Wide Application - This touch up paint pen adheres to a wide range of surfaces, including tile, tub, bathtub, sink, enamel, porcelain and refrigerators. It allows you to easily repair scratches, stains, chips, spots, yellowing, and other surface paint imperfections
Which Tub Materials Can Be Refinished?
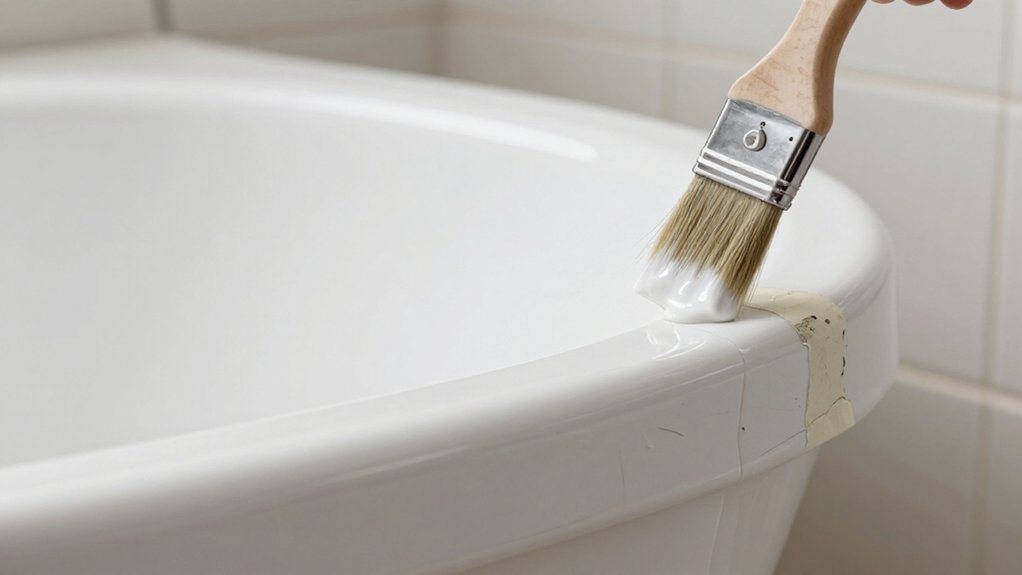
Good news: most bathtub materials can take a fresh coat of paint, but you’ll want to match the right refinishing system to your tub’s surface.
Common Tub Types You Can Refinish
You’ll find epoxy paint works on porcelain, fiberglass, and acrylic tubs. These are the most popular materials in homes today, and they’re all compatible with standard refinishing kits.
Tile Surrounds Too
Many systems also cover tile, including tile walls around your tub or shower. Rust-Oleum Tub & Tile epoxy coatings, for example, are made specifically for ceramic, porcelain, and fiberglass.
Other Possibilities
Some pros can tackle cultured marble and clawfoot tubs, depending on condition and product match. You’ll need to identify your material first, since epoxy paint formulas vary by substrate. Check your kit’s label to confirm it’s right for your surface.
Recommended Products

Instantly Restore Glossy White Tubs Like New: Flawlessly cover ugly chips, cracks, holes, scratches, dents, peel and rust with a smooth glossy white finish that blends into tubs, sinks, showers and tile surfaces for seamless-looking repairs

SAVE THOUSANDS VS. REPLACEMENT – Refinish a worn, stained, or scratched bathtub, tile, sink, or shower in a weekend for a fraction of the cost of a new tub — a professional-grade DIY finish with no contractor required.

Waterproof and very firm after curing, Fiberglass Repair Kit can be used to repair chips, scratches, dents, patch, worn, holes ect . Apply to fiberglass bathtub, acrylic bathtub, ceramic bathtub, enamel bathtub, cast iron bathtub, porcelain sink, ceramic tile, toilet, and cultured marble.
Prep Steps That Determine Your Paint Job’s Success
Because the epoxy won’t stick to soap scum or grime, you’ll need to strip the tub down to its bare surface before you even open the paint can. Remove all old caulk and scrub thoroughly to eliminate dirt and debris so the coating bonds properly.
Clean, Repair, and Roughen
Use a bleach-and-water solution to kill mildew, then let everything dry completely. Patch chips and cracks for a uniform surface; irregular spots can cause coating failure. Roughen slick porcelain or fiberglass with abrasive pads and sandpaper per your kit’s directions. This improves adhesion dramatically.
Don’t Rush the Prep
Avoid skipping these abrasive steps. Apply painters tape around fixtures and edges to protect areas you don’t want to coat. Follow your kit’s recoat guidance, typically letting the first light coat dry 1–2 hours. Skimp here leads to peeling and uneven coverage.
Recommended Products

Included: compound emulsion 500g/17.5 oz(part A), hardener 10g/ 0.35 oz(part B), user manual.

TOUGH 2-COAT EPOXY FINISH – Not ordinary tub paint, this bathtub refinishing kit uses a 2-coat, two-part epoxy system to create a thicker, tougher finish on tubs, tile, sinks, and showers. The cured surface is hard, glossy, and non-porous, with long-lasting durability that resists peeling, chipping, scuffing, and everyday wear.

【Easy DIY Kit】This bathtub refinishing kit is designed for DIY and beginner users. It includes epoxy resin, hardener, and essential tools such as brushes, sandpaper, gloves, masking tape, and stirring sticks. No additional supplies are required for application
How to Apply Bathtub Epoxy (Rolling vs. Spraying)
Once your tub is clean, dry, and roughed up, you’re ready to lay down the epoxy. You’ve got two solid options: rolling or spraying. Both work great, so pick what fits your comfort level and setup.
Once your tub is prepped—clean, dry, and roughed up—you’re ready to lay down the epoxy by rolling or spraying.
Rolling gives you control with minimal mess. Grab a high-quality 1/4-inch nap roller and work in light, even coats to dodge drips and stroke marks. Use a brush to push coating into corners and around fixtures.
Spraying delivers a glass-smooth finish but needs more prep. Mask everything with painter’s tape, then apply in steady, even passes to stop runs from forming.
Here’s your game plan:
- Protect surrounding areas with tape, no matter which method you choose.
- Apply the first coat thin and even.
- Wait 1–2 hours, then add your second coat.
- Pull tape after the second coat dries about one hour.
Recommended Products
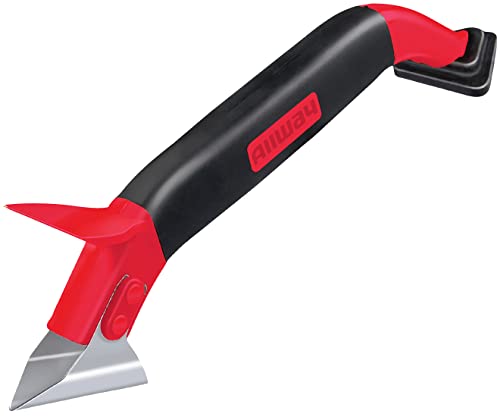
Multifunction 3-in-1 Caulk Tool: Comfortable soft-grip and made from strong engineering plastic

【All-Purpose Silicone Caulk】 This caulk is made of silicone with a smooth and uniform texture that does not clump. It resists yellowing even after prolonged use, features strong adhesion and fast-drying properties, and is suitable for both interior and exterior applications

When Can You Use Your Tub After Painting? (Drying vs. Curing)
You’ll want to understand the difference between drying and curing before you plan your first bath. Drying happens quickly and lets you add more coats or remove tape, while curing takes days to create that hard, durable finish you’re counting on. Let’s break down exactly how long you’ll need to wait at each stage so you don’t accidentally ruin your hard work.
Recommended Products

TUB & TILE REFINISHING KIT: Renews ceramic tile, porcelain, fiberglass, acrylic, cast iron, and steel tubs and sinks without costly replacement.

【Complete Tub and Tile Refinishing Solution】 Our all-inclusive tub and tile refinishing kit offers everything necessary for a seamless renovation. Whether you're a DIY hobbyist or a professional, this kit simplifies the process with user-friendly tools and clear instructions, making it ideal for both residential and commercial spaces.
Drying Time Guidelines
Patience pays off when you’re waiting for your tub’s new finish to set up. You’ll need to track your progress carefully, checking message frequency with your timer so you don’t rush the steps.
Here’s your drying timeline:
- Wait 1–2 hours after your first light coat before brushing on the second layer.
- Give the second coat about another hour, then peel off your painter’s tape.
- Let everything dry overnight before you re-caulk; doing it too soon ruins the seal.
- Hold off a few days on water use or hanging your shower curtain.
Curing Period Requirements
After your final coat goes on, you’re in the home stretch, but don’t rush to fill the tub just yet. You’ve got to respect the curing period requirements if you want that finish to last.
Drying and curing aren’t the same thing. Your tub might feel dry to the touch overnight, but that doesn’t mean it’s ready for daily use. Here’s what to expect:
- Wait overnight before re-caulking, so the coating gains enough stability
- Give it a few days before hanging a shower curtain or running heavy water
- Full curing takes longer than initial drying to reach maximum durability
Rushing this stage risks chips, peels, and wasted effort. Patience now protects your hard work and keeps your refreshed tub looking great for years.
What Bathroom Surfaces Can You Paint Beyond Tubs?
You’ve got more options than just the tub itself. The same epoxy refinishing kits that work on bathtubs can often cover your tile walls, shower floors, and even sinks, so long as you match the coating to the surface material. With the right prep and product choice, you can refresh an entire bathroom without tearing anything out.
Recommended Products

APPLIANCE REFINISHING: Renews the exterior of refrigerators, dishwashers, laundry machines, and other indoor metal surfaces.
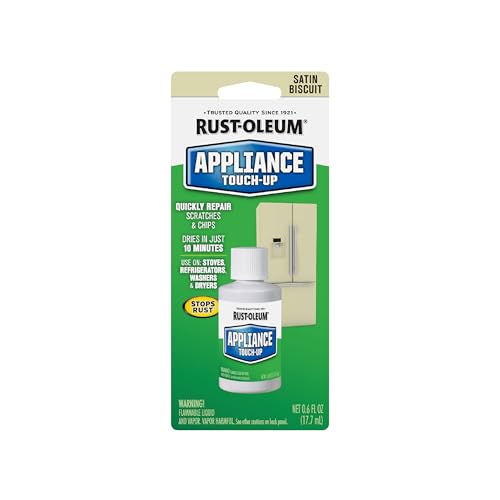
QUICK APPLIANCE REPAIRS: Covers small scratches, chips, and imperfections on the exterior of household appliances.

QUICK APPLIANCE REPAIRS: Covers small scratches, chips, and imperfections on the exterior of household appliances.
Tile Walls and Floors
Once you’ve tackled the tub, you might look at those dated tile walls and floors and wonder if they can get the same refresh. Good news: they absolutely can. Bathtub epoxy works on nearby tile walls and even your Shower Floor when you prep properly.
Here’s how to nail it:
- Clean and de-mold every surface with bleach and water.
- Scuff-sand the tile so the epoxy grips.
- Apply light coats with a sprayer or 1/4-inch nap roller.
- Let it dry 1–2 hours between coats; wait overnight before re-caulking.
For Shower Floor projects, confirm your surface first: ceramic, porcelain, and fiberglass all play nice with Rust-Oleum Tub & Tile epoxy. Work the coating into corners with a brush, then stay patient. You’ll need a few days before heavy water use.
Shower Surfaces Compatibility
If you’re wondering whether you can extend that fresh coat beyond the tub, you’re in luck. Bathtub Painting products like Rust-Oleum Tub & Tile work on shower surfaces too, including tile walls and shower floors. You just need compatible materials, ceramic, porcelain, or fiberglass.
Before you start, prep carefully. Remove old caulk, clean everything thoroughly, and kill any mildew with a bleach-water mix. Patch chips and cracks, then roughen the surface per the product directions.
When applying, use light coats with 1–2 hours between them. Let everything cure fully before running water or hanging your shower curtain. Heavy moisture too soon will ruin your hard work. Check your shower floor material first, not all surfaces take coating equally well.
Sink and Vanity Options
Shower surfaces aren’t the only place you can put that leftover bathtub epoxy to work. You can also refresh bathroom sinks and vanity tops made of ceramic or porcelain. These materials bond well with products like Rust-Oleum Tub & Tile, giving dated fixtures a clean, modern look without the cost of replacement.
Before you start, you’ll need to prep just like you would for a tub. Remove old caulk, scrub everything down, and kill mildew with a bleach solution. Patch any chips or cracks so they don’t show through your new finish. Roughen the surface so the epoxy sticks properly.
Here’s how to apply it right:
- Use a 1/4-inch nap roller for smooth coverage
- Brush corners carefully to avoid buildup
- Apply light coats to prevent drips and stroke marks
- Wait 1–2 hours between coats, then dry overnight before re-caulking
How to Clean a Painted Tub (Products That Won’t Damage It)
Since you’ve put in the effort to refinish your tub, you’ll want to keep that fresh coating looking great for years to come. You’ll protect your investment by choosing gentle cleaning methods that preserve the epoxy finish.
Wait Before You Clean
Don’t rush. Let everything cure fully according to your kit’s instructions before scrubbing or soaking. This prevents peeling and guarantees a hard, durable surface.
Pick Safe Products
Skip muriatic acid and abrasive scrubbers. They scratch and dull your finish. Instead, grab mild bathroom cleaners and a soft sponge or towel.
Tackle Mildew Carefully
For stubborn spots, use non-abrasive cleaners. Check labels before using bleach solutions.
Build Simple Habits
Rinse and wipe after each use. This stops soap scum buildup and keeps you from needing stronger cleaners later.
Recommended Products

Color Match for White & Aged Tubs: This fiberglass bathtub repair kit includes color tints to blend repairs with white, aged white, off-white, almond, beige, bone, biscuit and ivory surfaces, avoiding the bright white patch left by a one-color repair.

Permanently Repair Chips, Cracks & Holes – No More Recurring Damage:Designed for bathtubs, sinks, shower trays, and more. Permanently fixes cracks, chips, scratches, and holes on fiberglass, enamel, acrylic, ceramic, cast iron, and other surfaces. Once cured, it forms a leak-proof, heat-resistant layer – repair once, enjoy long-lasting results.
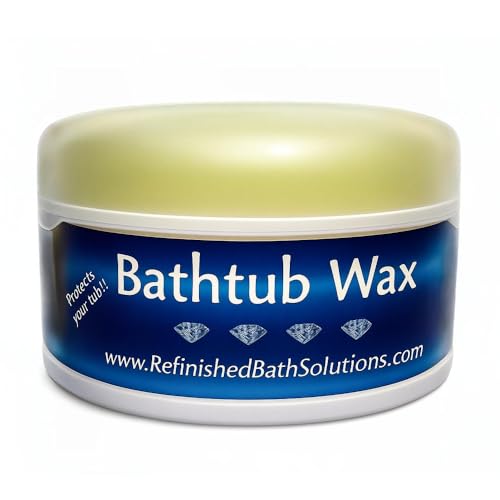
Restores Shine and Luster – Brings back a polished finish to porcelain, fiberglass, enamel, acrylic, and composite tubs and sinks, helping older surfaces look refreshed. Not intended for heavily stained or worn enamel.
Why Bathtub Paint Peels: and How to Prevent It
You’ll notice peeling starts when you skip the deep clean or leave behind soap scum and mildew, which stops the epoxy coating from gripping tight. Heavy coats, rushed timing, and glossy surfaces that never got scuffed also set you up for chipping and lifting down the road. Stick to the product’s steps, roughen things up properly, and you’ll lock in a finish that actually lasts.
Recommended Products

Non-Slip Safety Feature - Includes a slip-resistant application for safter bathtubs and showers, reducing the risk of slips and falls.

LONG-LASTING SOLUTION FOR BATHROOM & KITCHEN – Refresh wall and floor tiles with a durable epoxy paint designed for bathrooms, kitchens, showers, and high-use areas. Ideal bathroom tile paint for ceramic tile paint applications, shower tile paint updates, and bathroom tile cover up projects. Creates a hard-wearing, waterproof surface for reliable everyday performance

SENVEN TUB & TILE REFINISHING SPRAY PAINT: Apply this Tile Spray Paint to ceramic, porcelain, or fiberglass surfaces, including tiles, sinks, and tubs. Specifically for ceramic, porcelain surfaces like bathtubs, tile floors/walls, toilets, sinks and countertops. DIY refinish your bathroom with just one quick and easy spray step for a refreshed look. The SENVEN Tub & Tile Refinishing Kit is here to reduce costs without breaking the bank on new fixtures or hiring a contractor
Common Causes
Peeling bathtub paint usually comes down to a few preventable mistakes during prep or application. You can avoid frustration by understanding what goes wrong.
- Skipping the deep clean. You need to remove grease, soap scum, and mildew with a bleach-and-water solution. Leftover residue stops the coating from sticking.
- Leaving old caulk behind. If you don’t fully strip and dry the old caulk, moisture gets trapped underneath. The new finish can’t bond properly.
- Ignoring surface damage. Chips and cracks increase failure risk. You’ll need to patch these spots and roughen glossy areas so the epoxy grips.
- Applying coats too thick. Heavy layers cause runs and poor curing. Apply light coats and let each dry 1–2 hours before adding another.
Prevention Methods
Because bathtub paint peels when the surface isn’t ready, you’ll want to focus on prep work that actually *adheres*. Follow these steps to ensure your coating lasts.
Clean thoroughly. Scrub with bleach and water to kill mildew, then degrease completely.
Remove old caulk and rough up the surface with an abrasive pad or sandpaper so the epoxy can *grip*.
Apply smart. Use two light coats, not one heavy coat. Let the first coat dry 1–2 hours before recoating.
Be patient. Wait overnight before re-caulking, and give it a few days before using water or hanging a shower curtain.
Pick the right product. Match your coating to your tub material (ceramic, porcelain, or fiberglass). Skip harsh cleaners and abrasive pads later, they’ll wreck your finish.
Replace or Refinish? When Buying New Wins
Sometimes a tub is too far gone for paint to save it. If your bathtub has deep cracks, structural damage, or you’re remodeling the entire bathroom, buying new might be your best bet. But don’t assume replacement is your only option. You can save money and skip the demolition mess by refinishing instead.
Here’s when each choice makes sense:
- Refinish when the tub is solid but looks dated; epoxy paint works on porcelain, fiberglass, acrylic, and ceramic surfaces.
- Replace when there’s structural damage like cracks through the material or leaks underneath.
- Refinish to avoid renovation chaos; no plumbers, tilers, or days of construction.
- Replace if you need a different size or shape; paint won’t change the tub’s dimensions.
Choose what fits your budget, timeline, and tub condition.
Recommended Products

Sharp angled tip removes hard dried caulk from cracks and crevices

Softens caulk for easy removal

3 IN 1 MULTIFUNCTION DESIGN - This 3 in 1 Silicone Caulking Tools can be used as angle scraper, glass glue blade, adhesive residue scraper and seam repair tool, It can help you repair the gap and clean the residual glue easily.

I am Đinh Ai Nguyễn, a content writer at SoftAuraHome.com. For me, home is more than just a place to live. It is where we recover from long days, hold our quiet moments, and create the atmosphere that shapes how we feel. That belief is one of the biggest reasons I wanted to be part of this blog. I started writing about home decor because I have always been drawn to spaces that feel soft, peaceful, and emotionally grounding. I believe a calm room can do more than look beautiful. It can bring comfort, restore energy, and help people feel more connected to themselves and the life they are building. Through Soft Aura Home, I want to share ideas that are not only visually inspiring, but also meaningful in everyday life. With experience in SEO writing and niche content publishing, I understand how to create articles that are clear, useful, and easy to discover. But beyond strategy, I care deeply about how a piece of content makes someone feel. Every article I write is created with the hope of helping readers shape homes that feel gentle, personal, and full of quiet warmth.
Follow on Facebook