
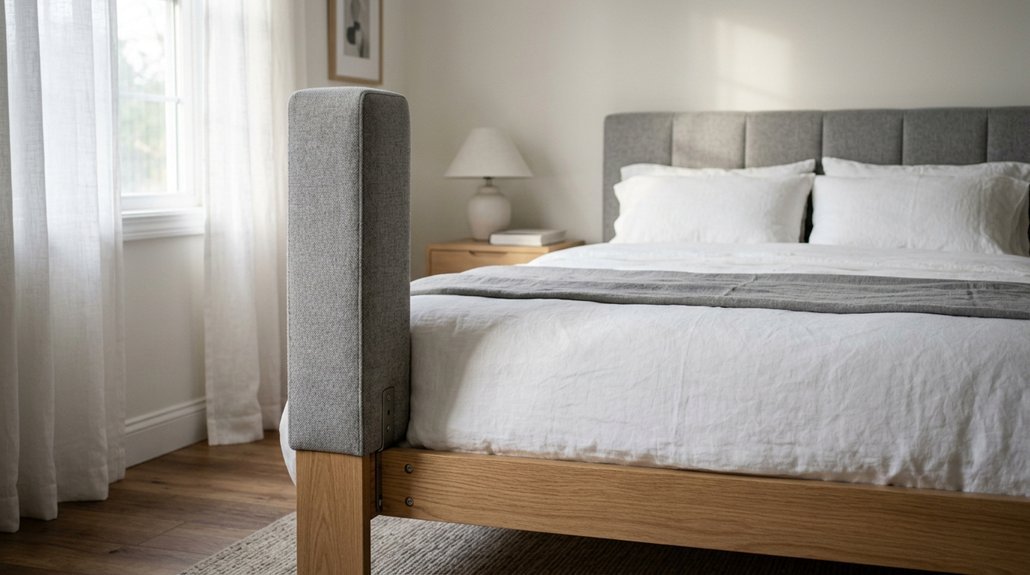


Your headboard crashing down at 2 a.m. sounds like a nightmare, but it happens more often than you’d think. Most wobbly headboards come from one simple mistake: choosing the wrong mounting method for your wall type and furniture weight. You have five solid options that keep things secure without making you feel like you’re hanging a flatscreen. Each works best in a specific situation, whether your walls are plaster, you rent and can’t drill deep, or you’re dealing with something seriously heavy. The trick is matching your setup to the right approach before you start drilling.
Wall Mount or Bed Frame Mount: Which Should You Choose?
How do you decide between mounting your headboard to the wall or to your bed frame? Let’s break it down so you feel confident choosing.
Wall Mount: Rock-Solid Stability****
You anchor into studs for the strongest, wobble-free setup. For heavy headboards, a French cleat system distributes weight evenly across the wall. Lighter pieces work fine with direct-to-stud mounting. Never rely on drywall alone for anything substantial. If you must use hollow walls, toggle bolts or molly bolts help, but studs remain your secure anchor.
Bed Frame Mount: Flexible but Tricky
You attach directly to timber, metal, or platform frames using hidden mounting hardware. It’s faster to install and easier to move. However, you risk rattling or knocking if connections aren’t rigid.
Bottom Line: Choose wall mount for permanence and peace of mind. Pick bed frame mount when portability matters more.
Recommended Products
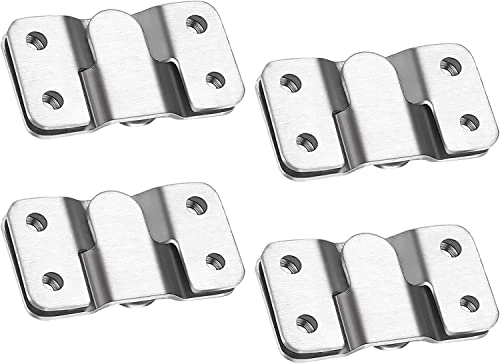
[ No Falling Flush Mount Brackets ]: Our flush mount brackets are made of high strength stainless steel, ensure the stability and long-time service, keep you safe from falling of wall-hung objects. 4 pairs heavy duty headboard hooks can support up to 66lb/30kgs

Invisible Mount: AENTGIU mounting brackets can be utilized for hanging fixtures flush to your wall. Its innovative design hides the French Cleat, which secure the frame to the wall, eliminating wobbling and loosening. The hardware remains completely concealed
Find Studs and Mark Your Headboard Placement
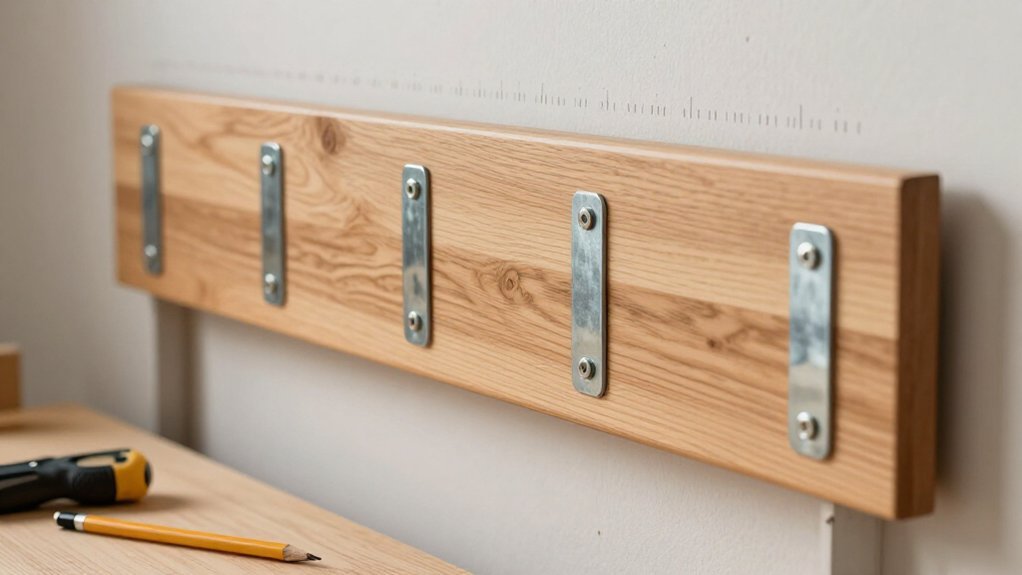
Before you drill a single hole, you need to know exactly where your wall’s solid support hides. Grab your stud finder and start Locating Wall Studs behind drywall. Move it slowly across the wall until it beeps or lights up, then mark the centerline of each stud you find. Most homes have studs spaced 16 inches apart, so once you locate one, you can predict where the others sit.
Now, mark your planned headboard height line. Position the bottom of the headboard 2–4 inches below the top of the mattress for a clean look and proper pillow clearance. Level is your best friend here; use a 24-inch level to keep everything perfectly horizontal. Double-check your marks before drilling pilot holes into those solid studs behind drywall.
Recommended Products

Premiun Quality - Made from aircraft grade aluminum which allows for use on non-plumb walls. A french cleat hanger is also called z clip, z bar hangers and wall cleats,ensuring your hanging safety and longevity.

【French Cleat Heavy Duty】Our French cleat are made of 6mm thick aluminum, robust and durable, capable of supporting a maximum weight of 280 pounds. Hanging is safe and worry-free. The sturdy metal headboard wall mounting brackets can withstand significant tension and use.

【French Cleat Heavy Duty】Our French cleat are made of 6mm thick aluminum, robust and durable, capable of supporting a maximum weight of 160 pounds. Hanging is safe and worry-free. The sturdy metal headboard wall mounting brackets can withstand significant tension and use.
Mount Heavy Headboards With Concealed French Cleats
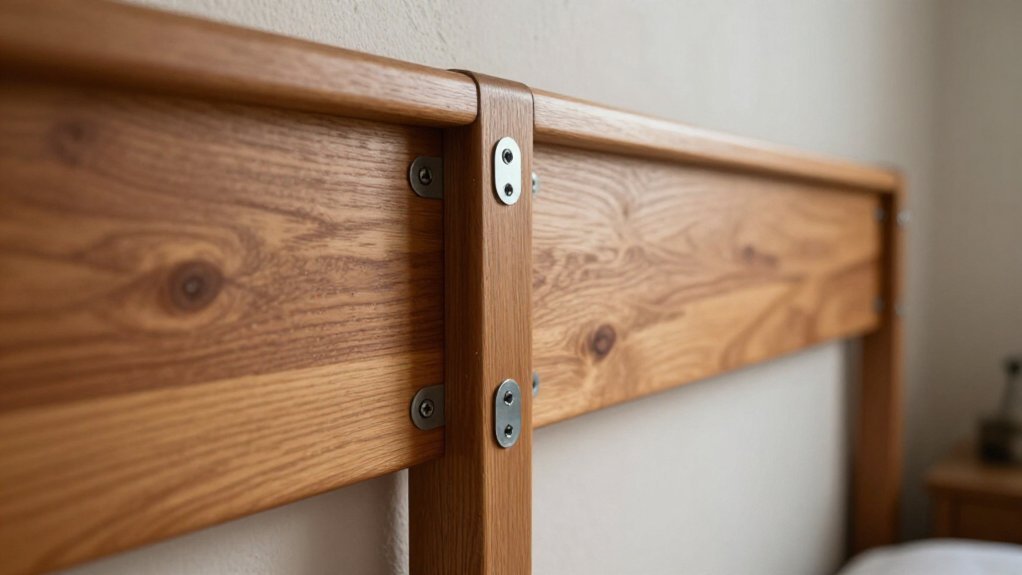
For heavy headboards that need rock-solid support without visible hardware, you’ll want to look at a concealed French cleat. This system uses interlocking brackets that fit together like puzzle pieces, distributing weight along the entire cleat instead of stressing a few screws.
You’ll mount the wall-side piece into wall studs with proper stud anchoring. This step matters: you’re trusting these fasteners with serious weight. Next, attach the headboard-side cleat to the back of the headboard. Then simply hang the headboard by sliding it down until the angled brackets lock. The result is a flush hidden fixing that looks like it’s floating.
One nice perk: if your wall cleat isn’t perfectly level, you can slide the headboard left or right before it settles fully. Need to move or repaint later? The cleat makes re-hanging easy without tearing up your wall.
Recommended Products

COMPLETE KIT CONTENTS: This package includes 28PCS drywall anchors and wing nut kit with toggle bolts in 3 different sizes 1/4" 3/16" 1/8" for your choice according to your actual mounting and load bearing requirements

MULTIPLE SIZE OPTIONS – This drywall anchors and wing nut kit contains toggle bolts set in 3 different sizes – 1/8in, 3/16in, 1/4in for your choice according to your actual mounting and load bearing requirements.
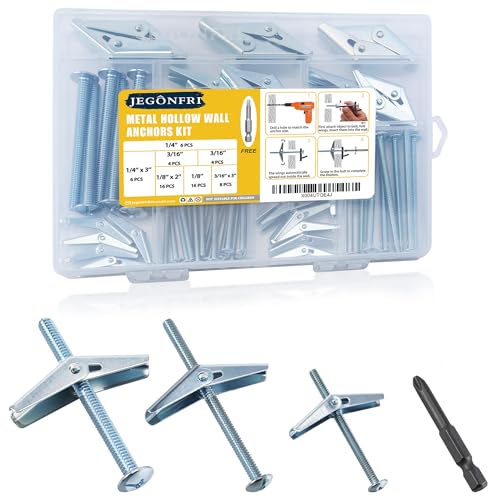
Heavy Duty Wall Anchors:These toggle bolts feature a wing nut design that opens behind hollow walls. The toggle bolt design spreads force evenly and prevents the anchor from pulling out under weight.
Use Rated Wall Anchors When Studs Aren’t Available
When studs are out of reach, you’ll need to rely on heavy-duty wall anchors that can actually handle the job. Choose properly rated toggle bolts or Molly-style anchors sized for your headboard’s actual weight and your drywall thickness. Don’t guess: check the package specs.
For no studs available situations, spread the load across multiple heavy-duty anchors along your mounting rail/bracket. Good anchor spacing prevents stress from concentrating on just a few points. Skip lightweight picture hangers; they can’t handle dynamic forces from leaning and shifting.
Test each anchor before final mounting by gently checking for movement. A poorly set anchor fails even if the label looks good.
For very heavy headboards, consider adding a horizontal ledger board secured to studs instead of relying on wall anchors alone.
Recommended Products

Secure Hold: Say goodbye to wall anchor woes. Our molly bolts provide a secure hold with expansion arms that open and press firmly against the back of the wall. The metric internal thread allows for repeated installation and removal without compromising load capacity.
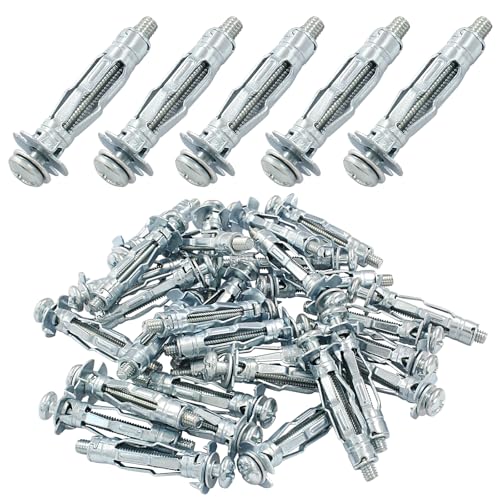
Packaging and dimensions: Each package contains 30 pcs heavy duty bolts, with bolt length of 1.26 inches / 32mm and screw diameter of M4, sufficient for daily use.
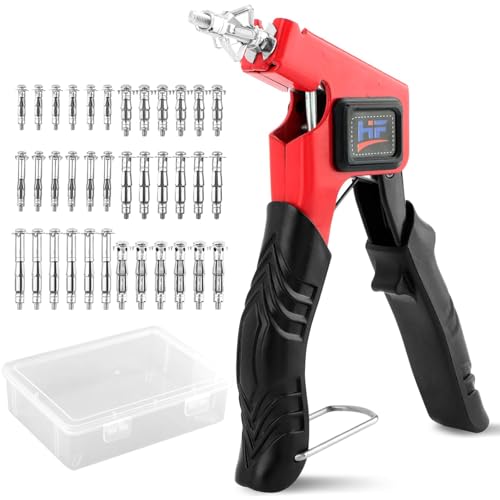
【PACKAGE INCLUDED】You will get 36pcs x drywall anchor in 6 sizes(6pcs M4*32, 6pcs M4*46, 6pcs M5*37, 6pcs M5*52, 6pcs M5*65, 6pcs M6*52), 1pc x setting tool in a package.
Stabilize Your Headboard With Anti-Tip Straps and Shims
Once your headboard is anchored to the wall, you’ll want to keep it from shifting or tipping forward. Anti-tip straps give you that extra security, especially if kids lean on the bed or you rearrange furniture.
Install the straps high on the back of your headboard. Secure the other end directly into wall studs for maximum strength. If studs aren’t available where you need them, toggle bolts or molly bolts can create solid back support in hollow walls.
Before tightening everything, check that your headboard is level using a 24-inch level. If you spot gaps at the mounting points, slide thin shims behind them. This keeps the unit square and prevents straps from working harder than they should.
After shimming and fastening, push firmly at the top and sides. No movement means you’ve got a secure headboard that will prevent wobble for years to come.
Recommended Products
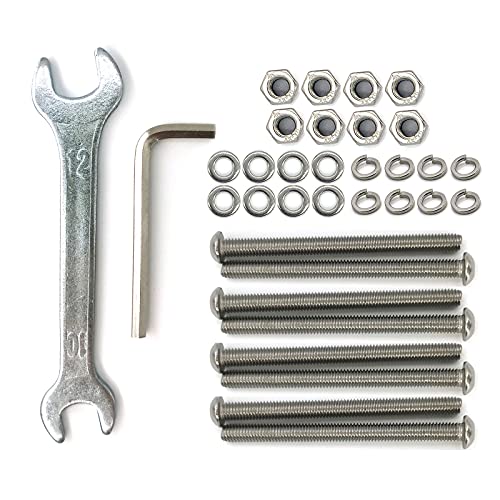
Use this 304 Stainless Steel hardware set to easily attach your bed frame to a headboard or footboard. The total length of the bolt is 3In and is only suitable for headboards with a total thickness of 2-2.8 inches.
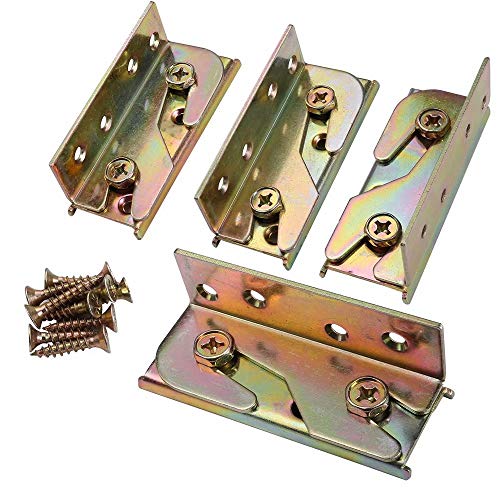
PURPOSE: Be widely used for wooden bed frames, bed rails, headboards, footboards, bunk bed ladders, and even other wooden furniture. These are also great for those of you who might move a lot and need a quick/ easy disassembly

FULL TO QUEEN CONVERSION KIT: Aligns a Full headboard with a compatible Queen metal bed frame, or the reverse. It adjusts headboard mounting points only and does not change the mattress support area.
Install Removable Headboard Mounts for Rentals and Hotels
You need a headboard setup that won’t upset your landlord or slow down hotel housekeeping. Removable mounts let you install and remove the panel quickly, without drilling new holes each time or leaving wall damage behind. This approach keeps rooms guest-ready and gives you flexibility when it’s time to move or deep-clean.
Recommended Products
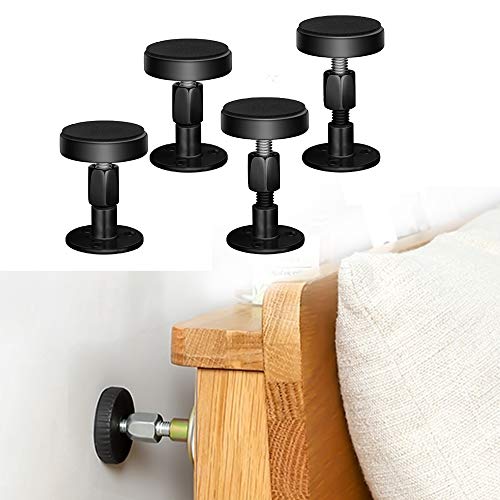
Instructions for use: The red side of the base with double-sided tape is glued to the head of the bed, and then the black side of the EVA pad is twisted by hand until it is against the wall
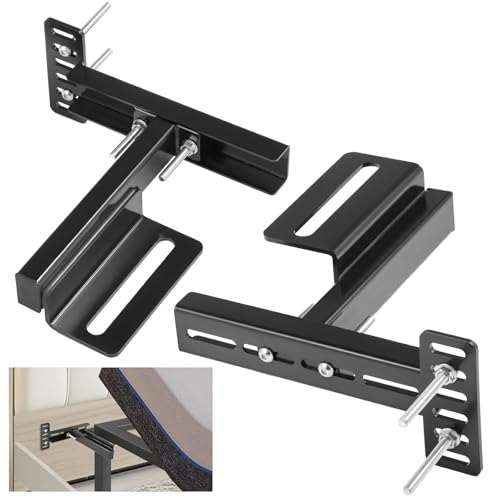
Friendly suggestion, before you buy our headboard bracket kits, please confirm in 3 steps. Step 1: Confirm if your adjustable bed comes with a headboard bracket kits or not , if not, then you should check the frame to see if the base can fit a separate headboard bracket kits or not. Step 2: Check the description to see the type/name of compatible brackets. Step 3: Confirm if there are existing holes in the headboard, if not, confirm if you can drill holes, and also check if the frame size is suitable for the size of our bracket. Then decide to buy our bracket.
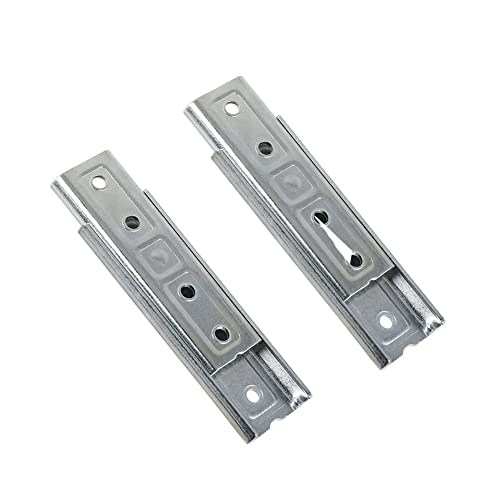
【Main Characteristic】: Sofa connectors are mainly used to connect modular furniture to form sofa, a seat row, seat back, armrest or seat group, which can prevent your sectional sofa from sliding around. It is very easy to install and disassemble
Rental-Friendly Installation
Renting or managing hotel rooms often means you can’t drill dozens of holes into walls. Here’s how you achieve a rental-friendly install that keeps everyone happy.
Choose Concealed, Removable Hardware
You’ll want concealed, removable headboard mounting hardware that disappears once installed. Fastmount VL-03, VL-03H, and VL-M3X clips click together to create a wobble-free wall finish with zero visible screws. These systems dominate the Stratlock® headboard market for good reason.
Install Smart, Not Hard
Pre-install your clips off-site using a layout guide. Bond them with two-part epoxy to skip the dust and noise of drilling. For heavier headboards, upgrade to Stratlock® brackets; they handle more weight and adjust if walls aren’t perfectly flat.
Removal stays simple. A center point tool helps you align and detach the headboard for cleaning without damaging drywall.
Hotel Housekeeping Access
Because hotel rooms see constant turnover, you’ll want a headboard system that lets housekeeping pop panels off and on without fighting the wall.
Removable hotel-style mounting with Fastmount hidden clips gives your team exactly that. You’ll get non-sequential panel removal, so housekeepers can pull one section for spot treatment or lift the whole headboard for deep cleaning and maintenance refit without touching the wall.
Choose a load-rated range that fits your project. Very Low Profile clips offer concealed fixing for sleek looks, while Stratlock handles heavier, high-traffic installations with extra adjustability.
Speed up your timeline with workshop pre-install. You’ll fix clips with epoxy off-site, achieving full off-site panel readiness before delivery. Mark alignment with Fastmount tools so on-site engagement stays quick, level, and ready for periodic housekeeping access.
Damage-Free Removal
When you’re outfitting a rental or hotel room, the last thing you want is a headboard that tears up the walls every time it needs to come down. You can achieve damage-free removal by installing concealed removable mounts with interlocking brackets that clip securely into place.
Skip the hassle of studs, toggle bolts or molly hardware. Instead, use pre-installed male/female clips (like Fastmount) bonded with two-part epoxy. You’ll mount wall-side fixtures without drilling into occupied spaces. For new headboards, try the workshop pre-install method: epoxy-bond clip positions off-site using a layout guide. This makes on-site alignment fast and consistent across rooms.
Choose load-rated systems for your headboard weight. Light options like VL-03 work for typical pieces; heavier traffic needs Stratlock. Design clip-off panels for easy, non-sequential removal. You’ll get secure wall mounting that supports deep cleaning and repairs without re-damaging surfaces, perfect for rentals and hotels needing flexible, hardware-free updates.
Avoid These Common Headboard Mounting Mistakes
Even if you’ve hung shelves or mirrors before, mounting a headboard brings its own challenges, and a few simple missteps can leave you with wobbly furniture, wall damage, or a crooked silhouette behind your bed.
Skipping the Studs
Don’t drill into drywall alone. You need to find the studs behind your wall, or your headboard won’t stay put. Use a stud finder, then mark the centers, usually 16 inches apart. If they don’t line up with your headboard holes, add a horizontal support board across the studs. This gives you a solid base without damaging your wall.
Picking Wrong Hardware
Match your wall type to the right hardware. For plaster or drywall, use bolts or molly bolts rated for the weight. Never hang heavy or oversized headboards on a wall without anchoring. Check that your headboard is level before you tighten everything down.
Recommended Products

[ 6mm Thick French Cleat Heavy Duty ]: 18 inches long, made by heavy duty aluminum with 6mm thick, the french cleat supports about 140 pounds max. Plastic anchors in the hardware kit make the screws fixed better in the wall, and help to provide secure and reliable hanging.

Packing Included - 4Pcs x Cleat Hanger, 6Pcs x M4*25mm Screws and Plastic Anchors, 6Pcs x M4*15mm Screws. Come with pre-drilled holes, it's convenient and quickly for you to install.

Packing Included - 4Pcs x Cleat Hanger, 4Pcs x M4*25mm Screws and Plastic Anchors, 4Pcs x M4*15mm Screws. Come with pre-drilled holes, it's convenient and quickly for you to install.

I am Đinh Ai Nguyễn, a content writer at SoftAuraHome.com. For me, home is more than just a place to live. It is where we recover from long days, hold our quiet moments, and create the atmosphere that shapes how we feel. That belief is one of the biggest reasons I wanted to be part of this blog. I started writing about home decor because I have always been drawn to spaces that feel soft, peaceful, and emotionally grounding. I believe a calm room can do more than look beautiful. It can bring comfort, restore energy, and help people feel more connected to themselves and the life they are building. Through Soft Aura Home, I want to share ideas that are not only visually inspiring, but also meaningful in everyday life. With experience in SEO writing and niche content publishing, I understand how to create articles that are clear, useful, and easy to discover. But beyond strategy, I care deeply about how a piece of content makes someone feel. Every article I write is created with the hope of helping readers shape homes that feel gentle, personal, and full of quiet warmth.
Follow on Facebook