
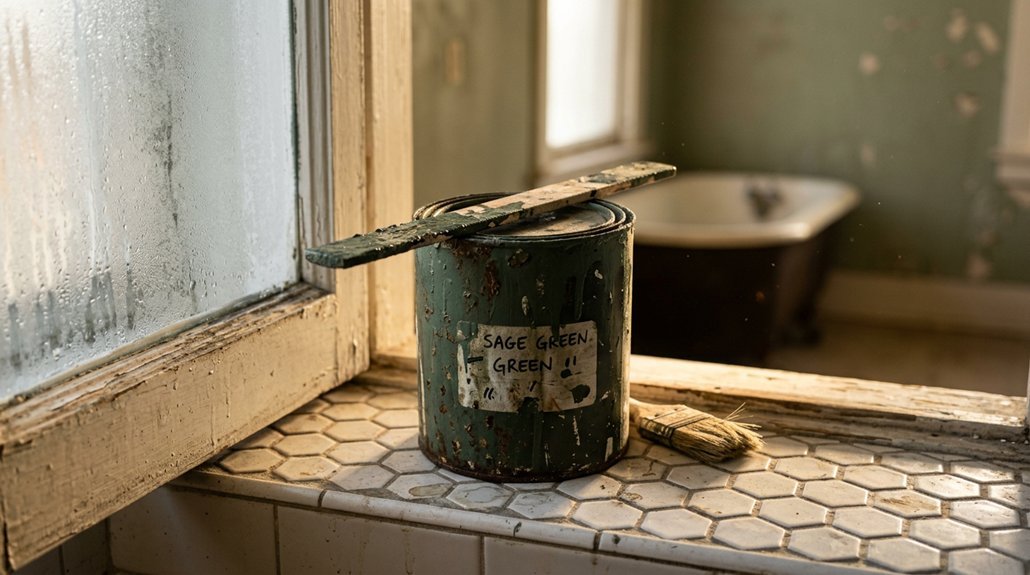


You’re staring at dated pink tile, you’re dreading a full remodel, and you’re wondering if paint could buy you time. You can paint bathroom tile, but success depends entirely on where that tile lives and how much elbow grease you’re willing to invest. Dry spots like walls or backsplashes? You’ll get 3–5 years of fresh look. Shower floors and splash zones? Expect touch-ups much sooner.
Should You Paint Your Bathroom Tile?
Before you grab a brush, ask yourself what you really need from your bathroom. Paint Bathroom Tile projects work best when you’re realistic about wear and tear.
Before you grab a brush, ask what you really need. Paint Bathroom Tile projects work best when you’re realistic about wear and tear.
What to expect:
- Walls last 3–5 years; floors only 1–3 years
- Dry areas behind sinks and toilets hold up better than shower walls
Prep matters most:
You’ll scrub with TSP, sand off the shine, then roll on a bonding primer made for slick surfaces. Skip this and your paint peels fast.
Pick the right coating:
Use epoxy paint or urethane systems for damp spots. Regular wall paint yellows and fails.
When it makes sense:
Paint your tile as a budget-friendly bridge to a full remodel. Limit painted areas, accept touch-ups, and you’ll stay happy for years.
Recommended Products
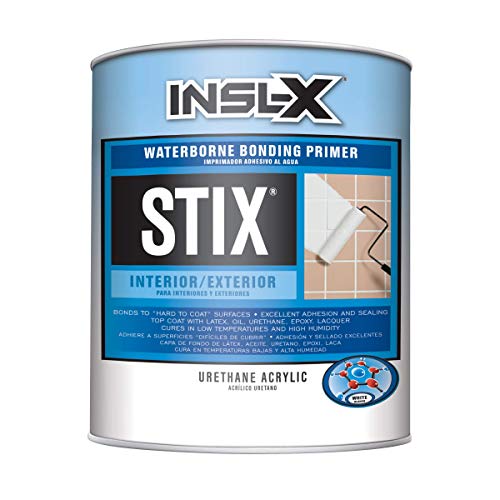
Premium-quality, acrylic-urethane bonding primer-sealer with unparalleled adhesion to the most challenging surfaces, including glossy tile, PVC, vinyl, plastic, glass, glazed block, glossy paint, pre-coated siding, fiberglass, and galvanized metals.

Transform dated countertops: Stone Coat Countertops Bonding Primer & Sealer creates a durable bond on slick surfaces like laminate, tile, granite, quartz, solid surface, and cultured marble, ensuring a strong foundation for epoxy applications.
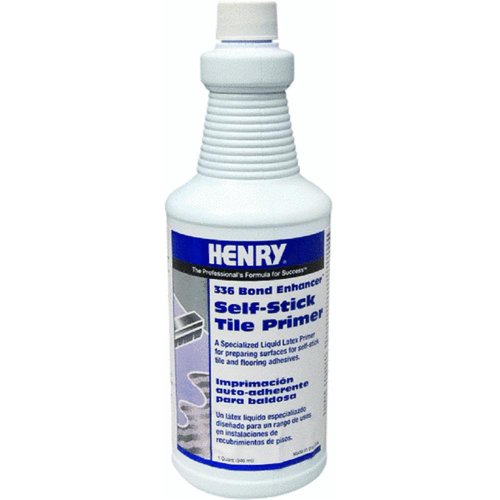
A specialized liquid latex primer designed for a wide range of uses in floor covering installations
Where to Paint Tile (and Where You’ll Regret It)
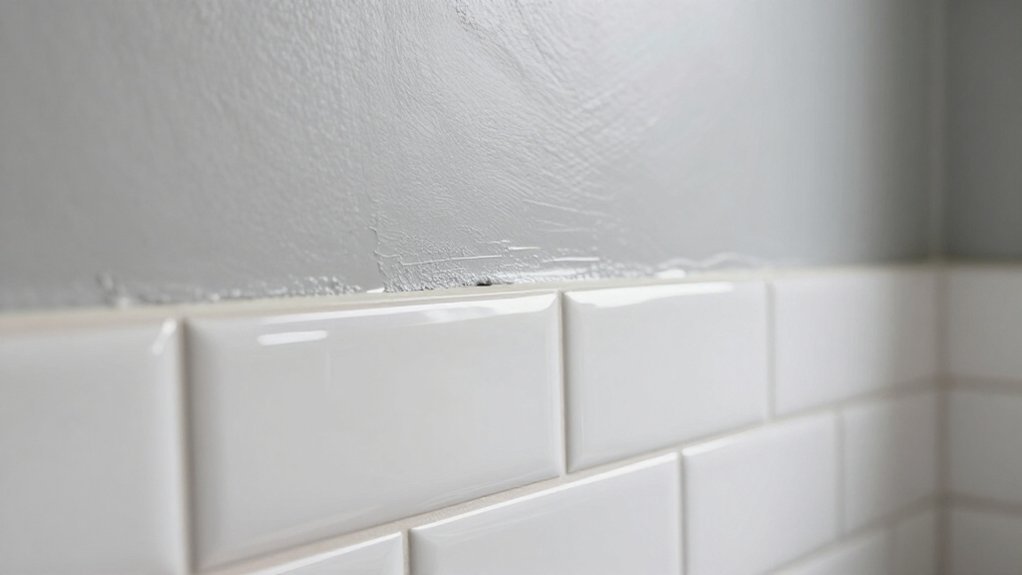
You’ll get the best bang for your buck on dry wall tiles, like backsplashes or decorative areas above the sink, where paint can last three to five years if you clean, scuff, and use a bonding primer first. Skip shower floors, tub surrounds, and busy splash zones unless you’re ready for frequent touch-ups, since constant water and pressure wear down the finish fast. Shiny, slick surfaces—think glass mosaics or metallic tiles—are also tricky territory, so test a small spot before committing to the whole job.
Recommended Products

【Acrylic Formula】Our tub paint boasts an advanced water-based acrylic formula designed for durability and longevity. The high-quality acrylic resin ensures a strong, resistant finish that combats flaking and wear, providing a lasting transformation for your tiles

TUB & TILE REFINISHING KIT: Renews ceramic tile, porcelain, fiberglass, acrylic, cast iron, and steel tubs and sinks without costly replacement.

TUB & TILE REFINISHING: Renews the appearance of tubs, sinks, showers, and ceramic tile with a smooth, glossy finish.
3 High-Moisture Areas
Moisture-heavy zones like shower walls and tub surrounds can work with paint, but only if you choose the right spot and prep carefully.
Painting tile above the splash line on shower walls or bathroom tile around the tub usually holds up fine. You will want epoxy or urethane systems here, standard latex can’t handle repeated soaking.
Avoid painted bathroom tiles on shower floors and direct-spray areas. These high-traffic, constantly wet spots wear fast, often needing refresh in 1–3 years versus 3–5 on drier walls.
Watch out for bubbling and peeling around seams and corners. Skipping de-glossing or using wrong primer causes trouble fast. If tile stays soaked regularly, you will regret painting it. Pick drier decorative zones instead, and your work lasts longer with less headache.
Decorative Wall Surfaces
Now let’s look at where painted tile actually pays off.
Decorative bathroom wall tile is your safest bet. You’ll get the best results on glazed ceramic or porcelain that’s out of constant water contact. Clean thoroughly, scuff to degloss, and prime with a strong bonding primer like Extreme Bond. Then roll on a purpose tile topcoat, often epoxy or specialty tile paint.
Painting works best on walls above the splash zone. Skip glossy glass mosaics or metallic tiles; they fight adhesion and bubble without special prep. Use painters tape to protect edges you don’t want coated.
You’ll enjoy years of fresh color on decorative walls. High-moisture spots need more touch-ups, but lightly used surfaces reward your effort with lasting, budget-friendly updates.
High-Traffic Flooring Risks
Painting tile floors almost always brings more headaches than walls.
When you’re painting bathroom tile on a bathroom floor, you take the biggest gamble. You walk on this surface daily. That foot pressure grinds down paint fast. While wall tile lasts 3–5 years, floors often fail in 1–3 years.
Why floors fail faster:
- Constant abrasion wears edges and high-traffic paths first
- Moisture from splashes weakens adhesion over time
- Cleaning chemicals speed up breakdown
Tile requires real commitment here. You’ll need ongoing touch-ups, and even that may not save you. Some pros flat-out say don’t paint tile flooring with standard approaches. The regret zone? Any spot mixing traffic, water, and cleaners. Even good prep and epoxy-grade systems struggle long-term.
How to Prep Tile So Paint Actually Sticks
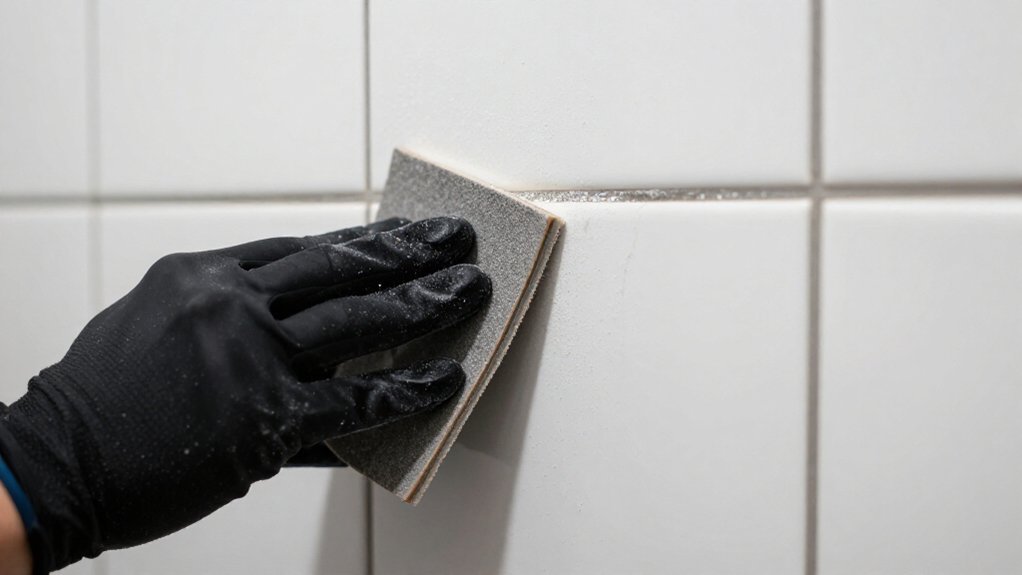
You’ll need to tackle two critical steps before opening any paint cans: surface cleaning essentials and scuffing for adhesion. Start by scrubbing every tile and grout line with a degreaser or TSP substitute, then rinse thoroughly and let everything dry bone-dry so moisture doesn’t sabotage your work. Once clean, you’ll lightly sand the glossy surface to knock off that slick factory finish, creating microscopic scratches that let primer actually grip instead of sliding right off.
Recommended Products

TUB & TILE REFINISHING KIT: Renews ceramic tile, porcelain, fiberglass, acrylic, cast iron, and steel tubs and sinks without costly replacement.

SMALL CHIP & SCRATCH REPAIR: Repairs minor chips, scratches, dents, and defects on tubs, sinks, toilets, and tile; not for refinishing an entire surface.

TUB & TILE REFINISHING KIT: Renews ceramic tile, porcelain, fiberglass, acrylic, cast iron, and steel tubs and sinks without costly replacement.
Surface Cleaning Essentials
Because paint can’t grip a slick, dirty surface, you’ve got to prep your tile right if you want the finish to last. Start by scrubbing tile surfaces with soap and water to lift years of grime, soap residue, and hidden oils that cause paint to peel later. Pay special attention to grout lines, where gunk loves to hide. Even if your bathroom still looks great on the surface, invisible buildup sabotages adhesion.
Here’s your essential cleaning checklist:
- Use warm, soapy water and a stiff brush on every tile and grout joint
- Rinse thoroughly so no residue remains
- Let everything dry completely before moving forward
- Check edges and corners twice, they’re easy to miss
Skip the drying step, and you’re trapping moisture under primer. That spells failure every time.
Scuffing for Adhesion
Grab your sandpaper. You’ll need 150–220 grit to properly scuff that glossy tile surface. This mechanical roughness lets primer bite in and hold, something chemical deglossers alone can’t deliver.
First, clean with soap or TSP degreaser. Let the tile fully dry before you sand; any residue blocks adhesion even under primer. Work the sandpaper in circles until the shine disappears. You’re not grinding deep, just breaking that glassy finish.
Wipe away dust with a damp rag, then dry again. Don’t paint tile over leftover films.
Before committing, brush a primer test patch somewhere hidden. Let it cure, then scratch it with your fingernail. If it holds, you’re ready. If it peels, scuff more. This quick check saves you from redoing the whole job.
Epoxy vs. Latex: Choosing Your Paint Type
Picking the right paint type can make or break your bathroom tile project. You need to match your paint to where you’re working and how wet things get.
- Epoxy tile paint bonds strongest and resists water best, so grab it for shower surrounds and tub areas.
- Latex paint works on ceramic or porcelain in drier spots, like walls away from direct splashes.
- You’ll get 3–5 years on walls, but only 1–3 years on floors, even with good prep.
- Always scuff your tile before painting, then prime well, especially with latex systems.
Think about your bathroom’s wet zones. Epoxy handles constant moisture. Latex suits occasional humidity. Choose based on exposure, and you’ll avoid peeling regrets.
Recommended Products

Deep cleaning grout is a tough job, even for pros, but strong acids remove deep stains from grout to reveal the best clean for novices to professionals alike

For Tiles And Bathroom - Tub-N-Tile has a unique loop scrubbing design that is tough on grime, yet gentle and non-scratch. Ideal for all surfaces including tubs, tiles, sinks, and other bathroom surfaces.

MULTIPURPOSE VARIETY PACK: The value starter pack gives you everything you need for any job! Includes 2 of each scrub pad and gives you 4 levels of intensity. The scrub pads range from gentle, non- abrasive scrubbing to heavy duty scrubbing action. A one stop shop for any and every need! Multipurpose cleaning: household, automotive, marine, commercial kitchen, dishes, flooring, stainless steel, furniture stripping and industrial surfaces. The possibilities are endless!
Prime or Fail: The One Step You Can’t Skip
One coat of primer stands between your fresh paint job and a peeling disaster. Skipping priming means your bathroom paint won’t grip the slick tile surface. Here’s why bonding primer saves your project.
Why Tile Needs Special Priming
Tile is non-porous and shiny, so regular primers slide right off. A bonding primer creates mechanical and chemical grip that standard products can’t match. Look for “Extreme Bond” style formulas specifically made for slick surfaces.
Prep Before You Prime
- Scrub with TSP cleaner
- Let the tile fully dry
- Scuff-sand to dull the shine
- Wipe away dust
- Apply your bonding primer
Always test a small patch first in a hidden spot. Confirm the bond before coating your entire bathroom.
Proper priming means years of rock-solid results versus early peeling and removal.
Recommended Products

🎨 VALUE PACK: 12 high-quality glossy white ceramic bisque tiles, perfect for a variety of decorating techniques including overglazes, ceramic decals, enamel paints, alcohol inks, and glass markers.

【Wide Application】This touch up paint pen adheres to a wide range of surfaces, including tile, tub, bathtub, sink, enamel, porcelain and refrigerators. It allows you to easily repair scratches, stains, chips, spots, yellowing, and other surface paint imperfections

24 Colors ceramic paint,Quick drying&waterproof
Brush, Roll, or Spray? Application Methods That Work
Once you’ve locked in your primer, it’s time to get that paint on the tile. You’ve got three solid options, and each has its sweet spot:
- Brush: Grab a brush for edging, tight corners, and grout-line detail; use thin coats and back-brush to stop ridges from forming.
- Roll: A foam or short-nap roller covers large wall tile fast and levels the surface for a smooth, even finish.
- Spray: Spraying works, but you’ll need practice to manage overspray and keep that wet edge consistent or you’ll end up patchy.
Recommended Products

Premium-quality, acrylic-urethane bonding primer-sealer with unparalleled adhesion to the most challenging surfaces, including glossy tile, PVC, vinyl, plastic, glass, glazed block, glossy paint, pre-coated siding, fiberglass, and galvanized metals.
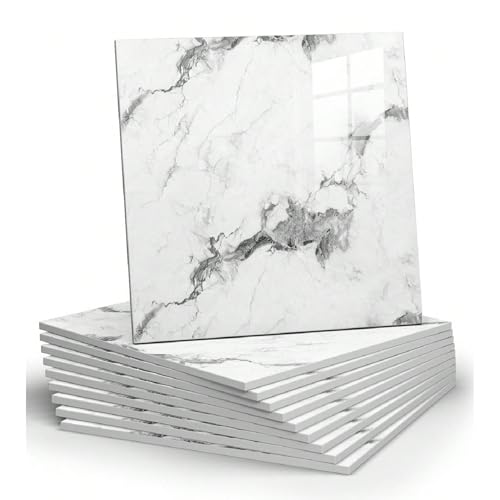
【Sophisticated Marble Design】:Transform your space with these peel and stick wall tiles featuring a sophisticated marble-inspired design (not real marble tiles). Perfect for enhancing washroom walls, kitchen backsplashes, or accent walls, these tiles deliver a high-end look without the high cost.(Not suitable for use on floors and in high humidity shower rooms.)
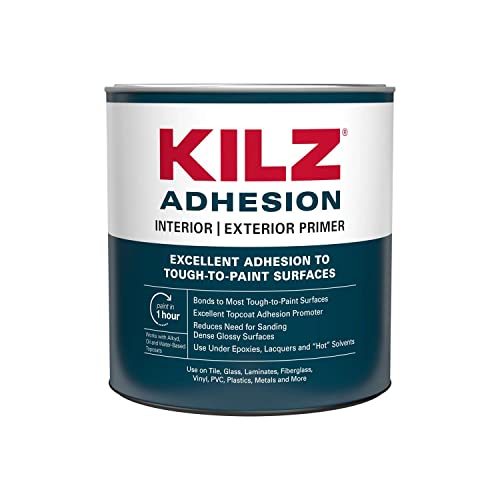
BONDING PRIMER: A high adhesion primer that bonds to a wide range of difficult to adhere to surfaces. It is formulated for situations where a secure bond is critical and use of a traditional water or oil base primer might be questionnable. It increases the possibilities for paintable surfaces.
How Long Before You Can Use Your Bathroom?
Since you’ll need to camp out in your guest bath for a few days, it’s worth knowing exactly how long painted tile takes to set up before it can handle your morning routine.
The Basic Timeline****
- 3–5 days: Typical cure time between coats and light use
- 7+ days: Full cure for some paint/primer systems
- About 1 week: Practical expectation before daily use resumes
Why Patience Matters
Your new tile finish looks solid, but it’s still wet underneath until fully cured. Tile-paint durability drops fast if you get it wet too soon.
Key Wait Times
- Each coat needs dry before applying the next
- Showers and splash zones need longer than dry walls
- Floors wear faster than walls, so strict curing prevents early damage
Plan on a week out of your main bathroom to protect your work.
Recommended Products

LONG-LASTING SOLUTION FOR BATHROOM & KITCHEN – Refresh wall and floor tiles with a durable epoxy paint designed for bathrooms, kitchens, showers, and high-use areas. Ideal bathroom tile paint for ceramic tile paint applications, shower tile paint updates, and bathroom tile cover up projects. Creates a hard-wearing, waterproof surface for reliable everyday performance
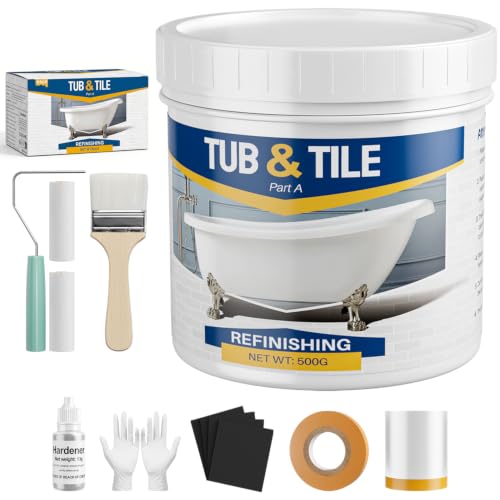
All-Inclusive Complete Bath Tub Paint Kit: This 17.6oz/500g bath tub refinishing kit includes everything needed – Component A tile paint, component B Hardener, brush, rollers, sandpaper, tape, film, gloves, and manual. No extra tools required. Whether you're a DIYer or a pro, this tub and tile paint set handles residential or commercial bathroom renovations easily, giving old fixtures a fresh, updated look without hassle
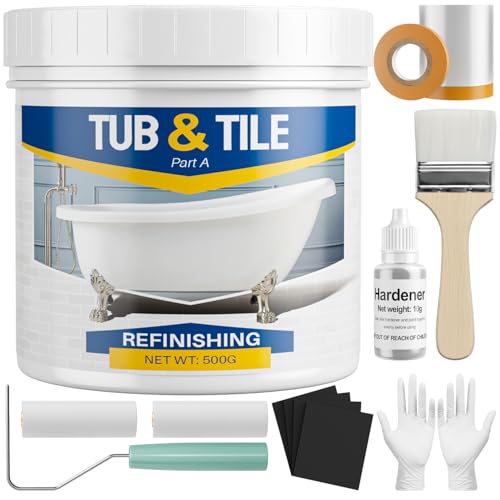
Complete Bathtub Refinishing Kit: Whether you're a beginner or a professional, our tile paint and tub paint is perfect for you. You'll receive a practical package containing: User Manual x 1, Composite Emulsion (Component A) x 1, Hardener (Component B) x 1, Brush x 1, Masking Tape x 1, Masking Film x 1, Gloves x 1, Rollers x 2, Sandpaper x 4. This tile paint meets your daily needs and enhances your quality of life
Do You Need to Seal Painted Bathroom Tile?
You’ll find that some tile paints claim you don’t need a sealer at all, especially those sold as all-in-one systems. For most bathroom projects, though, adding a clear protective topcoat gives your finish extra armor against moisture and daily scrubbing. Just watch your timing: sealing too soon traps wet paint underneath, while waiting too long can leave your surface vulnerable.
Recommended Products

High-gloss porcelain repair product to refinish tiles, sinks and bathtubs with hard protective finish that remains beautiful for years

TUB & TILE REFINISHING KIT: Renews ceramic tile, porcelain, fiberglass, acrylic, cast iron, and steel tubs and sinks without costly replacement.
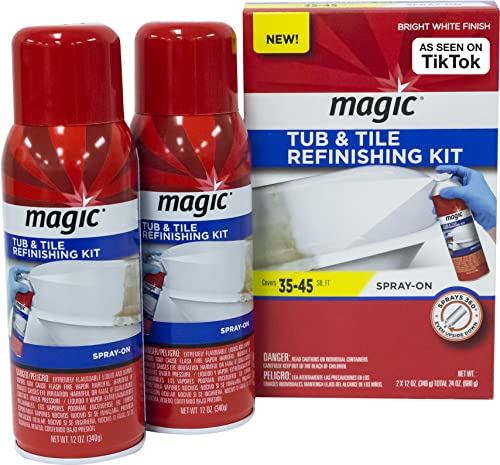
REFINISH YOUR BATHROOM: Give your sink, tub or tile a fresh, long-lasting finish. Magic Spray-On Tub & Tile Refinishing Kit works great on ceramic, porcelain, fiberglass, enamel-coated cast iron and acrylic tile, tubs or sinks.
Sealing Not Required
When you’re using a quality tile paint system designed for bathrooms, you typically don’t need to add a separate sealer on top. Most epoxies and tile-specific enamels already include a durable, moisture-resistant finish built right in, so your sealing step is basically done.
Here’s why skipping extra sealer often works fine:
- Quality tile paint bonds directly to properly prepped tiles without another layer
- Correct priming creates the seal you need for a lasting paint job
- Adding incompatible clear coat risks peeling, discoloration, or changed sheen
- Manufacturer instructions usually override general advice; trust your specific product label
Long-term success depends more on scrubbing with TSP, scuffing glossy surfaces, and allowing full cure time than on piling on extra products. Check your paint’s directions, and you’ll likely save yourself a step.
When Sealing Helps
Although sealing isn’t always required, there are times when adding a protective topcoat makes real sense for your bathroom tile. If your tile gets used daily in splash zones, you’ll still need extra protection against moisture and scuffs. Sealing helps guard surfaces that face repeated wetting and scrubbing.
Some paints, including certain Sherwin Williams tile coatings, are self-sealing. Others perform better with a compatible clear sealer on top. Check your product label to know which system you’re working with.
Before sealing, let your paint fully cure per manufacturer directions. Trapped solvents can cause discoloration or soft spots. Skip generic sealers unless they match your paint type; water-based, oil, and epoxy systems each need specific partners. The best results come from primer plus tile paint plus recommended topcoat, not “whatever’s on hand.”
Sealing Risks Explained
Sealing painted bathroom tile sounds like extra protection, but it can backfire if you don’t know what you’re getting into. Many clear sealers yellow over time or weaken your paint’s grip, creating sealing risks you didn’t bargain for.
Watch out for these common problems:
- Yellowing or discoloration that ruins your finish
- Trapped moisture at grout edges causing chips and bubbling
- Reduced flexibility leading to peeling in damp zones
- Unwanted glossy sheen that changes your look
You don’t need a separate sealer for water resistance. That protection comes from choosing the right bonding or epoxy paint system from the start. Always test adhesion on a small patch first, and paint around edges carefully to keep caulk lines sound. Follow your product’s exact instructions, including cure times, and skip extra sealers unless the manufacturer specifically tells you to use one.
How Long Painted Tile Lasts: Real Numbers
Expect painted bathroom tile to last about 3 to 5 years when you’ve done the prep work right: thorough cleaning, a bonding primer made for slick surfaces, and multiple coats of a tile-specific paint. You’ll see this timeline on dry-ish wall areas like behind toilets and sinks. Heavy moisture zones wear down faster. Shower floors often need touch-ups in 1 to 3 years, and tub surrounds can be unpredictable.
Years ago, you might’ve heard about painting tiles in kitchens. That kitchen backsplash approach works similarly, though quarry tile and other porous surfaces demand extra prep.
Real-world reports show perfect finishes lasting 5 to 6 years when conditions stay relatively dry. Watch for common failures: clear polycrylic over oil-based paint yellows with time, and poor grout or caulk details invite chipping.
Budget for spot touch-ups. Even the most durable systems chip from impacts or abrasive scrubbing.
Recommended Products

【Tub and Tile Scrubber with Long Handle】Package includes 1 scrubber head & 4 pad refills, 1 long handle(3 rods). Non-rust sturdy handle with extra 4 refills for long term usage. Scrub brush with long handle great for cleaning shower bathtubs, glass, walls, ceiling, baseboard, floor, bathroom
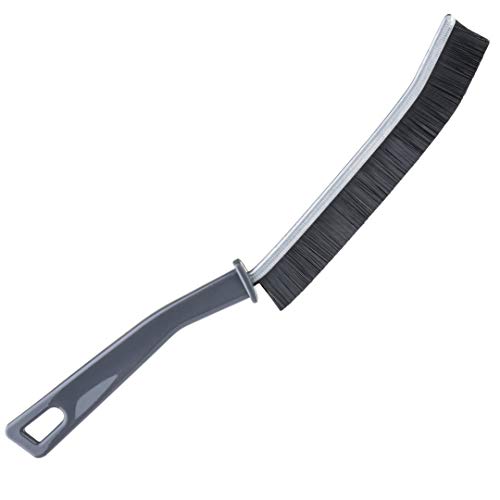
FLEXIBLE & DURABLE - Bristles maintain their shape even on the toughest jobs
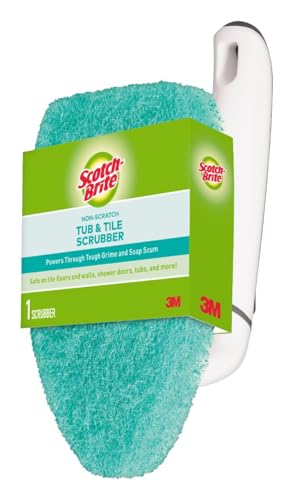
Safe on tile floors and walls, shower doors, tubs and more!
Paint Now or Remodel Later?
Those 3-to-5-year timelines behind your sink or toilet paint a clear picture: painted tile can buy you breathing room, but it isn’t a forever fix. So should you paint now and remodel later? Let’s break it down.
- A pink bathroom you can’t stand becomes livable for $120–$250 and a weekend versus $1,200–$3,000 plus 1–2 weeks for DIY demo.
- Wet areas like shower floors may need touch-ups within 1–3 years; walls hold 3–5 years with proper prep.
- You must clean, degloss, and use a bonding primer such as Extreme Bond for the system to survive until your remodel.
- Some homeowners limit shower use after paint because water behind tiles causes hidden damage.
Consider painting if you need a fast, cheap bridge. Plan for earlier fixes in splash zones, and keep that full remodel on your calendar.
Recommended Products

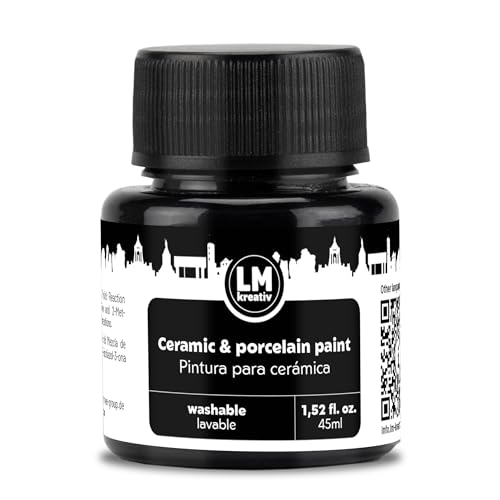
Versatile Paint for Creative Designs – The LM-Kreativ Ceramic & Porcelain Paint is perfect for adding vibrant and elegant touches to porcelain, glass, and ceramics. The wide range of available shades, including classic tones and metallic finishes, offers limitless creative possibilities for both simple and intricate designs.

Efficiently Repairs Imperfections:Our touch up paint is specifically formulated to address scratches, stains, cracks, spots, and yellowing on bathroom tiles and enamel surfaces. Extensively tested, it delivers exceptional adhesion and sealing properties, effectively resisting fading, peeling, and wear. For deeper cracks or scratches, we recommend applying multiple coats to achieve optimal results and lasting coverage.Note: This tile paint formulation incorporates a curing agent to ensure long-term adhesion without flaking.

I am Đinh Ai Nguyễn, a content writer at SoftAuraHome.com. For me, home is more than just a place to live. It is where we recover from long days, hold our quiet moments, and create the atmosphere that shapes how we feel. That belief is one of the biggest reasons I wanted to be part of this blog. I started writing about home decor because I have always been drawn to spaces that feel soft, peaceful, and emotionally grounding. I believe a calm room can do more than look beautiful. It can bring comfort, restore energy, and help people feel more connected to themselves and the life they are building. Through Soft Aura Home, I want to share ideas that are not only visually inspiring, but also meaningful in everyday life. With experience in SEO writing and niche content publishing, I understand how to create articles that are clear, useful, and easy to discover. But beyond strategy, I care deeply about how a piece of content makes someone feel. Every article I write is created with the hope of helping readers shape homes that feel gentle, personal, and full of quiet warmth.
Follow on Facebook