
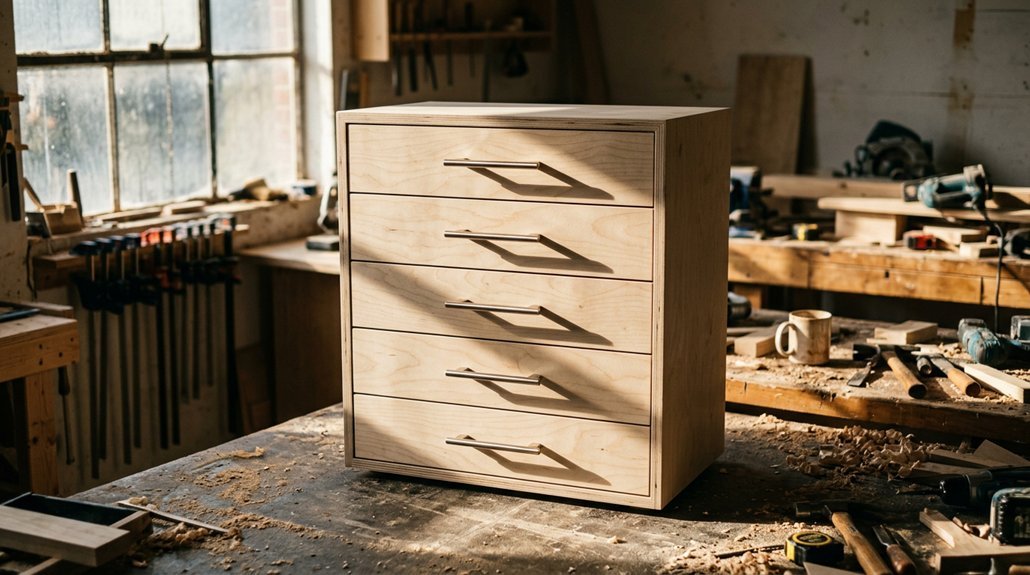


You want cabinets that actually fit your space, not the other way around. Start with a solid plan: measure twice, cut plywood blanks with care, and build a carcass that won’t wobble. The real payoff comes later, when you hang doors that close smooth and drawers that glide on quiet slides. But here’s the thing most guides skip: your finish matters as much as your joinery. Get the prep wrong, and that paint job fails within a year. Stick around, and you’ll learn which corners you can cut, and which ones will cost you.
Rip and Cut Your Plywood Blanks to Size
Before you start building, you’ll need to turn those big plywood sheets into the right-sized pieces for your cabinet.
Set up your table saw with a fence to rip full 4’x8′ plywood sheets into clean, straight strips. You can trim off ragged factory edges first if needed. For base cabinets, rip ¾” plywood into 22¾” strips. This gives you about 24″ total depth once you add the face frame and door reveal.
From each strip, cut two side panels and one bottom panel. Label everything immediately so you don’t mix up parts. For upper cabinets, rip narrower strips, like 12½”, then cut to length for your chosen height.
Mark your toe kick notches on the side panels, usually 3″ x 3″, and cut them with a jigsaw. You’re now ready to drill pilot holes and assemble your cabinet box.
Recommended Products
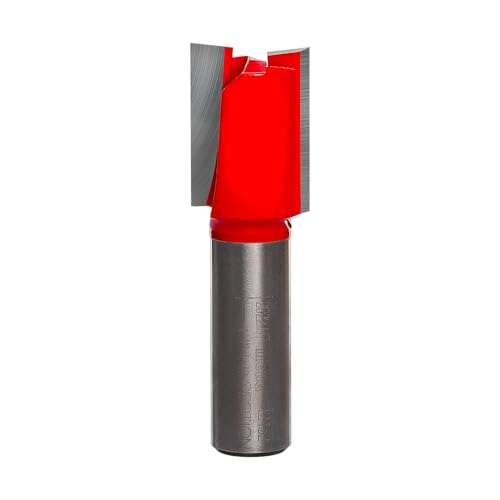
Specs: Number of Cutters 2, Overall Dia. 3/4", Overall Length 2-1/2", Shank Dia. 1/2", Carbide Height 1"
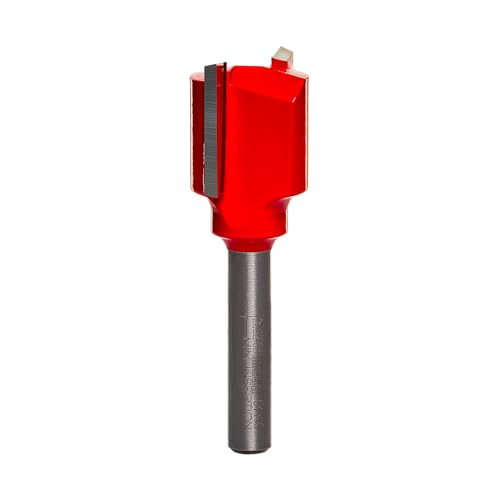
Specs: Number of Cutters 2, Overall Dia. 3/4", Overall Length 2-1/8", Shank Dia. 1/4", Carbide Height 3/4"

This bit has a cutting diameter of 3/4" And a cutting length of 3/4". Perfect for making dado grooves and all types of straight cut work. 1/4" Shank
Cut Dadoes and Assemble the Cabinet Carcass
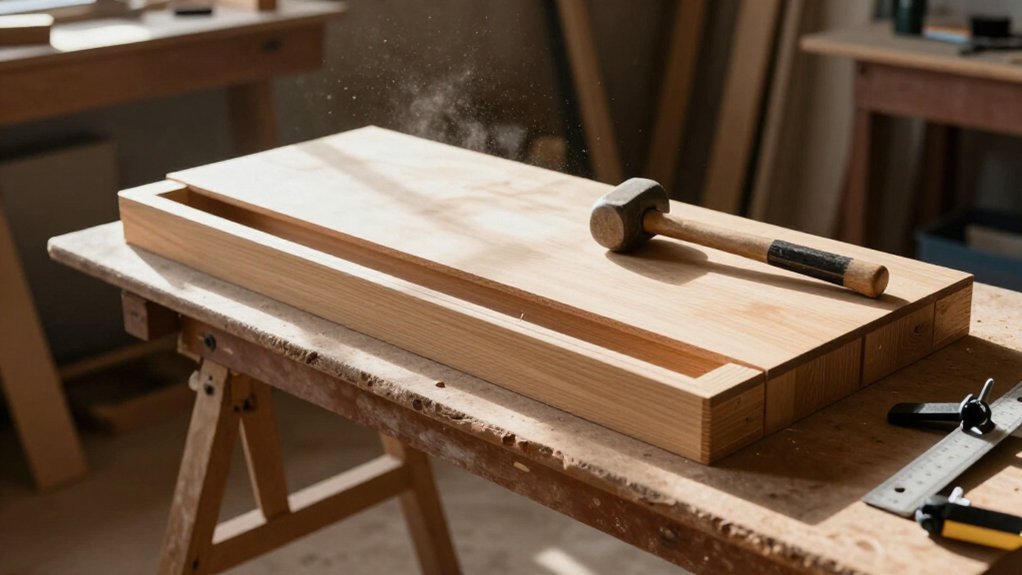
With your plywood blanks cut and labeled, you’re ready to join them together. Grab your router table and cut 3/4″ dadoes in the side panels for your cabinet bottom and back to slide into. You’ll want a snug fit, so test on scrap first. A fence set to your toe-kick height saves you from re-measuring.
If you prefer a table saw, that’s fine too. Just sneak up on the width until the panel bottoms out cleanly.
Now for assembly. Spread wood glue in the bottom dado only, slide the panel home, and repeat on the other side. Clamp everything square before adding pocket holes and screws through the sides. No need to overthink it; you’re building the carcass, not the frame or doors yet. Let the glue cure, and your cabinet construction’s off to a solid start.
Recommended Products

Concealed Hinge Jig: Dedicated jig for drilling precise 35mm cup holes for European-style concealed cabinet door hinges using any hand drill

【DURABLE AND ACCURATE】All metal cabinet hinge jig made of high quality aluminum alloy is more durable and accurate than plastic jigs. The all metal concealed hinge jig bulit-in double bearings provides continuous hinge hole drilling and much easier. The 35mm carbide tipped bit is solid and sharp for cabinet door hinges installation. Concealed cabinet hinge jig wood hole puncher locator help you drill accurate and fast as drill press.

【2-in-1 Hinge & Door Jig】: Compatible with kitchen cabinets, bathroom vanities, wardrobes, TV stands, and more. Functions as both a 35mm hinge drilling guide and a cabinet door mounting jig. The built-in alignment system keeps doors perfectly flush for stable one-person installation.
Build Face Frames, Drawer Boxes, and Doors
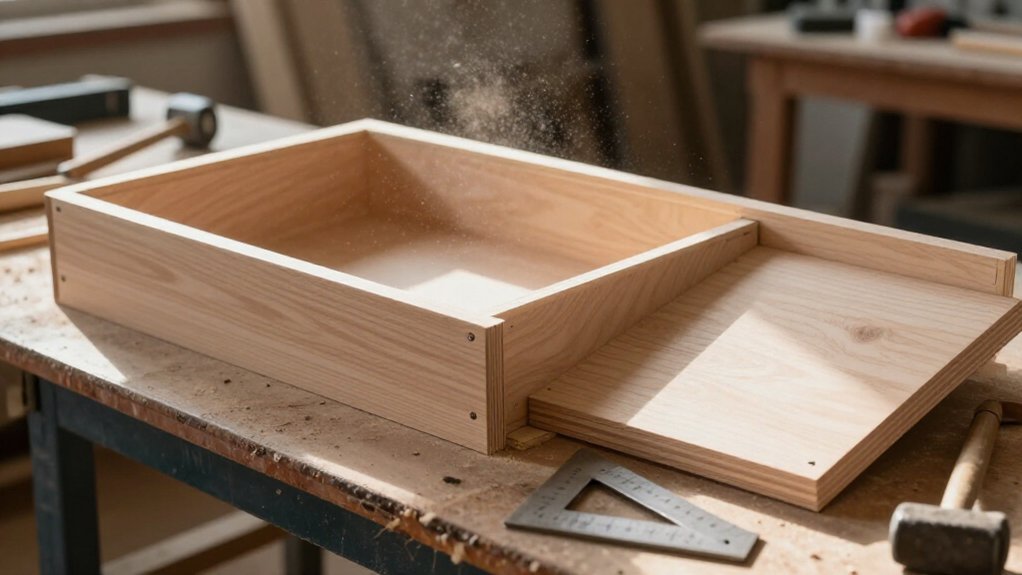
Once your carcass is set, you’re ready to tackle the parts that make your cabinet look finished and work smoothly.
Build Face Frames
Cut rails and stiles from hardwood stock. Join them using pocket holes set for 3/4″ material. Use two pocket holes per stile and clamp square during glue-up.
Drawer Boxes
Assemble 3/4″ plywood sides with pocket hole screws. Glue and nail a 3/8″ plywood bottom to the box. Use a scrap height gauge to set drawer slides at matching locations.
Cabinet Doors
Make frame-and-panel doors with 1/4″ grooves in rails and stiles. Insert a floating plywood panel, rabbeted to fit. Assemble tongue-and-groove style.
Final Prep
Drill hinge pockets with a depth-stopped drill bit for Euro hinges. Use a true-position jig for aligned pull holes.
Recommended Products

Premium Soft-Close for a Quiet Home: Equipped with a metal hydraulic damper for durability and a gentle, self-closing action. The double spring design effectively minimizes noise, creating a peaceful and quiet environment for your family
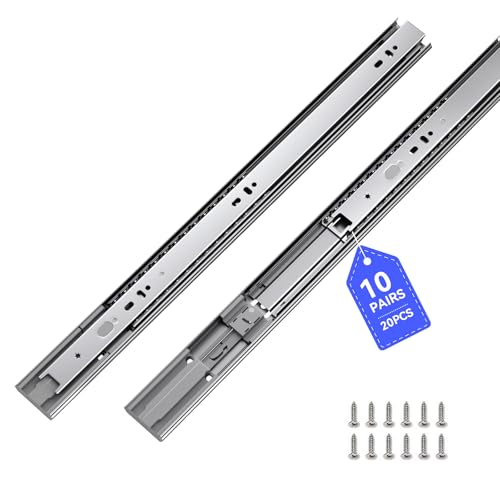
※ Soft Close: The drawer slides equipped hydraulic damper which allows the slides achieve soft close effect. Double spring design make less noise when close and open, create a warm and quiet family environment for you.

Industrial-Grade 100 lb Load Capacity & Full Extension:Built to last with 1.2mm thickened industrial-grade cold-rolled steel, these slides can support bulky items without warping.The full-extension design allows you to pull the drawer out completely, bringing even the farthest items within easy reach. No more fumbling in the back of the drawer
Install Slides, Hang Drawers, and Fit Door Hinges
The hardware phase is where your cabinet starts feeling like real furniture.
Install Drawer Slides****
Set your base cabinets and drawer slides on a flat surface. Screw each slide in place using a scrap plywood height gauge cut to match your first slide set. Repeat downward with a 1/4-inch spacer to prevent face-frame interference. Mark drawer front positions from the slide reference, then drill pilot holes before fastening to avoid splitting the 3/4-inch plywood drawer sides.
Precision starts with a flat surface: use a plywood gauge, add spacers for clearance, and always pilot-drill to protect your drawer sides.
Hang Doors and Hinges
Drill hinge pockets with a depth-stopped bit for hidden cup hinges. Predrill pilot holes using a self-centering bit so screws don’t strip. Wait for paint to fully cure before finishing hinge mounting. Tape a scrap-plywood spacer to the face frame, set the door on it, then pilot-drill and fasten for consistent reveal.
Recommended Products

Pocket-Hole Jig with Clamp: Includes Classic 2 Inch Face Clamp for secure positioning during pocket-hole drilling

Premium Mini Pocket-Hole Jig: Creates precise pocket holes with steel-enforced drill guide holes

Easy Positioning for Common Board Thicknesses: With three preset thickness stops (1/2", 3/4", 1-1/2"), this pocket hole jig kit supports most woodworking needs. Simply press and slide to adjust—no measuring, no guesswork, just quick and accurate setup
Finish Then Install Upper and Base Cabinets
Because finishing your cabinets before installation saves you from taping off walls and worrying about drips on adjacent surfaces, you’ll want to tackle the upper cabinets first. Apply edge banding to exposed plywood edges, sand thoroughly, then prime and paint. You cut everything to fit, then finish the carcasses that will show once installed.
Hang your upper cabinets, then move to the base cabinets. You’ll be shimming for level and using screws through the side panels into studs, plus the top back support for strength.
Here’s the smart part: wait on the final finish after installation for the base cabinets. Once you’ve attached the bottom units and locked in alignment, apply your Water Based poly to the back side and base. This prevents trapping misalignment issues under a perfect finish.
Recommended Products

1.【Combination List】6 pcs cabinet hinge repair plate set includes: 4 pcs large hinge repair plates (3.54*3.54 inches), 2 pcs small hinge repair plates (3.54*2 inches), 36 pcs self-tapping fixing screws.

PACKAGE INCLUDES: This anchor screw kit contains everything needed to hang items on drywall, including 20 hollow door anchors. The practical and imitation expansion screws are suitable for doors, cabinets, and other hollow panels. Hollow wall anchors measure approximately 18mm/0.71", with screws sized M6 x 25mm ; The package comes in a transparent storage box for easy organization

Center solid center panels on cabinet doors with Space Balls EPDM rubber spacers.

I am Đinh Ai Nguyễn, a content writer at SoftAuraHome.com. For me, home is more than just a place to live. It is where we recover from long days, hold our quiet moments, and create the atmosphere that shapes how we feel. That belief is one of the biggest reasons I wanted to be part of this blog. I started writing about home decor because I have always been drawn to spaces that feel soft, peaceful, and emotionally grounding. I believe a calm room can do more than look beautiful. It can bring comfort, restore energy, and help people feel more connected to themselves and the life they are building. Through Soft Aura Home, I want to share ideas that are not only visually inspiring, but also meaningful in everyday life. With experience in SEO writing and niche content publishing, I understand how to create articles that are clear, useful, and easy to discover. But beyond strategy, I care deeply about how a piece of content makes someone feel. Every article I write is created with the hope of helping readers shape homes that feel gentle, personal, and full of quiet warmth.
Follow on Facebook