
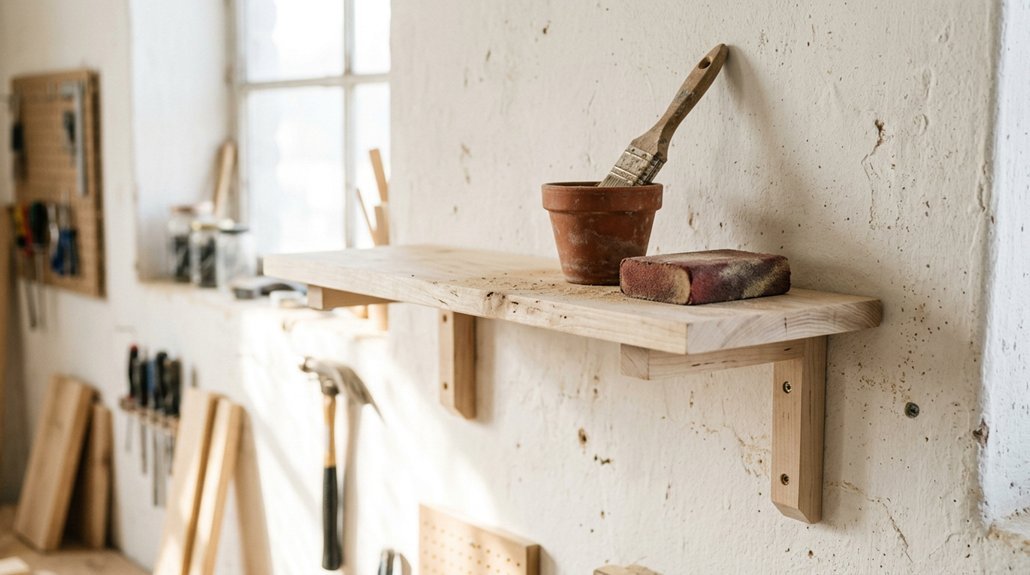


You want a wall shelf that actually fits your space and holds your stuff without sagging or looking cheap. That means picking between two solid options: bracket shelves you can see, or floating shelves that look like magic. Brackets cost less and handle heavy loads. Floating shelves give you that clean, modern look but need careful install. Both work great; it just depends on your wall, your tools, and what you’re stacking on them. Before you grab a drill, you’ll need to know which style matches your skill level and your room.
Pick Your DIY Wall Shelf Style: Brackets or Floating
A wall shelf can anchor a room, display your treasures, or tame everyday clutter. You have two solid paths: brackets or DIY floating shelves.
Bracket Shelves
You’ll mount metal “L” brackets to the wall, then slide your shelf board on top. For a cleaner look, cut small notches on the underside so brackets sit flush. Space them evenly, about 600mm apart for heavy items.
DIY Floating Shelves
You build a hidden frame that screws into wall studs, then cover it with a hollow box. The result looks like magic: no visible supports. You need at least two studs per shelf (32 inches minimum coverage).
Quick Comparison
| Feature | Brackets | Floating |
|---|---|---|
| Skill level | Easier | Moderate |
| Look | Industrial | Sleek |
| Weight capacity | High | Medium-high |
Pick what fits your tools, your wall, and your style.
Recommended Products

✓ HIGH-QUALITY METAL MATERIALS: Our shelf support is made of thick and heavy duty iron materials.Features a thick black matte surface coating that delivers enhanced water resistance and effective anti‑rust performance for long‑term daily use.

Heavy Duty design, maxium support weight of 100lb for a pair of this L bracket. Matte black powder coat finish. Creating a rustic, reclaimed, salvaged look,perfect for your home, office, garage, work space or anywhere else
Grab These Materials for Your Chosen Shelf Style
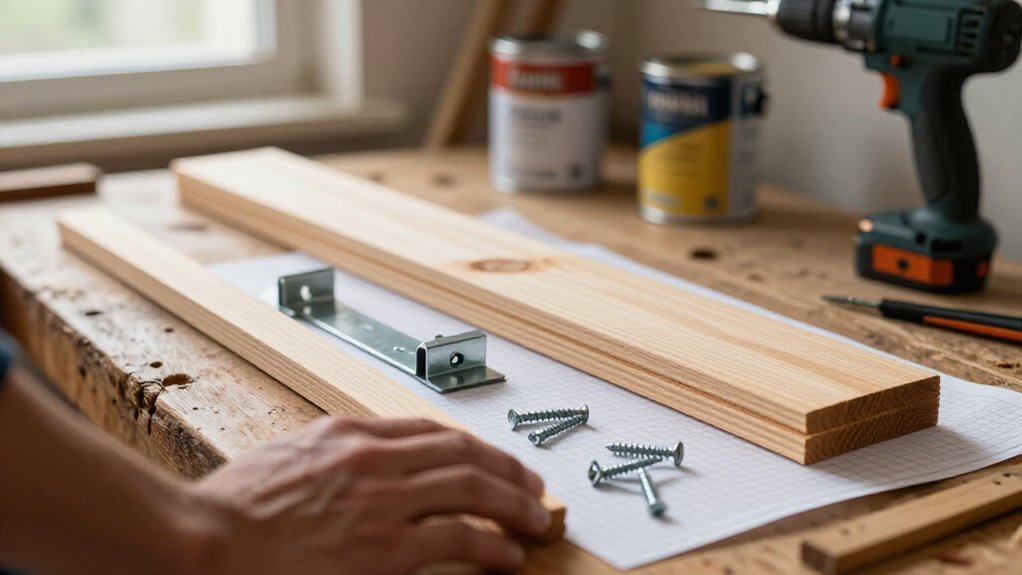
Once you’ve picked your style, it’s time to gather what you’ll need. Your DIY Wall shelf project starts with matching materials to your chosen design.
Bracket-Supported Shelves
Grab solid hardwood or hardwood plywood, usually 18mm to 25mm thick. Birch hardwood plywood at 18mm works great as a starting point. You’ll also need pre-made metal brackets and zinc or stainless wood screws.
Floating Shelf With Sliding Box
Pick up a frame or brace set plus a separate cover box made from plywood or 1x boards. The box slides over the internal frame, making assembly and removal simple.
L-Bracket “Floating” Look
Choose an MDF or wood shelf board, like an 11 in x 7 1/4 in x 3/4 in pre-primed MDF piece. Get 8 L brackets and a chisel for cutting notches.
Mounting Hardware
Don’t forget your stud finder, drill, structural screws for studs, or heavy-duty drywall anchors rated for 50 lb when studs aren’t available.
Recommended Products

CHECK THE SIZE: This J shelf brackets fit the nominal 1”x 12” and 2” x 12” (actual 0.75” x 11.25” and 1.5” x 11.25”) lumber board, measure 11.25” x 6” x 1.5”(broad is not included)

【Standard 90° bending】In order to ensure that each shelf bracket can be at 90° to the maximum extent possible, we add a rigorous picking process before the shelf brackets are packaged. The standardized 90-degree design is so important that it’ s the objective factor in ensuring that items remain level and do not tip over after being placed on the board(board is not included).

Heavy Duty design, maxium support weight of 240lb for a pair of this shelf bracket. Designed to support 12 inches to 16 inches deep shelf. Matte black powder coat finish. resistant to corrosion and rust, durable. Creating a rustic, reclaimed, salvaged look,perfect for your home, office, garage, work space or anywhere else.
Cut Your Shelf Boards to Length and Depth
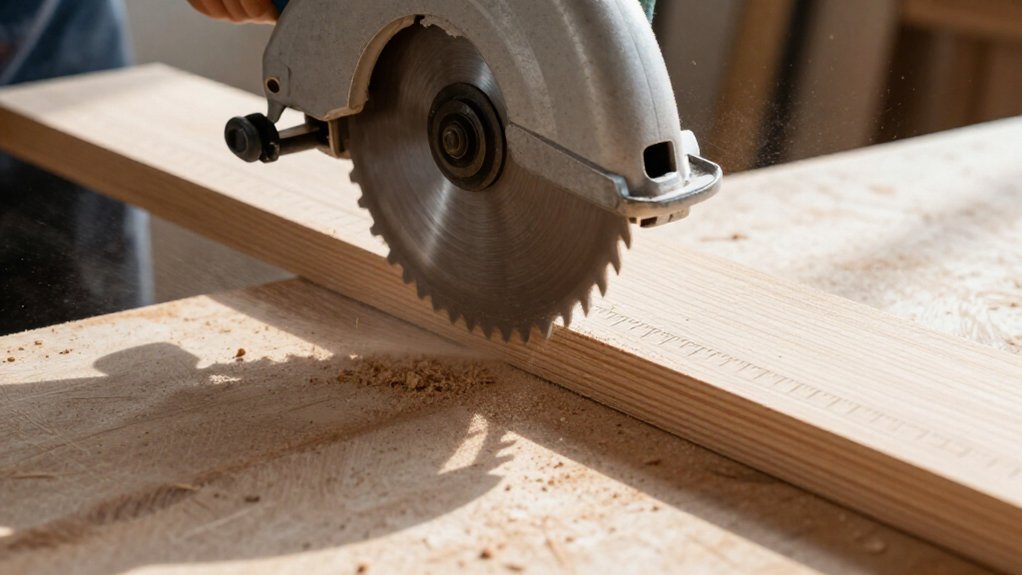
You’ll start by measuring your wall space carefully, then pick the saw that matches your comfort level and budget. A circular saw handles most jobs quickly, while a miter saw gives you cleaner angles if you’ve got one handy. Don’t worry if you only own a hand saw, it’ll get the job done with a little extra patience.
Recommended Products

STRONG, DURABLE, HEAVY-DUTY – These craft wood pieces of multi-coated Baltic Birch plywood offer exceptional durability, rigidity, and stability for all your woodworking needs. The surfaces provide excellent holding power for glue and screws and the birch edges create cleaner joinery.

Dimension and Quantity: 100 PCS rubber feet for cutting board with 100 pcs M3.5x12 screws; 0.24"(6 mm) Tall x 0.44"(11 mm) Top Width x 0.36"(9 mm) Bottom Width, Center hole 0.12"(3 mm); Rubber bumper keeping the furniture sturdy and stable with a stylish appearance, bringing you stability and security

Sturdy Material: Made of premium cast iron with black powder-coated finish, these corner braces are rust-resistant, sturdy and built to last. Thickened 0.08" (2mm) metal provides strong reinforcement for all your furniture projects
Measuring Your Space
Where exactly do you want your new shelf to go? Start measuring your space with a tape measure to find the exact wall area available. Grab a stud finder too; you’ll need to know where solid backing lives before you commit to dimensions.
Length and Depth Decisions
Measure first, then pick your shelf length. A common run hits about six feet, but your wall calls the shots. Next, settle on depth, around eight inches suits most books and decor. Check that your chosen depth works with the bracket spacing you’ve got in mind.
Board Thickness Matters
Plan for 18mm–25mm hardwood plywood or solid boards. This thickness controls sag and matches how you’ll mount everything. If your wall span beats your board length, connect sections with wood glue and pocket holes for a seamless, sturdy shelf.
Choosing Your Saw
You’ve got your measurements locked in, so let’s talk tools. You’ll cut your shelf boards to length and depth using one of three options:
- Circular saw: This portable power tool slices quickly through plywood and boards. Clamp a straightedge guide to keep your cut square for a level shelf.
- Hand saw: No outlet? No problem. A sharp hand saw works fine for thinner boards, though it takes more elbow grease and patience.
- Miter saw: If you’ve got one, it delivers clean, repeatable crosscuts for multiple shelves.
Support your board firmly so nothing shifts mid-cut. For longer shelf runs, you’ll join boards later with glue and pocket holes. Pick the tool you own or can borrow confidently; a steady hand beats an expensive blade every time.
Sand and Finish Your Shelves Like a Pro
You’ll start by picking the right finish for your shelf’s home, then smooth every surface with proper sanding technique before locking in protection. For wet spaces like kitchens or bathrooms, you’ll want to waterproof the plywood first so it won’t warp under stain or oil. Once you’ve applied your coating, whether that’s Danish Oil (wipe off the excess after 30 minutes) or a durable paint like Benjamin Moore Hale Navy, you’ll wait for the full cure time before installing, keeping that surface pristine.
Recommended Products

Works on wallpaper & fabric: depth range of ¾-in through drywall and works on surfaces covered in wallpaper and fabric

EASY TO USE: The StudBuddy is the world's simplest magnetic stud finder tool. The StudBuddy works with all drywall construction by using powerful magnets to locate the screws in the studs.

Stud Finder
Choose Your Finish
Once you’ve sanded your shelf smooth, working through progressively finer grits until the surface feels like satin, wipe away every speck of dust with a tack cloth or damp rag. Now you’re ready to decide: paint or stain. Each option protects your wood differently, so pick what fits your space.
- Stain adds rich color while letting the grain show through; apply it before mounting so it fully cures and doesn’t interfere with using wood glue later.
- Danish Oil goes on wet, then wipe off excess after 30 minutes for a smooth, hand-rubbed look that won’t get sticky.
- Paint (like Benjamin Moore Hale Navy) hides plywood edges completely; plan on three coats and touch up bracket heads for a seamless finish.
Seal kitchen or bath shelves well, waterproofing prevents warping over time.
Sanding Technique Basics
Grab your sandpaper and work your way from rough to smooth. You’ll make this project shine by starting with a rougher grit, then stepping up to finer grits until the surface feels perfectly even with no visible sanding lines.
Follow the Grain
Always sand with the wood grain, never against it. Going cross-grain leaves scratches that’ll show through your stain or oil, ruining that pro look you’re after.
Clean Before Finishing
Wipe away every speck of dust with a tack cloth or lightly damp microfiber. Leftover dust causes patchy stains and uneven sheen, so don’t rush this step.
Sand Completely First
Finish only after sanding is done. Trapped dirt under stain turns your shelf fuzzy or blotchy, even when you’ve nailed the sanding technique basics.
Apply Protective Coating
Seal your hard work with a finish that fits your space and style. You’ve built your DIY shelf, now it’s time to apply protective coating that lasts. Start with a smooth surface: sand everything again with fine-grit paper so your finish goes on evenly without blotches.
Choose your finish based on where you’ll hang it:
- Danish Oil: Rub it on wet, wait 30 minutes, then wipe off excess. It gives a warm, natural look and dries fast.
- Stain or Paint: Let each coat dry fully before adding another. Dark colors like navy often need three coats for full coverage.
- Waterproof Sealant: Essential for kitchens or bathrooms. It keeps plywood and wood from warping in humid spaces.
After your final coat dries, touch up around screws and brackets so everything blends seamlessly.
Find Studs and Mark Your Mounting Points
Before you start drilling, you’ll want to know exactly where your wall’s hidden support is hiding. Grab a stud finder and slide it slowly across the wall to locate the studs behind your drywall.
Mark Your Mounting Points****
Once you spot a stud, stick a strip of painters tape at the height where your shelf will sit. This gives you a visual guide so your bracket screws hit solid wood, not empty wall.
For the strongest hold, plan to catch at least one stud per bracket. If a stud sits where you need it, great. If not, you’ll use wall anchors as backup support, but follow their weight limits carefully.
Lay your level against the tape and mark exact bracket spots. Keep your line perfectly straight; crooked marks mean a crooked shelf. Space brackets evenly along your planned shelf length to prevent sagging later.
Recommended Products

Superior Quality: Our floating shelf bracket is expertly crafted from premium steel, ensuring exceptional durability and an impressive weight capacity of 110lbs.
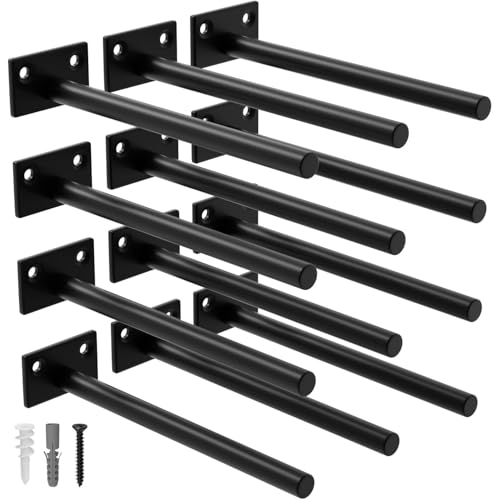
Superior Quality: Our floating shelf bracket is expertly crafted from premium steel, ensuring exceptional durability and an impressive weight capacity of 110lbs

Superior Quality: Our floating shelf bracket is expertly crafted from premium steel, ensuring exceptional durability and an impressive weight capacity of 110lbs
Install Brackets and Set Your Shelf
Now you’ll turn those marked spots into solid support. Bracket positioning tips help you line everything up so your shelf won’t tilt or sag over time, while secure shelf attachment keeps your board firmly locked in place. Let’s look at how to get both steps right so your shelf feels sturdy and looks great.
Recommended Products

Heavy Duty design, maxium support weight of 100lb for a pair of this L bracket. Matte black powder coat finish. Creating a rustic, reclaimed, salvaged look,perfect for your home, office, garage, work space or anywhere else

【High Quality Metal】: This heavy duty shelf bracket is made of high-quality solid metal steel, coated with a matte black finish, with a sleek and modern look. Rust-proof, corrosion-resistant, and smooth edges to prevent scratches during installation. Suitable for all kinds of DIY projects and long-term use

Heavy Duty design, maxium support weight of 100lb for a pair of this L bracket. Matte black powder coat finish. Creating a rustic, reclaimed, salvaged look,perfect for your home, office, garage, work space or anywhere else
Bracket Positioning Tips
Getting your brackets positioned right makes the difference between a shelf that sags and one that stays solid for years. You’ll want to plan for even support by spacing your brackets about 8–12 inches apart, and keep the span between supports under 700mm if you’re using ~18mm plywood. This prevents that dreaded middle sag.
Here’s how to nail your bracket placement:
- Find studs first with a stud finder, then mark level lines so each bracket catches at least one stud per shelf when possible
- For drywall-only spots, grab heavy-duty anchors rated for ~50 lbs and drill pilot holes first
- Want a floating look? Use L brackets and chisel small notches into the shelf underside so everything sits flush and level
Take your time measuring twice, and you’ll save headaches later.
Secure Shelf Attachment
Once you’ve marked your bracket spots with painter’s tape and a stud finder, you’re ready to lock everything in place.
Catch at least one stud per bracket when you can. No stud? Use zinc drywall anchors and treat them as your load limit.
Level your marks with a 600mm spirit level. Drill pilot holes, then drive in structural screws like GRK Rugged to stop wobble.
Space your brackets smart:
- Keep spans under 700mm for 18mm plywood
- Use under 600mm for heavy stuff like books
For a floating look with L brackets: notch the shelf underside so brackets sit flush, then attach the shelf evenly.
Want extra strength? Use Pocket Hole Screws from below to hide fasteners completely. You’re almost done!
Mount a Floating Shelf Frame to Studs
You’ll usually want to find your wall studs before you do anything else, since they’re what keep your shelf from crashing down later. Grab a stud finder and sweep across your Wall until you locate solid framing. Mark your bracket positions with painter’s tape so you drill straight into the studs for maximum holding power.
Here’s how to lock in your floating frame:
- Drill pilot holes first to prevent wood splitting, then drive structural screws like GRK Rugged Structural screws through the frame’s back into each stud
- Use at least two screws per stud location for rock-solid stability
- Check with a 600mm spirit level as you go to keep everything perfectly straight
Keep your bracket span tight to prevent sag. With 18mm plywood, don’t exceed 700mm between supports, or 600mm for heavy loads.
Recommended Products

【Heavy Duty Iron & Anti-Rust Coating】 These shelf brackets are crafted from thick, heavy-duty iron, stamped and bent in one piece with no welds. Each floating shelf bracket delivers superior toughness and can hold up to 150 pounds per pair. Our floating shelf brackets feature a thick, rust-resistant coating that protects against moisture in any environment. Every shelf bracket is designed to increase friction for added stability. These shelf brackets won't break even after extended use, and the durable finish keeps your shelf secure for years to come.

【Size & Package】Measures 18" x 11-3/4" x 1" , these L shelf brackets fit nominal 18" - 22" deep lumber boards. The package contains 8-pack brackets, an installation manual, all required screws, drywall anchors and a spirit level

【12 Inches Shelf Brackets】: 6 Pack-12 x 8 inch shelf brackets,including Mounting Hardware.These brackets are designed to support shelves from 12 inches to 14 inches deep.
Slide the Shelf Box Over the Frame
With your frame locked firmly to the wall, you’re ready to dress it up with the shelf box itself. This is where your DIY projects really start looking polished.
First, grab the box you built earlier. You cut and assembled it with wood glue and finish nails so it fits snugly over the frame without attaching directly to it.
Grab your custom-built box, sized to slip perfectly over the frame for that seamless, floating effect.
Now, align the box using the frame as your guide. Keep the fit tight so everything sits straight and even. Slide the shelf cover over the frame until it’s fully seated. This creates that clean, floating look you’re after.
For extra stability, drive screws through the frame at the bracket positions, two per spot, before the box settles completely. This locks everything in place and prevents any wobbling. You’re almost done!
Recommended Products

COLOR & SIZE - Edge banding is 5m (16.4ft) long, with available widths including 9mm, 12mm, 15mm, 16mm, 18mm, 20mm (3/4''), 25mm (1''), 30mm, 36mm, and 40mm. Colors include white, black, grey, etc. It is thickness of 2mm. The edge banding can still be used normally even if there is a 1mm difference in width. Please measure the height of the furniture edge before ordering

COLOR & SIZE - Edge banding is 5m (16.4ft) long, with available widths including 9mm, 12mm, 15mm, 16mm, 18mm, 20mm (3/4''), 25mm (1''), 30mm, 36mm, and 40mm. Colors include white, black, grey, etc. It is thickness of 2mm. The edge banding can still be used normally even if there is a 1mm difference in width. Please measure the height of the furniture edge before ordering

COLOR & SIZE - Edge banding is 5m (16.4ft) long, with available widths including 9mm, 12mm, 15mm, 16mm, 18mm, 20mm (3/4''), 25mm (1''), 30mm, 36mm, and 40mm. Colors include white, black, grey, etc. It is thickness of 2mm. The edge banding can still be used normally even if there is a 1mm difference in width. Please measure the height of the furniture edge before ordering
Space Supports Right to Stop Shelf Sag
Even the sturdiest-looking shelf can dip in the middle if you stretch it too far between supports. You’re building this to last, so let’s nail the spacing now.
First, be sure to measure your bracket placement carefully. For standard 18mm plywood, keep spans under 700mm. Heavy stuff like books? Tighten that to 600mm max.
Here’s what to remember:
- Grab your miter saw and cut support cleats with precision; clean cuts mean flush fits
- Birch or hardwood plywood at 18mm gives you a solid baseline when brackets stay within limits
- In kitchens or baths, waterproof that plywood first, moisture warping worsens sag
Control the distance, manage the load, and your shelf stays level for years.
Recommended Products

ACCURATE: More sensors = More accuracy. Conventional electronic stud finders have 1 or 2 sensors. The ProSensor M210 has 13, making it the best stud finder on the market

ACCURATE: More sensors = More accuracy. Conventional electronic stud finders have 1 or 2 sensors. The ProSensor M150 has 9, making it the best stud finder on the market

Center-find technology to easily find the center of the stud
Fix Wobbly Shelves, Visible Screws, and Finish Flaws
A shelf that looks solid on paper can still feel shaky once it’s up. To fix wobbly shelves, grab your stud finder and mount brackets directly into wall studs whenever possible. Hit at least one stud per bracket, then add setting screws to stop sideways movement. If you must use anchors, pick heavy-duty zinc drywall anchors rated around 50 lb.
To hide hardware and avoid finish flaws, drive screws up through the underside into the internal frame. Countersink or pre-drill so you don’t split the wood or leave ugly holes. For clean bracket alignment, level with a spirit level, mark heights with painter’s tape, and notch the board’s underside with a wood chisel so L brackets sit flush. Touch up fastener spots with matching paint and let coats dry fully before loading.
Recommended Products

Superior Quality: Our floating shelf bracket is expertly crafted from premium steel, ensuring exceptional durability and an impressive weight capacity of 110lbs.

Package Content: 4Pcs 4-Inch Floating Shelf Brackets, 8Pcs Strong Screws, 8Pcs Wall Plug

Heavy duty design - Our shelves will hold as much as 120 lbs when mounted to a stud or brickwall because our brackets are made of solid steel and welded components and includes quality screws and anchors

I am Đinh Ai Nguyễn, a content writer at SoftAuraHome.com. For me, home is more than just a place to live. It is where we recover from long days, hold our quiet moments, and create the atmosphere that shapes how we feel. That belief is one of the biggest reasons I wanted to be part of this blog. I started writing about home decor because I have always been drawn to spaces that feel soft, peaceful, and emotionally grounding. I believe a calm room can do more than look beautiful. It can bring comfort, restore energy, and help people feel more connected to themselves and the life they are building. Through Soft Aura Home, I want to share ideas that are not only visually inspiring, but also meaningful in everyday life. With experience in SEO writing and niche content publishing, I understand how to create articles that are clear, useful, and easy to discover. But beyond strategy, I care deeply about how a piece of content makes someone feel. Every article I write is created with the hope of helping readers shape homes that feel gentle, personal, and full of quiet warmth.
Follow on Facebook