
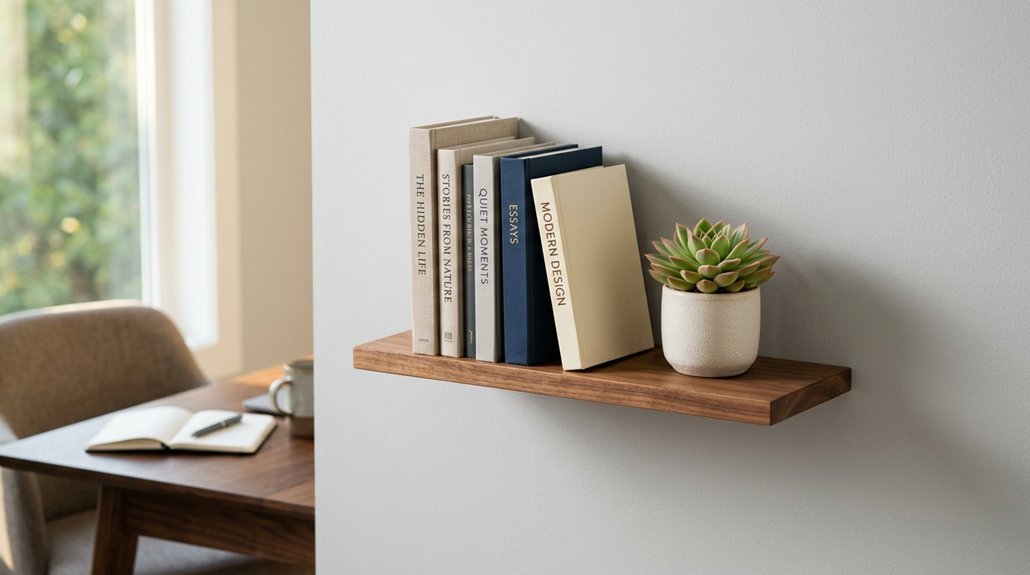


You want cleaner walls, smarter storage, and shelves that look like magic. Floating bookshelves deliver all three without the clutter of visible brackets. The process breaks down into planning your space, securing hidden hardware, and locking the shelf into place. Each step builds confidence for the next, and you’ll finish with storage that seems to defy gravity. Stick around to see how simple “invisible” really is.
Plan Your Floating Shelf Dimensions and Materials
Clarity starts with knowing exactly what you’re building. You’re creating a DIY floating shelf, so let’s nail down the details before you buy a single board.
Size It Right
Pick your shelf depth first. Ten to twelve inches works great for books without stressing the wall. Choose wood thickness to match your plan: solid wood needs at least 1¼ inches, while hollow options can go thinner. If you’ll plan to stain, grab oak or another stable hardwood that won’t warp over time.
Find Your Supports
Grab a stud finder and locate your wall studs. You’ll want your floating shelf to span at least two studs for strength. Measure carefully so the hidden hardware inside one shelf lines up with those studs. Mark the back of the shelf where you’ll drill pilot holes later.
Recommended Products

Superior Quality: Our floating shelf bracket is expertly crafted from premium steel, ensuring exceptional durability and an impressive weight capacity of 110lbs.

✓ HIGH-QUALITY METAL MATERIALS: Our shelf support is made of thick and heavy duty iron materials.Features a thick black matte surface coating that delivers enhanced water resistance and effective anti‑rust performance for long‑term daily use.
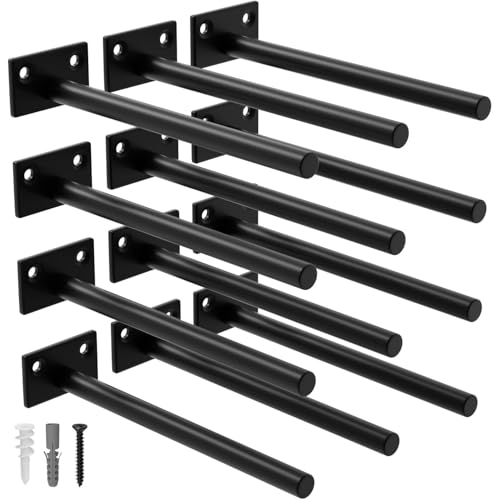
Superior Quality: Our floating shelf bracket is expertly crafted from premium steel, ensuring exceptional durability and an impressive weight capacity of 110lbs
Install Floating Shelf Hardware Into Studs
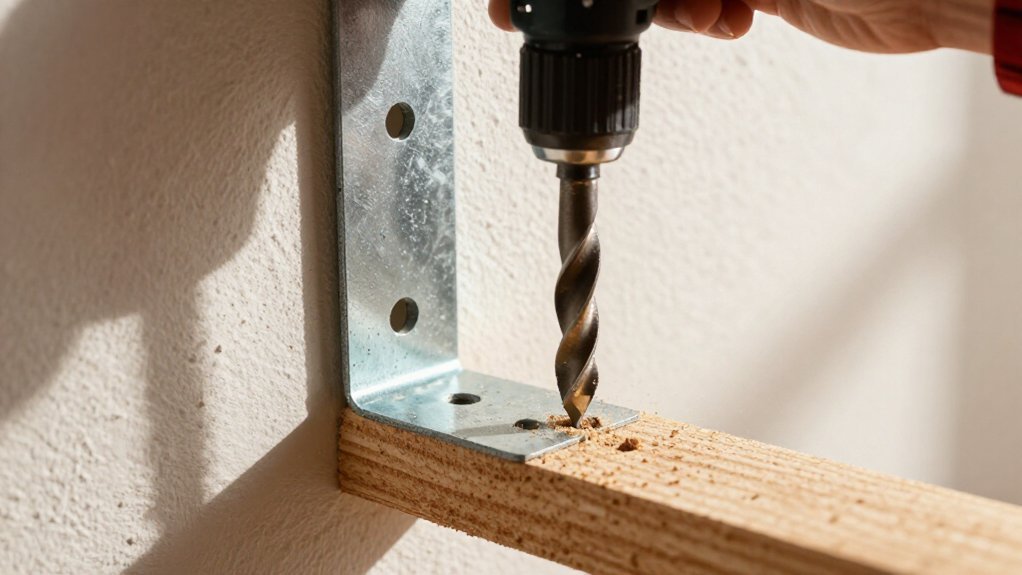
With your studs marked and your shelf ready, it’s time to lock in the hardware that’ll hold everything up.
With your studs marked and your shelf ready, it’s time to lock in the hardware that’ll hold everything up.
- Locate studs along your level line, then position each floating shelf bracket’s mounting plate directly on that stud line for maximum strength.
- Drill 1/8-inch pilot holes through the plate, then simply screw 2-inch fasteners into the studs. If you hit a gap, use toggle bolts instead.
- Drop the shelf onto the brackets, push it fully back to the wall, and mark pin positions underneath.
Locating studs prevents uneven gaps and wobbling. Skip toggle bolts when possible; studs carry far more weight. If your wall lacks studs where needed, toggle bolts work for lighter loads. Keep everything plumb, and you’re set for the next step.
Recommended Products

Heavy Duty design, maxium support weight of 100lb for a pair of this L bracket. Matte black powder coat finish. Creating a rustic, reclaimed, salvaged look,perfect for your home, office, garage, work space or anywhere else

【Suitable For 2*4” Wood Studs】Goovilla hidden shelf brackets is desiged with a 1.57*1.38” backplane. The small size and 3 close together screw holes match the narrow 2×4 inch (actual size is 1.5*3.5” ) wood studs thoroughly.

【Standard 90° bending】In order to ensure that each shelf bracket can be at 90° to the maximum extent possible, we add a rigorous picking process before the shelf brackets are packaged. The standardized 90-degree design is so important that it’ s the objective factor in ensuring that items remain level and do not tip over after being placed on the board(board is not included).
Drill Shelf Holes and Mount Your Floating Shelves
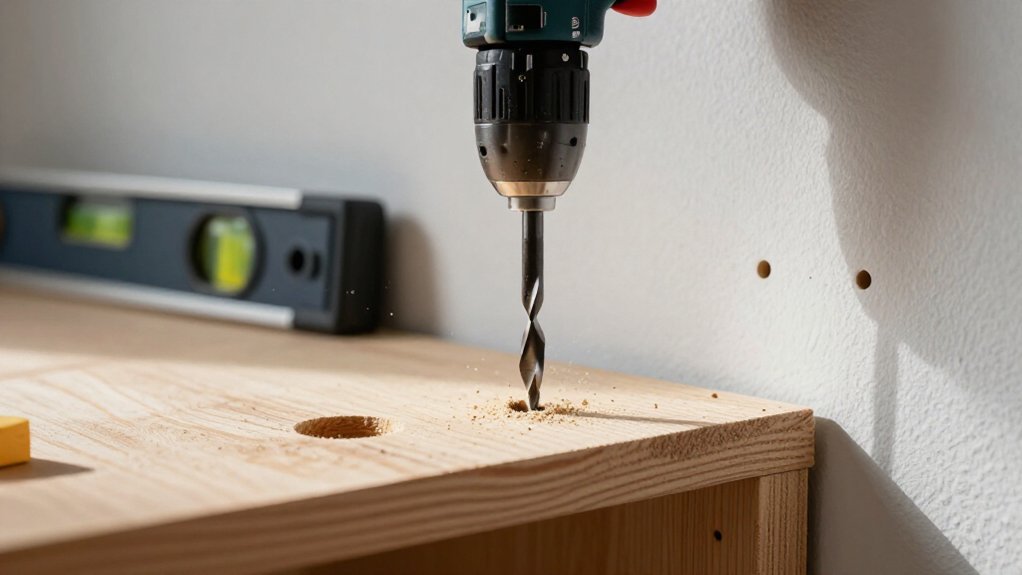
You’ve got your brackets locked into the studs, so now you’re ready to make the shelf itself fit like a glove. Drop your shelf over the installed rods, push it flush to the wall, then mark the screw locations by tracing each bracket with a small square. Transfer those lines to the back edge.
Identify each center point with an “X,” then wrap painter’s tape around your bit to gauge shelf thickness and depth. Drill holes plumb using a portable drill guide; swap to a longer bit if needed. Most DIY floating shelves need holes up to 5-1/4 inches deep. Use a countersink or chisel to recess so hardware sits cleanly.
Do a dry-fit check before final mounting. If you didn’t hit studs, Drywall anchors work, but floating shelves need solid support to attach directly and stay level. Tap gently with a wood block to seat.
Recommended Products
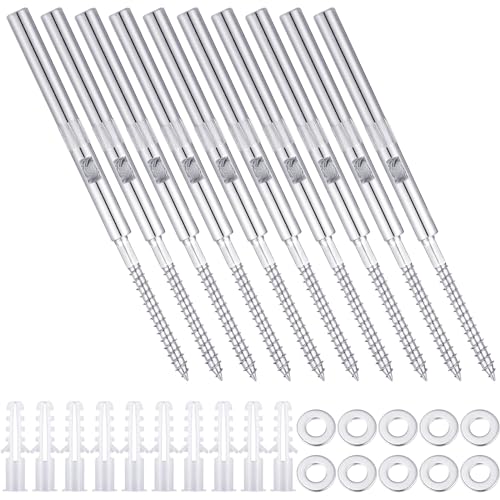
What You Can Get: you will receive 10 pieces of fireplace mantel brackets with 10 metal washers as well as 10 white expansion tubes, complete with mounting accessories, you can assemble according to your own needs

Package Including: You will receive 4Pcs Black Solid Iron Floating Shelf Bracket Blind Shelf Supports with 8pcs screws, 8pcs wall plugs. Size: Rod length 50mm/2inch, 10mm/0.39inch in diameter. Backplate size: 70x15x4mm/2.75x0.59x0.15inch(L*W*T).
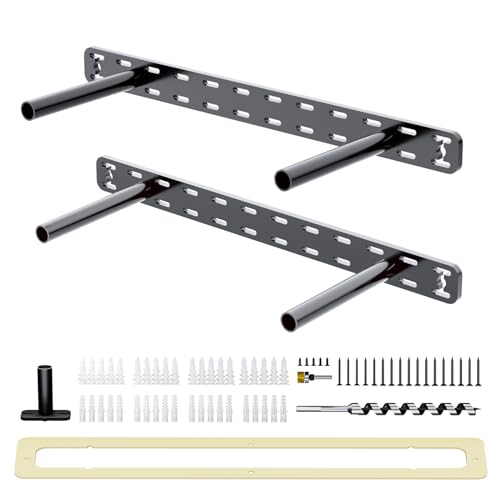
P.S.:The backplate of this floating shelf bracket is 1.5 inches, suitable for wood boards with a thickness of 2 to 3.5 inches. Please confirm the size before purchasing (Note: shelf is not included).

I am Đinh Ai Nguyễn, a content writer at SoftAuraHome.com. For me, home is more than just a place to live. It is where we recover from long days, hold our quiet moments, and create the atmosphere that shapes how we feel. That belief is one of the biggest reasons I wanted to be part of this blog. I started writing about home decor because I have always been drawn to spaces that feel soft, peaceful, and emotionally grounding. I believe a calm room can do more than look beautiful. It can bring comfort, restore energy, and help people feel more connected to themselves and the life they are building. Through Soft Aura Home, I want to share ideas that are not only visually inspiring, but also meaningful in everyday life. With experience in SEO writing and niche content publishing, I understand how to create articles that are clear, useful, and easy to discover. But beyond strategy, I care deeply about how a piece of content makes someone feel. Every article I write is created with the hope of helping readers shape homes that feel gentle, personal, and full of quiet warmth.
Follow on Facebook