
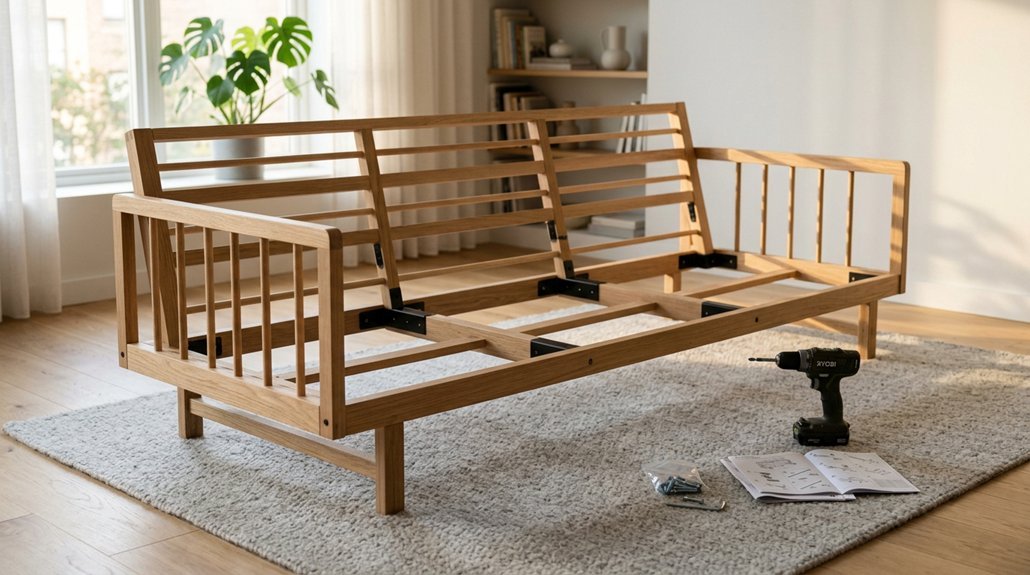


Building your own sofa isn’t as intimidating as it sounds. You don’t need fancy tools or years of woodworking experience. What you do need is a clear plan, accurate measurements, and about a weekend of focused work. This guide breaks the project into eight manageable steps. You’ll start with layout planning to avoid cramped walkways, then select materials that won’t warp or sag within months. Each step builds real skills you can use again. Ready to stop settling for particleboard furniture that falls apart? Let’s build something that lasts.
Measure Your Space and Plan Your DIY Sectional Layout
Before you cut a single board, you need to know exactly what you’re working with. Grab your tape measure and sketch a floor plan that accounts for real life, not just furniture catalogs.
Measure twice, cut once—sketch your reality before the lumber hits the saw.
Map Your Clearances
You’ll want 32″ minimum for comfortable walking room, or 36” if you’re hauling in groceries or moving boxes. These aren’t suggestions; they’re your hard limits.
Pick Your Orientation
When you Build a Custom sectional, decide early: left arm facing (LAF) or right arm facing (RAF)? Stand at your room’s main entry and picture the wooden frame blocking or freeing your walkways. A chaise on the wrong side turns your living room into an obstacle course.
Check Traffic Flow
Trace your daily paths. Will the arm extension pinch hallways? Account for cushion compression and real use, not just static placement.
Measure walls to the half-inch. Mock it out with painter’s tape. Those inches matter.
Recommended Products

KILN-DRIED KINDLING WOOD BURNS HOTTER: Our premium wood has been dried in a heated, controlled hardwood lumber kiln rather than air-dried or time dried to minimum standards, producing wood kindling with 6%-8% moisture content. Lower moisture content means it will burn hotter.

Solid Spanish Cedar Planks: No veneer, no glue, just solid piece. So much better than cheap thin, paper thick strips of veneer.

Solid, Kiln-dried, Hardwood Cherry - Thin sawn for your convenience and project-ready straight from the box.
Choose Kiln-Dried Wood, Foam, and Fabric for Your Build
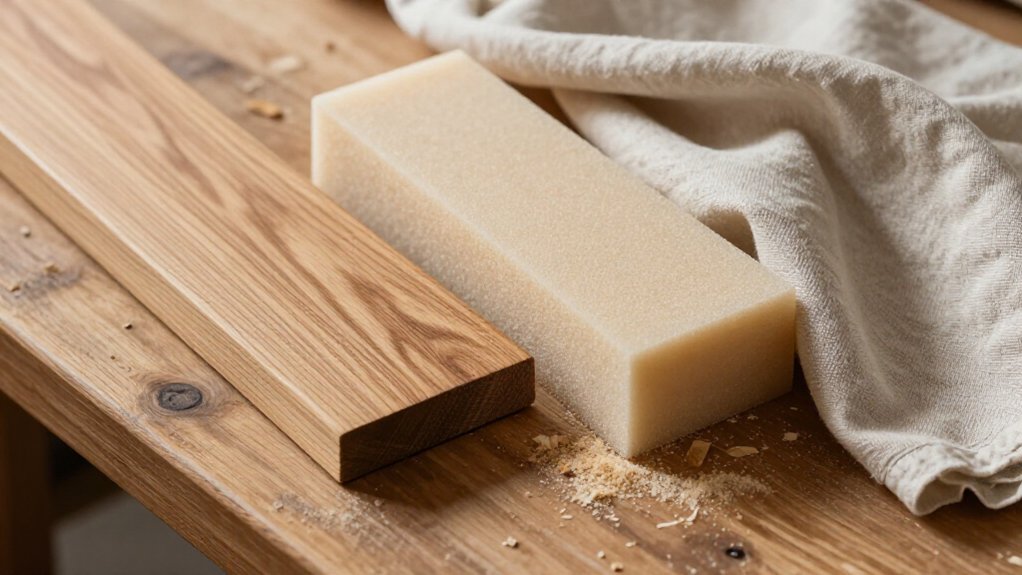
You’ll want to start with kiln-dried solid wood for your frame; this means the wood has been baked in a special oven to remove moisture so it won’t warp or crack like particle board, keeping your sofa sturdy for years. For foam, stack layers wisely, a common setup uses two 40mm bottom pieces plus a 20mm top layer, with a single unbroken sheet of batting on top so you don’t end up with uncomfortable lumps where seams meet. When picking fabric, think about durability and breathability: dense fabrics need air-release holes in the plywood underneath to prevent trapped moisture, and you’ll need about 10.2 meters of 1.4-meter-wide material with 1cm seam allowances for a clean fit.
Recommended Products

Comfortable Fabric:This armrest module for modular sectional sofa is made of very skin-friendly and breathable plush woven fabric, which is not only beautiful appearance but also very comfortable and durable.

Size: Sectional couch connectors measure 2.95 x 2.6 inches and include screws, 4 pieces (2 sets). These modular couch connectors keep your sectional secure and stable

Set Contains:Sofa connectors(2 sets, 4 pieces),24 screws, 24 flat washers, 1 Screwdriver bits.
Wood Selection Criteria
Since you’ll spend years sitting on this sofa, the materials you pick at the start matter more than you might think. For the frame, choose kiln-dried solid wood, such as the lumber for your 740mm posts and 1468mm rails. This wood resists warping far better than particle board under long-term stress.
As you work through the steps to create your frame, remember that quality materials support every other component. When foam compresses over time, a sturdy base prevents sagging and structural failure. You’ll build confidence knowing your foundation won’t let you down.
Kiln-dried wood costs more upfront, but you’ll avoid repairs and replacement later. Check that boards feel heavy and show straight grain lines. Skip any pieces with cracks, knots, or damp spots that signal poor drying.
Foam Density Standards
Once you’ve locked in your kiln-dried wood frame, it’s time to pick foam that’ll hold its shape for years.
Why Density Matters
High-resilience foam around 2.5 lb density gives you excellent compression resistance. You’ll get about 90% support retention after ten years. Skip cheaper 1.8 lb foam. It degrades to 60% within three years, causing saggy seats and lumpy support.
Layering for Comfort
Build your seat with 2 × 40 mm foam plus a 20 mm top layer. Keep everything tight with no gaps or hollow spaces. This prevents uneven wear and keeps your cushion feeling consistent.
Protect Your Investment
If you’re using dense, low-air-permeability upholstery material, drill 15–20 mm air-release holes in the plywood backing at roughly 30 cm spacing. This lets moisture and heat escape, helping your foam last longer.
Fabric Durability Factors
Your wood frame and foam layers are locked in, so let’s talk fabric. You’re choosing upholstery that’ll face daily wear, so durability matters. Here’s what keeps your sofa looking sharp:
- Airflow holes drilled through plywood stop moisture buildup that can rot your frame from within.
- Tight screw spacing (no more than 20cm apart) locks fabric in place so it won’t shift and wear thin.
- Layered foam construction (seat layers plus a softer top) eliminates sagging hollows that stress fabric.
- Kiln-dried wood resists warping that would twist your frame and tear seams.
Match dense, low-breathability fabrics with those ventilation holes. Secure everything consistently. Your build stays solid, your fabric lasts, and you won’t be reupholstering in five years.
Cut Rails and Posts and Verify Diagonal Accuracy
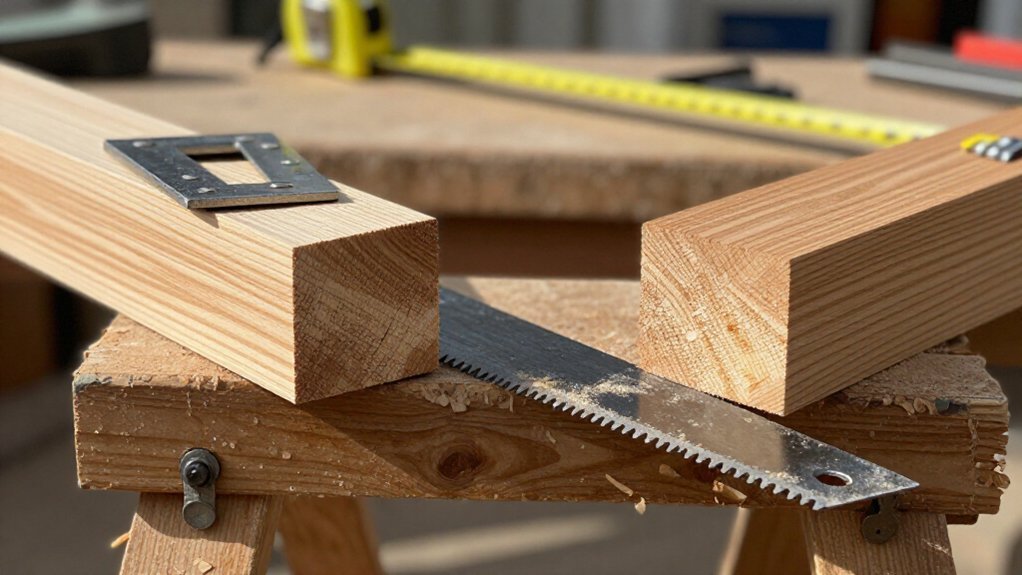
Before you fire up the saw, gather your cut list and double-check every measurement, you’ll save yourself headaches later. You’ll cut back posts, front rails, vertical beams, and ladder rails to exact lengths like 740mm and 1468mm. Keep every piece square before you fasten anything.
Measuring diagonals prevents a crooked frame. Check both diagonal lengths on each rectangle and adjust until they match perfectly. This diagonal equality check keeps your sofa from racking.
Attach two vertical beam posts using 150mm rails. Build the ladder structure with 260mm and 1468mm rails, lining up reinforcement rails on OSB edges.
Before moving forward, verify from the back that all parts sit flush and tight. Small misalignments grow bigger as you add more rails.
Recommended Products


【Dual-Layer Ergonomic Design】Our upholstery foam features a premium 2-layer composite structure. The memory foam layer provides slow-rebound pressure relief while the high-density support foam base prevents sagging and bottoming out, maintaining structural integrity for comfort. Available in 6 thickness options (1"/2"/3"/4"/5"/6") with optimized memory foam-to-support foam ratios for each thickness.
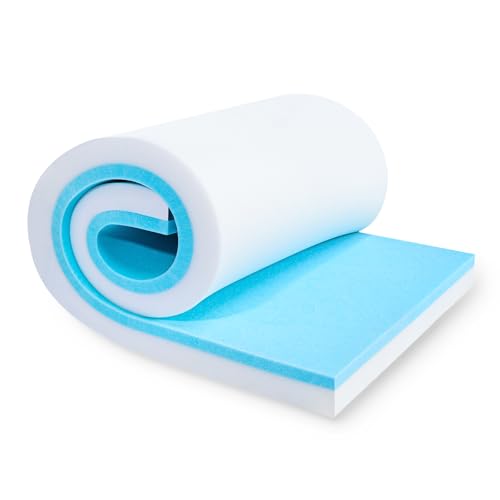
Memory Foam Pad: Constructed from 0.8-inch blue memory foam bonded to a 1.2-inch foam support layer, this pad combines high-quality materials to deliver enhanced performance. The memory foam exhibits slow rebound and gradual pressure release characteristics, providing effective cushioning and optimal load distribution for upholstered applications
Assemble the Left Frame, Attach Rails, and Inspect Joints
With the rails and posts cut to size, you’re ready to build the left side frame that forms one arm of your sofa. You’re working with arm dimensions of 900mm length, 200mm width, and 550mm height (600mm including legs). You’ll attach three front rails, each 1468mm long, to a 740mm back post. Use two screws per joint plus wood glue for strength. For easier alignment, start with just one screw per rail before final fastening.
- Position the back post vertically on your work surface.
- Align the first rail perpendicular, securing it temporarily.
- Add glue and second screws to lock each connection firmly.
- Step back and sight along the frame to catch any misalignment early.
Connect your two 740mm vertical posts with 150mm rails to form a ladder structure, then add 260mm and 1468mm rails. Before moving on, inspect every joint from behind. Check that edge support rails are fastened to the OSB with 260mm pieces. Tighten anything loose now; you’ll save headaches later.
Recommended Products

This faux leather fabric is versatile and suitable for various applications such as wallets, belts, handbags, and furniture upholstery for both home and commercial use. It can be used in the creation of or seat cushions, headboards, ottomans, bar stools, restaurant furniture, theater seats, auditorium seats, and more.

✨️Excellent Fabric: This velvet fabric is composed of 90% polyester fiber and 10% spandex, which allows it to stretch and recover while maintaining its shape and softness.And is easy to cut and not prone to pilling.

【High Quality Material】Durable, breathable, closely woven heavy plain natural cotton fabric, environmentally friendly. It also has a natural light drape and stiffness, produced with premium performance yarns and easy to clean, easy to cut and sew.Manual measurement may have an error of 1-3cm!
Build Right Frame, Storage Box, and Connect Sections
You’re now ready to build the right-side frame using the same ladder-style construction, but this time you’ll add a hidden storage box that sits inside the frame rails. The storage box uses shorter perimeter rails to create a sturdy lip that holds your essentials without stealing legroom. Once both frames are solid, you’ll connect them with heavy-duty screws so your sofa feels like one piece, not two pushed together.
Recommended Products

48" Wide Upholstery Grade: The 36-inch width is ideal for a wide range of projects, from furniture upholstery to decorative pillows and bedspreads, providing ample material for your needs.

【1/2 INCH THICK BATTING FOR UPHOLSTERY & CUSHIONS】Achieve professional-grade plushness! This thick batting delivers a full 1/2 inch of high-loft support, making it the perfect cushion wrap for upholstery and furniture padding. Ideal for restoring couch cushions and chair seats to a like-new, luxurious feel.
Frame Assembly Basics
Because the left side frame sets the foundation for everything that follows, you’ll want to nail this part before moving on. Attach three front rails (1468mm each) to the back post (740mm) using two screws per joint. Tack each rail with one screw first, no glue yet. Then join two vertical posts with 150mm rails and build your ladder structure using 260mm and 1468mm rails.
Reinforce the OSB with extra 260mm edge rails and 80mm screws. Check from behind that everything’s secure.
For the right side, assemble the storage box using perimeter support rails. You’ll use back rails (260mm×2), storage-box rails (482mm×6), and seat rails (1250mm×2) to keep the base rigid.
Finally, connect both sections by drilling two holes about 100mm from the bottom and 150mm from the front/back edges, then join with two 50mm M10 screws.
Storage Integration Methods
Now that you’ve got the left frame solid, it’s time to tackle the right side, where all your storage magic happens.
Build the Right Frame
Install perimeter rails to support the storage-box bottom. Add two 260mm back rails and six 482mm back/storage box rails to create the structure.
Create the Storage Box
Attach OSB panels using glue plus 25mm screws spaced no more than 20cm apart. Use two 210 x 518mm panels and one 1590 x 282mm panel for rigid boundaries. Reinforce OSB edges with extra 260mm rails. Verify from behind that everything’s seated securely.
Add the Lift Mechanism****
Outline screw positions, then insert M6 x 30 furniture screws. Tap heads and secure the mechanism.
Connect the Sections
Drill two M10 holes 100mm from the bottom edge and 150mm from front/back. Join sections with two 50mm M10 screws. Your storage sofa’s ready.
Secure OSB Panels and Add Edge Reinforcement
Once the frame rails are locked together from behind, you’re ready to lock in the OSB panels that form your sofa’s base and back.
Apply construction glue to the frame. Press each panel firmly into place, then drive 25mm screws every 20cm. This stops lifting and gaps.
Picture your build:
- Glue spreading evenly across wooden rails
- Sunken screws holding panels flush and tight
- Extra 260mm rails hugging the edges for strength
- Diagonal tape measures crossing to prove your corners are square
Match those diagonal measurements before your last screws bite. If your fabric’s dense and stiff, boredrilling 15–20mm holes every 30cm lets air escape. Otherwise, skip it. Edge rails now give your OSB the backbone it’ll need for years of lounging.
Recommended Products

Solid, Kiln-dried, Hardwood Cherry - Thin sawn for your convenience and project-ready straight from the box.

Solid Hardwood - Select White Hard Maple
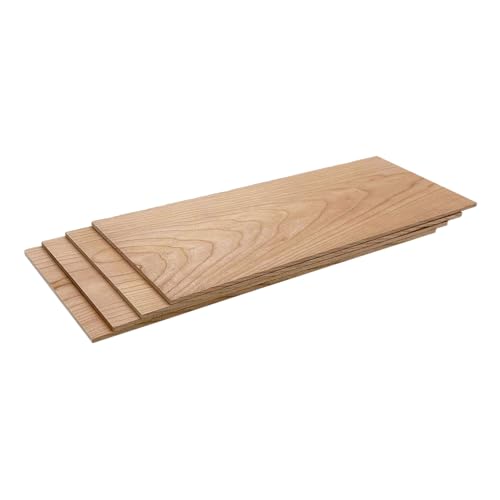
Solid, Kiln-dried, Hardwood Cherry - Thin sawn for your convenience and project-ready straight from the box.
Layer Foam, Add Batting, and Attach Fabric With Foam Strips
Your OSB panels are locked and square, so let’s build the comfort layers that’ll make this sofa worth sitting on.
Stack Your Seat Foam
Cut and stack your seat foam in three layers: two 40mm base layers plus a 20mm top layer. Smooth any sharp foam edges before you stick them down. Make sure those bottom 40mm layers have no gaps or hollow spaces. This prevents uneven cushioning when you sit.
Add Bolstering Support
Place a 20mm foam strip along the seat edge for bolstering support. Position your front fabric sections against this strip for a clean, crisp upholstered line. For the storage chaise, add another 20mm × 50mm foam strip along the upper border, plus foam around the top perimeter for extra seat bolstering.
Secure Batting and Fabric
Lay a single 20mm piece of upholstery batting across the seat. Attach your fabric using a cardboard strip to hold and seam everything in place.
Recommended Products

Sectional Couch Connectors Size Detail - Come with 4 pcs sofa connectors ( 3.7" in length, 1.8" in width and 2 mm in thickness) and 8 pcs screws( 1" in length).

【Modular & Customizable Design】Experience ultimate flexibility with GREENVINES' detachable armrests, allowing you to easily remove them based on your preferences for a armless look or enhanced lounging space. Effortlessly connect single-seat chairs by detaching the armrests to form a 2-seater, 3-seater, or larger sofa configuration—perfect for adapting to any gathering size while maintaining the sturdy, weather-resistant HDPE frame for long-lasting versatility in your outdoor setup

【Modular & Customizable Design】Experience ultimate flexibility with GREENVINES' detachable armrests, allowing you to easily remove them based on your preferences for a armless look or enhanced lounging space. Effortlessly connect single-seat chairs by detaching the armrests to form a 2-seater, 3-seater, or larger sofa configuration—perfect for adapting to any gathering size while maintaining the sturdy, weather-resistant HDPE frame for long-lasting versatility in your outdoor setup
Install Legs, Align Modular Sections, and Test Stability
Since the foam and fabric are secure, it’s time to give your sofa lift and legs. You’ll install standard plastic sofa legs at the planned locations, about 30 mm high, ensuring each leg supports the frame and the armrest area too.
With your foam and fabric now secure, elevate your sofa with sturdy 30 mm plastic legs, ensuring each supports both frame and armrest for lasting stability.
- Screw the legs firmly into place, feeling the frame settle onto each support.
- Attach the arm to the frame using furniture screws after securing your foam and cardboard strip.
- Align the right and left sections, then drill two holes 100 mm from the bottom edge and 150 mm from front and back, fastening with 50 mm M10 screws.
- Rock the assembled unit gently to check stability, confirming it sits level without sway.
Verify all fasteners are tight from behind before regular use.
Recommended Products
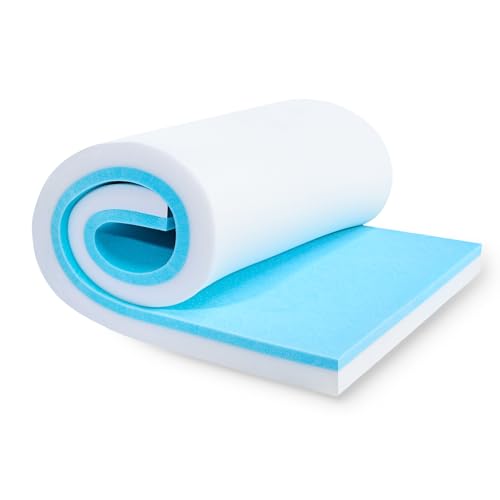
Memory Foam Pad: Constructed from 0.4-inch blue memory foam bonded to a 0.6-inch foam support layer, this pad combines high-quality materials to deliver enhanced performance. The memory foam exhibits slow rebound and gradual pressure release characteristics, providing effective cushioning and optimal load distribution for upholstered applications

HIGH QUALITY – Foamy Foam High Density Upholstery Foam is the best option for Seat Cushion Replacement, Couch Cushion Replacement, Bench Cushion Replacement, and variety of other upholstery projects.
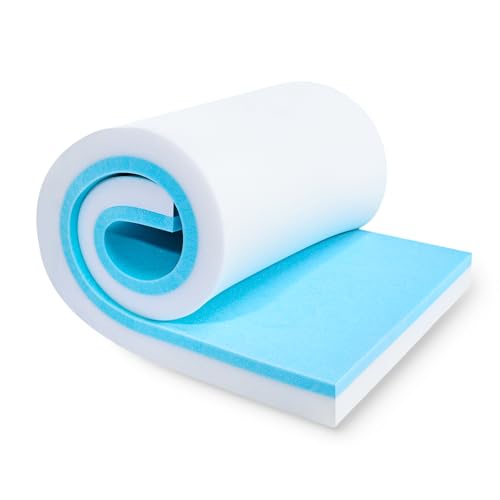
Memory Foam Pad: Constructed from 1-inch blue memory foam bonded to a 2-inch foam support layer, this pad combines high-quality materials to deliver enhanced performance. The memory foam exhibits slow rebound and gradual pressure release characteristics, providing effective cushioning and optimal load distribution for upholstered applications

I am Đinh Ai Nguyễn, a content writer at SoftAuraHome.com. For me, home is more than just a place to live. It is where we recover from long days, hold our quiet moments, and create the atmosphere that shapes how we feel. That belief is one of the biggest reasons I wanted to be part of this blog. I started writing about home decor because I have always been drawn to spaces that feel soft, peaceful, and emotionally grounding. I believe a calm room can do more than look beautiful. It can bring comfort, restore energy, and help people feel more connected to themselves and the life they are building. Through Soft Aura Home, I want to share ideas that are not only visually inspiring, but also meaningful in everyday life. With experience in SEO writing and niche content publishing, I understand how to create articles that are clear, useful, and easy to discover. But beyond strategy, I care deeply about how a piece of content makes someone feel. Every article I write is created with the hope of helping readers shape homes that feel gentle, personal, and full of quiet warmth.
Follow on Facebook