
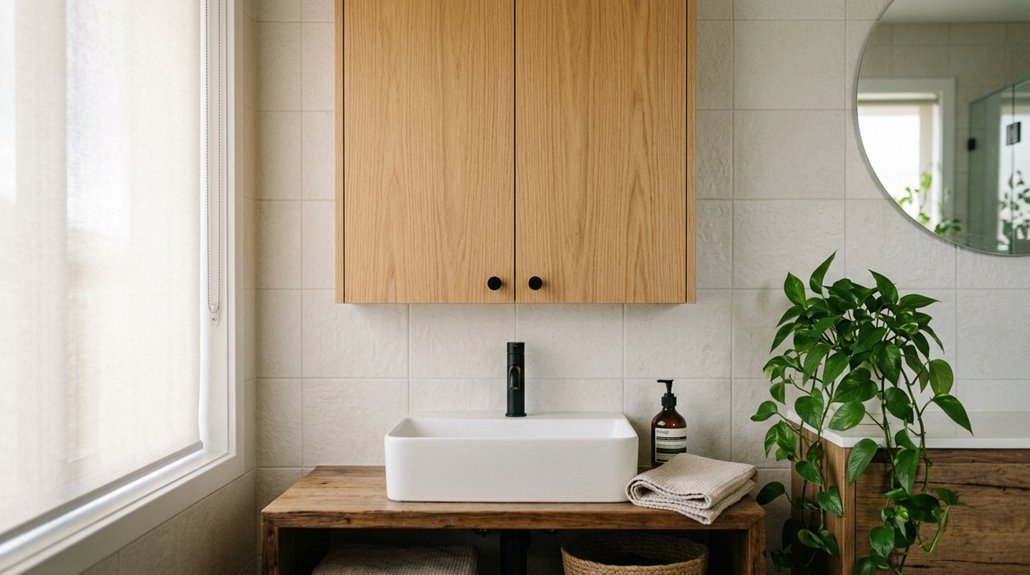


You’re staring at that outdated bathroom cabinet, and you’re ready for a change. Replacing it yourself saves hundreds in labor costs, and you’ve got more skill than you think. The trick is knowing which steps matter most, and which shortcuts will cost you later. Grab your tools, clear your weekend, and let’s walk through exactly how to pull this off without flooding your house or wrecking your walls.
Bathroom Vanity Replacement: Tools, Safety, and Setup
Before you start swapping out your bathroom vanity, take a few minutes to gear up properly. You’ll need safety glasses to protect your eyes, plus a bucket, rags, and an adjustable wrench for cleanup. That residual water from hot/cold lines and the P-trap won’t wait for you to find supplies.
For this bathroom vanity replacement, gather a tape measure, level, stud finder, pencil, utility knife, and both flathead and Phillips screwdrivers. You’ll mark stud positions accurately and keep your new vanity level and steady.
Protect your flooring with a drop cloth or old towels. Keep a putty knife, patching compound, and sandpaper nearby too. Old vanities often hide wall damage you’ll want to fix before installing the new one. Locate those studs first, then drill pilot holes and fasten with screws directly into them, never just drywall. That’s how you’ll get a rock-solid, wobble-free finish.
Recommended Products

PERFECT SIZE HOT HAIR TOOL HOLDER - At 12" wide x 7" deep x 6" tall, this hair tool caddy securely holds all your hair tools. This is the perfect hair dryer holder, hair straightener holder, curling iron holder, hair brush holder, hair care organizer and MORE!

PERFECT SIZE HOT HAIR TOOL HOLDER - At 12" wide x 7" deep x 6" tall, this hair tool caddy securely holds all your hair tools. This is the perfect hair dryer holder, hair straightener holder, curling iron holder, hair brush holder, hair care organizer and MORE!

2-TIER MULTIPURPOSE ORGANIZER: Offers a practical storage solution for kitchen cabinets or pantries, under bathroom sinks, on desks, or other areas to keep your home or office space clean and organized
Shut Off Water Supply and Drain the Lines
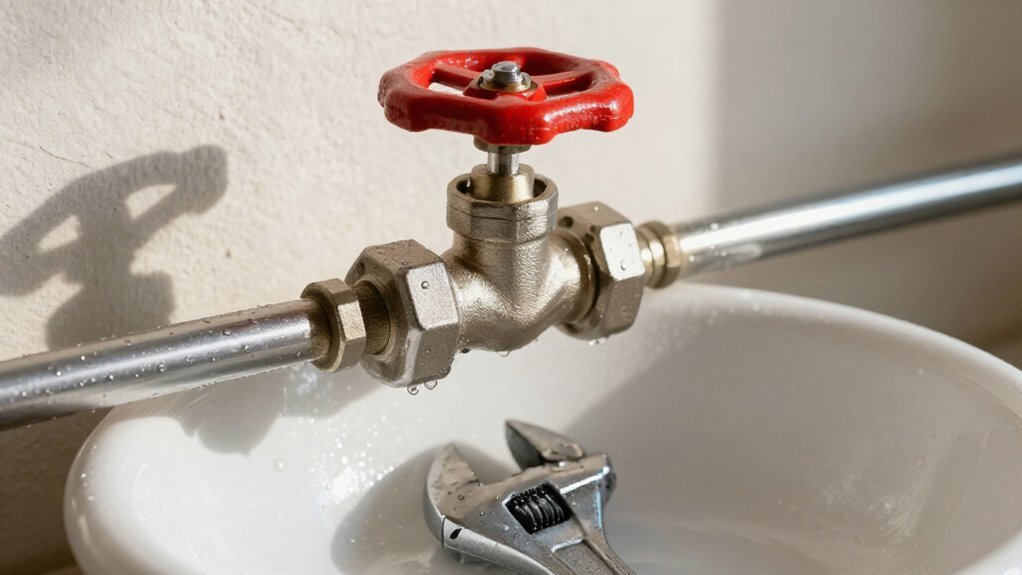
You’ll start by finding the shut-off valves under your sink, these are small handles that control water flow to your faucet. Turn both the hot and cold valves clockwise until they’re tight, then open the faucet to let any leftover water and pressure escape. Once that’s done, you’re ready to move on to draining the lines completely.
Recommended Products

For manually turning off water or gas lines in case of an emergency; Constructed from corrosion-resistant cast aluminum for excellent durability

Built for efficiency: The adjustable plumbing wrench adapts to multi-size nuts (15/16" and 5/8"), making it easy to install and remove compression angle stops and supply nuts quickly and effortlessly, even in confined spaces

Versatile And Essential Emergency Tool: The Gas Shut Off Tool Wrench Is A Versatile And Essential Item For Any Emergency Preparedness Kit And Household Or Workplace
Locate Shut-Off Valves
The first step in removing your old bathroom cabinet is shutting off the water so you don’t end up with a mess.
Crawl under your sink and find the shut-off valves. You’ll spot small lever or knob-style valves connected to your hot and cold water supply lines. Turn each valve clockwise until it’s fully closed. This stops water from flowing to your faucet.
Here’s what to do next:
- Open your faucet handles to release built-up pressure
- Let the water run until it stops completely
- Slide a bucket underneath to catch any drips
- Use an adjustable wrench to loosen the supply line nuts if needed
Keep your faucet open briefly after disconnecting. Wipe away any moisture with rags. You’re now ready to move forward with your cabinet replacement.
Drain Residual Water
With your shut-off valves closed tight, you’re ready to clear out the remaining water.
Place a bucket under the sink first. You’ll catch drips and avoid messes. Grab some rags too for quick wipe-ups.
Open the faucet handles. This releases pressure and lets residual water drain out. Don’t skip this step.
Now disconnect the supply lines. Loosen the nuts on the hot and cold lines with an adjustable wrench. Start gently so you don’t damage the valve stems.
Next, tackle the drain pipe. Loosen the slip nuts and carefully remove the P-trap. Let that leftover water fall right into your bucket.
Keep everything over the bucket until water flow stops completely. Then set your parts aside. You’re now ready to remove that old cabinet.
Disconnect Sink Plumbing and Remove Fixtures
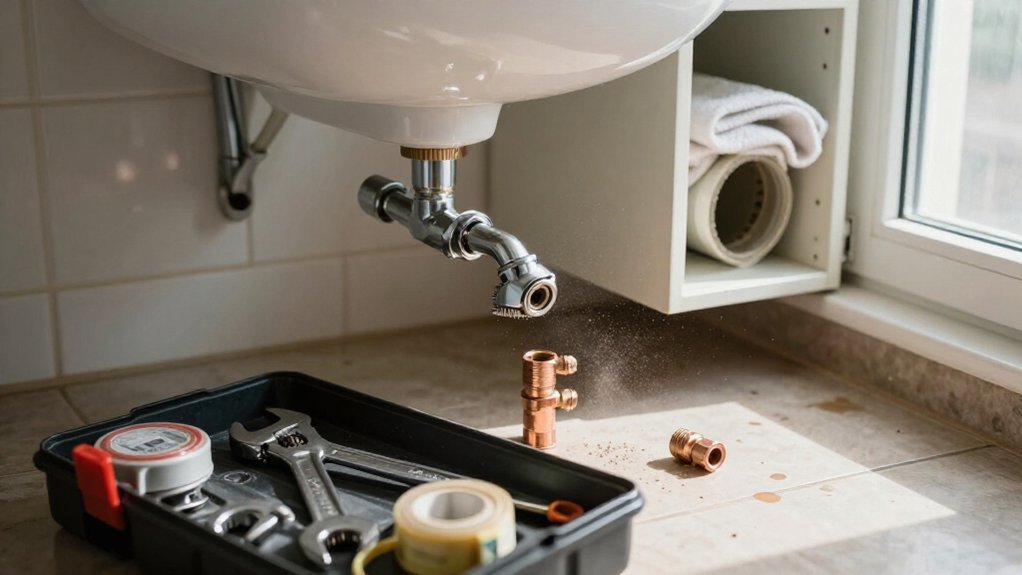
Before you can pull out the old vanity, you’ve got to free it from the plumbing and wall attachments. Start by shutting off the hot and cold water valves under the sink. Turn them clockwise, then open the faucet to drain any leftover pressure into a bucket.
Shut off the water valves under the sink, drain the pressure, then disconnect the plumbing to free your old vanity.
Next, tackle the drain. Slide a bucket under the P-trap and loosen the slip nuts to catch remaining water. Then disconnect the supply lines from the shut-off valves using an adjustable wrench. Keep rags handy for drips.
Now clear the area around your vanity and sink:
- Detach the faucet connections
- Remove mirrors, lights, and towel racks
- Unscrew any wall brackets holding the cabinet
- Have a helper steady the unit while you work
With everything loose, you’re ready to lift the cabinet free.
Recommended Products

Hose Remover Pliers easily remove stubborn hoses on tanks, radiators, pumps, air cleaners, etc.

SAFE & EFFICIENT: The Hose Removal Pliers are designed for ease of use, featuring a well-structured, user-friendly build that requires no special skills or experience. The pliers ensure safe operation while saving both time and effort

EASY TO USE: Align the plier tips between the hose and fitting—black side on the iron pipe, mirrored side on the hose. Apply pressure to detach the hose carefully, making removal quick and effortless.
Remove the Old Vanity (Handling Caulk and Heavy Lifts)
Once you’ve got everything disconnected, you’re ready to free the vanity from the wall. Grab a sharp utility knife and cut through the old caulk where the vanity meets the wall. Re-score stubborn spots so you don’t tear drywall or tile when pulling away.
Next, unscrew any bolts anchoring the vanity to the wall studs. Rock the cabinet gently outward to break the remaining seal, don’t yank hard. Many units are surprisingly heavy and can tip forward once loose, so have a helper support the weight during removal.
After the vanity comes off, scrape away leftover caulk with a putty knife. Wipe the area clean so your new vanity can sit flush against the wall. A smooth surface means easier installation and a better seal later.
Recommended Products

Multi Purpose Rubber Shims Size :5cm long(base) , 3cm wide, ranges from 2mm thick to 5mm thick, (4 PCS).

Multi Purpose Rubber Shims Size :5cm long(base) , 3cm wide, ranges from 2mm thick to 10mm thick, (8 PCS).

Find Studs and Prep the Wall for Mounting
You’ll want to grab your stud finder and run it along the wall to locate the vertical studs behind the drywall, marking each center point with a pencil so you know exactly where solid support waits. Once you’ve found them, double-check the spacing with a tape measure to confirm standard 16-inch or 24-inch intervals before committing to any bracket positions. Taking time to mark these mounting points correctly now saves you from a wobbly vanity later.
Recommended Products

1. Versatile Floor and Furniture Protection: More than just for painting, these durable plastic sheet protect floors, furniture, carpets, ceilings, wardrobes, and even cars from dirt and dust. Use them as furniture covers, rainproof outdoor covers, or to safeguard windows from weather damage

FEARLESS PAINTING, NO MORE UNSIGHTLY MARKS: Smooth out your home decor project with our painter's drop cloth. Serving as a floor cover, plastic floor protector, carpet cover & plastic drop cloth for painting for a flawless completion. Our house painting supplies includes painter's plastic sheeting roll ensures no more stains

𝐏𝐫𝐨𝐭𝐞𝐜𝐭 𝐘𝐨𝐮𝐫 𝐈𝐭𝐞𝐦𝐬 𝐈𝐧 𝐒𝐭𝐨𝐫𝐚𝐠𝐞 - Tapix Plastic Drop Cloth makes sure your item in storage maintains it's brand new look. Ideal for any size objects from small, medium to large and any shape.
Locating Wall Studs
Where exactly should you anchor your new vanity so it stays put for years? You’ll need solid wood behind the wall, not just drywall. Grab a Wall stud finder and slide it across the surface until it beeps or lights up. Don’t trust it completely, though. Measure 16 or 24 inches from the corner to confirm the pattern, then drive a small exploratory nail to verify you’ve found real wood.
Once you’ve located the studs, here’s what comes next:
- Mark each centerline with a pencil so you know exactly where the wood sits.
- Match those marks to your vanity’s mounting bracket holes.
- Clear loose paint and wipe away dust so your cabinet sits flush.
- Draw a level reference line at the right height for consistent alignment.
Marking Mounting Points
With your studs located, it’s time to mark exactly where your vanity will attach to the wall. Grab your tape measure and check the distance between stud centers, usually 16 or 24 inches apart. Confirm this spacing matches your vanity’s bracket or rail holes so everything lines up for secure fastening.
Hold the vanity (or its mounting rail) against the wall. Use a level to draw a straight horizontal line for your top reference, then mark each bracket hole location directly onto the wall.
If you need new holes, cover marked areas with painter’s tape and drill pilot holes sized for your screws, targeting studs only. Prep the wall by scraping old caulk and sanding bumps smooth. Patch and dry the surface so your vanity sits flush when you install the new cabinet.
Position, Level, and Anchor Your New Vanity
Before you can enjoy your new vanity, you need to lock it into place with confidence. Start by locating the wall studs behind your New Bathroom Vanity area. Mark their centers so your brackets hit solid wood, not empty drywall.
Here’s how to anchor with precision:
- Find studs with a stud finder and mark centerlines with pencil
- Draw a level horizontal line where the vanity top will sit, then tape the cabinet temporarily in place
- Drill pilot holes through mounting brackets into studs, shimming the base to keep everything level
- Drive screws into studs and recheck levelness after tightening fully
Dry-fit the Wall cabinet against plumbing rough-in before final anchoring. Adjust with shims while hardware’s still loose. You’re almost ready for the finished look.
Recommended Products

2X VALUE & SPACE SAVER - Get 2 premium acrylic organizers for multiple rooms. Wall-mount design clears counter clutter, fitting hairbrushes, combs, and styling tools in bathrooms/vanities

Sturdy Solid Wood Hair Dryer Holder : Our wooden hair tool organizer is made of solid wood. Our well-built storage box is sturdy enough to keep your hair tools and essentials organized. Looks sleek and organized on counter top

Available in 2 Different Sizes: The smaller size (S) measures 8.27" x 13.19" x 9.06", and the larger size (L) measures 8.27" x 13.19" x 10.63". High-Low combos make this bathroom organizer versatile for multi-purpose storage and organization, such as kitchen organization, cabinet organizer and storage, bathroom organizer countertop, pantry organizer, under sink organizer, etc
Install the Countertop and Backsplash
You’ll want to get your adhesive strategy right before anything else, starting with a dry-fit so you know exactly where everything lands. Run construction adhesive along the vanity’s top edges, press the countertop firmly into place, and don’t forget to tape it down while it bonds so nothing shifts on you. Once that’s set, seal all your gaps—especially where the countertop meets the backsplash and where the backsplash meets the wall—with silicone caulk to keep water out for good.
Recommended Products
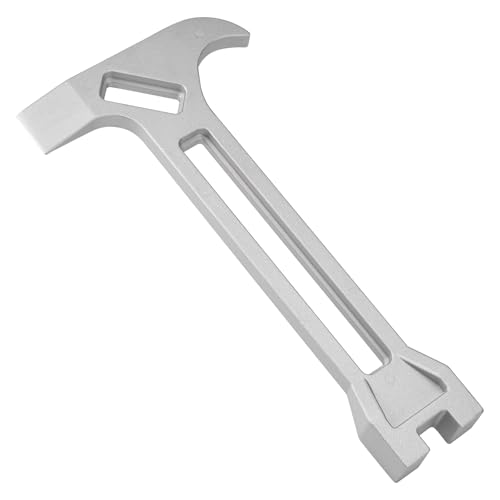
【Immediate Emergency Use】Quickly shut off gas and water valves, pry open doors, clear debris, and perform other urgent tasks during earthquakes, fires, or other critical situations. Features an obvious silver finish.

Upgraded Water Meter Keys: The Rkiiqii water shut-off tool has been extended to 17in and comes with 4 practical keys. This water main shut off tool can conveniently open and close water meters, roadside main shut-off valves, septic tank diversion valves and waste valves
Apply Adhesive Properly
A solid bond starts with a smart dry run. You’ll want to dry-fit your countertop and backsplash on the new vanity before reaching for the adhesive. Check the manufacturer’s instructions for any specific guidance on your materials.
Here’s how to get it right:
- Prep the surface: Clean all contact areas so the adhesive grips properly.
- Apply the bead: Run a continuous 1/8–1/4 inch line of construction adhesive along the cabinet ledge where the countertop sits.
- Press and secure: Set the countertop firmly, then use clamps or painter’s tape to hold it while curing.
- Backsplash technique: Apply adhesive to the back in a thin, even layer, align immediately, and tape it in place.
Wipe away any squeeze-out quickly. You’re building a foundation that won’t wobble.
Seal All Gaps
With the countertop and backsplash glued down, you’re ready to lock out water for good.
Grab silicone caulk, not latex, because silicone stays flexible and waterproof. Run a steady bead along every seam: where the countertop meets the backsplash, where the backsplash meets the wall, and around the sink cutout. Tool it smooth with a wet finger for a tight, water-resistant finish.
Wipe away excess caulk immediately with a damp rag. Check that the backsplash-to-wall seam has no pinholes or voids. These tiny gaps let moisture sneak in and cause damage.
Let everything cure fully before you tighten the connections on your plumbing. Once cured, run water to drain through the sink and inspect your seals. Keep the area dry during curing so your hard work pays off.
Mount the Faucet and Connect Water Supply Lines
Before you secure anything permanently, dry-fit the new faucet onto the vanity top. Check that the spout clears the sink basin and that your supply lines reach the shut-off valves without kinking or stretching.
Once you’re satisfied, install the faucet using the manufacturer’s rubber gaskets and metal mounting hardware. Tighten everything evenly, just snug plus a small final turn, so you don’t crack the countertop or compress seals unevenly.
Tighten evenly—just snug plus a small final turn—to protect your countertop and seals.
Now reconnect your water supply lines. Remember: hot on the left, cold on the right on most systems. Use an adjustable wrench and tighten firmly, but don’t overtighten.
Follow these steps for a leak-free connection:
- Position gaskets correctly to prevent water damage
- Tighten mounting nuts evenly for balanced pressure
- Match hot and cold lines to proper valves
- Test connections slowly before full pressure
Turn the shut-off valves on gradually and watch for drips. If you spot minor seepage, tighten slightly and recheck. Avoid over-torquing, which damages washers and causes future leaks.
Recommended Products

Screw Remover and Extractor : Designed for work to Squeeze and turn crushed screws, rusted screws, fixed screws, special screws, etc. Can also be used for removing gas cans, sorting soy sauce bottles and plastic bottles

Linesman PRO and Screw Remover Pliers : Designed for work to Squeeze and turn crushed screws, rusted screws, fixed screws, special screws, etc. Can also be used for removing gas cans, sorting soy sauce bottles and plastic bottles

Material: Crafted from premium forged and quenched carbon steel, this clamp pincer delivers outstanding hardness, remarkable durability, and impressive shearing force, ensuring reliable performance for all your clamping and cutting needs
Install the Drain Assembly and P-Trap
Your faucet and supply lines are now connected and tested, so it’s time to complete the plumbing by setting up the drain.
Dry-Fit the Drain Assembly
Insert the tailpiece through the sink drain hole. Tighten the mounting nut snugly by hand first, then give it a small wrench turn to avoid leaks.
Install the P-Trap
Connect the trap’s slip nuts to the sink tailpiece and wall drain outlet. Selecting the correct trap arm length and slope ensures proper drainage.
Pro Tips
- Keep a bucket and rags nearby to catch residual water.
- Check that rubber gaskets sit correctly inside slip nuts.
- Hand-tighten everything first, run water, and check for drips before fully tightening.
You’re almost done with this project.
Recommended Products
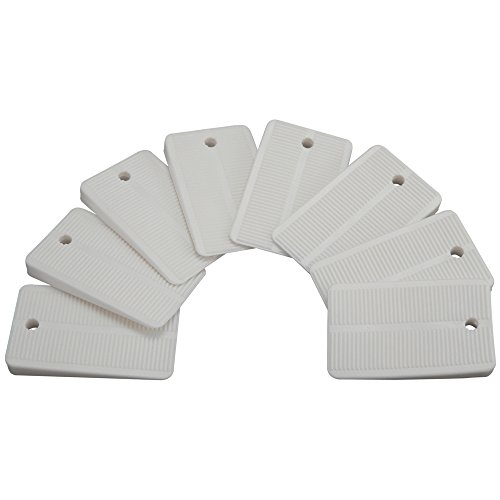
Versatile Leveling Solution: The Plumb Pak PP836-55 Keeney Toilet Leveling Shims are designed for a multitude of applications, providing a versatile solution for leveling...
Test for Leaks and Seal All Joints
Now that your drain assembly and P-trap are in place, you’re ready to make sure everything stays dry where it should. You’ll want to test for leaks and seal all joints carefully, checking every spot where water could escape.
Follow these steps to catch problems early:
- Turn your shut-off valves back on slowly, then run both hot and cold water for 1–2 minutes while you watch all connections under the sink
- Hold dry paper towels at each joint for 2–3 minutes; darkening means you’ve found a leak
- Tighten loose fittings a quarter-turn at a time, but stop if anything binds or looks pinched
- Run water again and re-check after draining to catch slow drips
Mark any repair areas that need attention. Seal joints that need it with a smooth bead of silicone caulk, using your wet finger for a clean finish.
Recommended Products

1. Versatile Floor and Furniture Protection: More than just for painting, these durable plastic sheet protect floors, furniture, carpets, ceilings, wardrobes, and even cars from dirt and dust. Use them as furniture covers, rainproof outdoor covers, or to safeguard windows from weather damage

Size: 9x12 Feet Extra Large Plastic Films; Thickness: 0.4Mil; Quantity: 8-pack
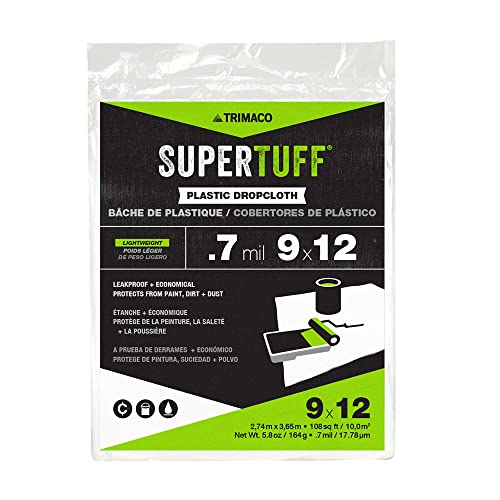
Dimensions: 9' x 12'

I am Đinh Ai Nguyễn, a content writer at SoftAuraHome.com. For me, home is more than just a place to live. It is where we recover from long days, hold our quiet moments, and create the atmosphere that shapes how we feel. That belief is one of the biggest reasons I wanted to be part of this blog. I started writing about home decor because I have always been drawn to spaces that feel soft, peaceful, and emotionally grounding. I believe a calm room can do more than look beautiful. It can bring comfort, restore energy, and help people feel more connected to themselves and the life they are building. Through Soft Aura Home, I want to share ideas that are not only visually inspiring, but also meaningful in everyday life. With experience in SEO writing and niche content publishing, I understand how to create articles that are clear, useful, and easy to discover. But beyond strategy, I care deeply about how a piece of content makes someone feel. Every article I write is created with the hope of helping readers shape homes that feel gentle, personal, and full of quiet warmth.
Follow on Facebook