
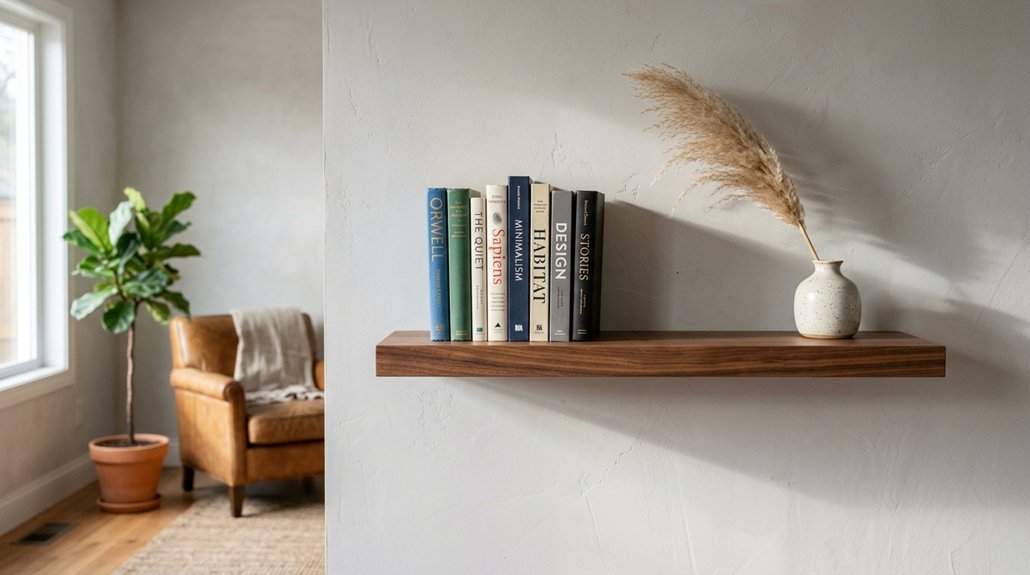


Is it true that floating bookshelves are only for expert DIYers? You’re about to find out they’re not. With the right plan and basic tools, you’ll build shelves that look custom and hold real weight. The secret starts with seven simple steps: measuring your wall, finding studs, picking brackets, choosing materials, finishing your boards, installing level, and testing strength. Each choice shapes how your shelves look and perform. Ready to turn that blank wall into storage you’ll actually use?
Plan Your Floating Bookshelf Layout and Locate Studs
Where should you start when building floating bookshelves? You’ll want to measure your wall and plan your layout before you buy anything. Aim for about 11–17 inches of vertical space between each shelf, with roughly 13 inches working well for most books. Leave 15 inches or more for oversized titles.
Grab some painter’s tape and mock up your layout directly on the wall. Step back and adjust until the lines look balanced across your full wall run.
Next, identify your wall type: standard drywall, thick drywall, or plaster. This matters because your anchoring strategy changes. Use a stud finder to locate studs behind the wall, then mark each spot. Verify by tapping so you know exactly where your strongest attachment points sit. Most walls have studs 16 or 24 inches apart, which helps you plan whether you’re using hidden bracket floating shelves or box style floating designs.
Recommended Products

The bracket has a 1.5" backplate and is designed for use with boards 2" thick or more. NOTE: The board thickness we refer to is the actual (not nominal) size.

The bracket has a 1" backplate and is designed for use with boards 1.5" thick or more.NOTE: The board thickness we refer to is the actual (not nominal) size.
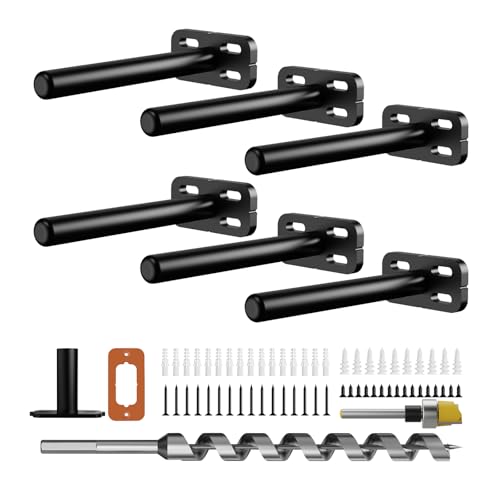
The bracket has a 1" backplate and is designed for use with boards 1.5" thick or more.NOTE: The board thickness we refer to is the actual (not nominal) size.
Choose Hidden or Visible Brackets Based on Your Look
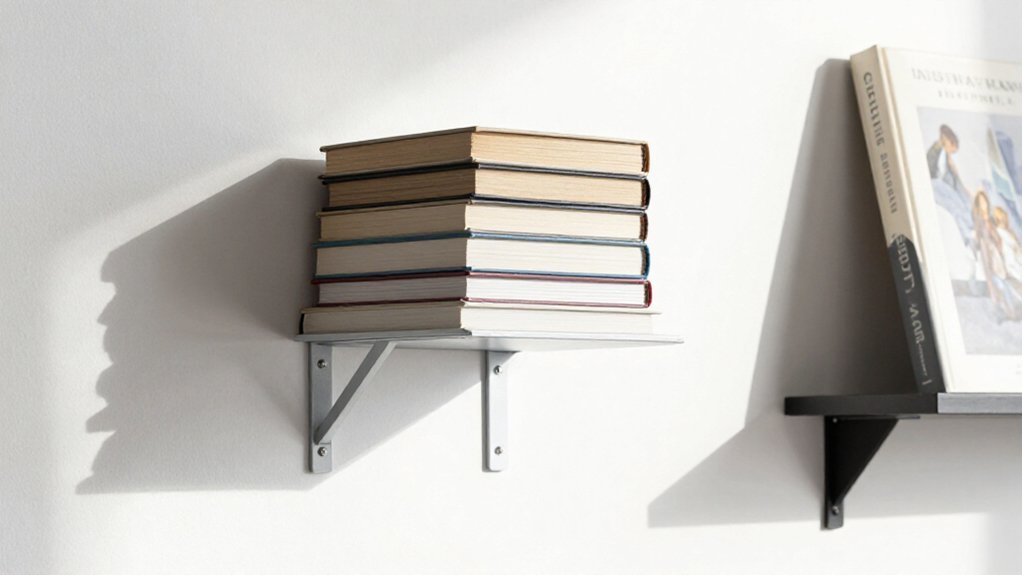
Once you’ve mapped out your studs, you’re ready to pick how your shelves will actually attach to the wall. You’ll choose between visible brackets or hidden brackets based on your style and needs.
Mapping your studs is the first step to choosing between visible or hidden brackets for your shelf installation style.
Visible Brackets
These metal “shepherd” or L-brackets are easier to install. You’ll use your laser level to align them, then anchor into wall studs. However, typical visible brackets only handle about 20 pounds unless you buy heavy-duty, stud-mounted versions.
Hidden Brackets
For a true floating look, hidden brackets conceal steel support rods inside the shelf. This system needs recessed wall mounting channels and precise alignment with wall studs. Plan for adequate shelf thickness: solid wood floating shelves usually need 1¼ inches or more. Remember, deeper shelves reduce capacity due to lever physics, so match your bracket choice to both depth and thickness.
Recommended Products

YOUR ITEMS, YOUR WOOD – YOU SUPPLY IT: Supply 3/4" thick wood (e.g., 1x4 to 1x10 pine or plywood, sold separately) for custom-fit shelves that match your items.

YOUR ITEMS, YOUR WOOD – YOU SUPPLY IT: Supply 3/4" thick wood (e.g., 1x4 to 1x10 pine or plywood, sold separately) for custom-fit shelves that match your items.

YOUR ITEMS, YOUR WOOD – YOU SUPPLY IT: Supply 3/4" thick wood (e.g., 1x4 to 1x10 pine or plywood, sold separately) for custom-fit shelves that match your items.
Select Shelf Material Thickness for Your Weight Needs
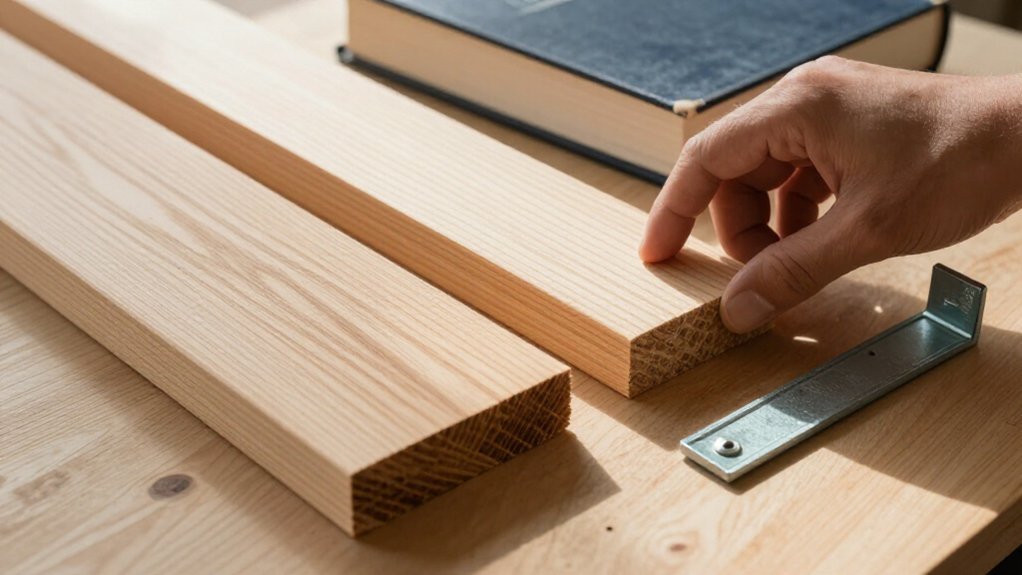
You’ll need to match your shelf thickness to the bracket type you’ve chosen if you’re using solid wood. For LD brackets, grab stock that’s at least 1-1/4″ thick; step up to 1-1/2″ for MD and 1-3/4″ for HD so your shelf can handle the hidden hardware and weight without cracking. If you’re working with hollow or engineered shelves instead, you can use thinner materials because the internal structure adds stiffness in a different way.
Recommended Products

Maximize Your Space: The wood floating shelves for wall are 9 inch deep, which can add more space to your living room, bedroom, bathroom, kitchen or office for arranging items and make them more neat and orderly.

Natural Wood Floating Shelves: These real wood shelves are handcrafted from 100% solid pine and finished in a warm walnut tone that highlights natural grain and knots for a clean farmhouse look
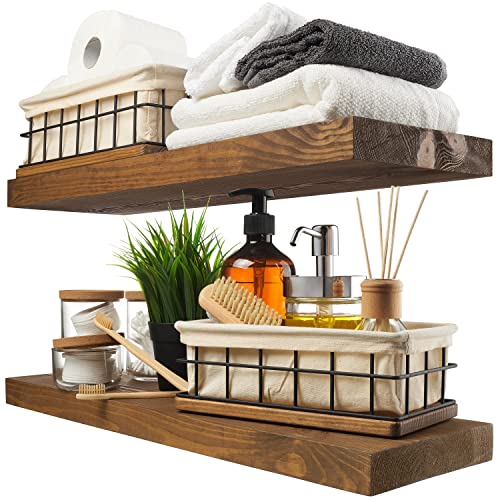
Natural Wood Floating Shelves: These real wood shelves are handcrafted from 100% solid pine and finished in a warm walnut tone that highlights natural grain and knots for a clean farmhouse look
Solid Wood Minimums
Picking the right thickness for your solid wood shelf isn’t just about looks, it’s what keeps your floating shelf from sagging or splitting under load.
When you’re using solid Wood, match your thickness to your bracket depth. For Aksel LD (10″ depth), use 1¼” minimum. Step up to 1½” for MD setups, and 1¾” for HD.
Going deep with XD (up to ~17″)? Don’t guess; follow the manufacturer depth-to-thickness requirement exactly.
Why thickness matters with floating shelf brackets:
The bracket acts like a lever, so every extra inch of depth costs you strength. Thicker wood fights that physics and keeps the back of the shelf stiff where it meets the wall.
Before you cut one long slab, find the studs and plan your bracket placement. The wood thickness only supports proper seating; your studs and hardware determine real load capacity. Hit solid anchoring targets, and you’ll build shelves that stay level and strong.
Hollow-Core Guidelines
Although hollow-core shelves look sleek and cost less than solid wood, they’re built differently inside, so you’ll need to pay closer attention to thickness and hardware fit. You’ll want at least ¾” thickness, though 1–1¼” handles real weight better. Match your floating-bracket model to that depth, many concealed systems target ~1⅛–1¼” for proper load transfer through the steel rods.
Don’t trust hollow-core to drywall anchors alone. You’ll anchor into studs in the wall for real shelf weight capacity, or you’ll risk a crash. Drill holes drilled precisely so the shelf fully seats on the hardware.
Follow these steps to protect your Wall and your books:
- Feel relief knowing thick hollow-core shelves won’t sag under light décor.
- Feel confidence when you hear the steel rods click into place.
- Feel security as you tighten into studs in the wall, not crumbly drywall.
- Feel pride seeing books lined back-heavy, maximizing shelf weight capacity safely.
Cut and Finish Boards or Build Box-Style Shelves
Start by choosing lumber that matches your budget and the look you want. Budget builds work great with 1×8 pine, while 2×8 boards give you that beefier, substantial feel. For a premium floating bookshelf, spring for hardwoods like oak, maple, or walnut. These custom built shelves need wood to protect against wear, so factor in finishing supplies.
For prep work, grab a laser tape measure and mark exact dimensions. You can cut and finish boards yourself with a miter saw, jigsaw, or circular saw with a square guide, or use the store cut service if your measurements are locked in. Sand from 80 grit up to 120 or 180 grit, softening front edges with light passes. A palm router with a round-over bit gives box-style shelves cleaner edges.
If you’re building box-style shelves, use thicker carcass material so the wood itself supports hidden hardware and resists sagging over time.
Recommended Products

VERSATILE USE – This class II laser level is ideal for hanging picture frames, installing decorative items, mounting shelves, straightening, and angled applications like hanging items along a staircase.

★ DUAL MODES & SELF-LEVELING ★ The cross line laser with slide switch enable you to set 2 modes, self-leveling mode and manual mode. When working in self-leveling mode, the range of leveling and compensation is 4°± 1°and the laser level will automatically level for horizontal/vertical/cross line, otherwise the laser will flash to indicate thr out-of-level condition. In manual mode, the self-leveling function is deactivated and the cross is locked to use the device at any angle.

WARM TIPS: Please press the battery firmly to ensure it is securely installed and to keep the product stable. Adjusting to manual mode will stop the beeping sound.
Install Brackets Level and Flush to the Wall
First, you’ll mark your stud locations so your bracket screws bite into solid wood instead of hollow drywall. Then you’ll hold each bracket against your height line and check it with a level, adjusting until it’s perfectly straight before you drill any holes. Finally, you’ll secure everything with long screws, usually two inches or more, so your shelves stay put once they’re loaded with books.
Recommended Products
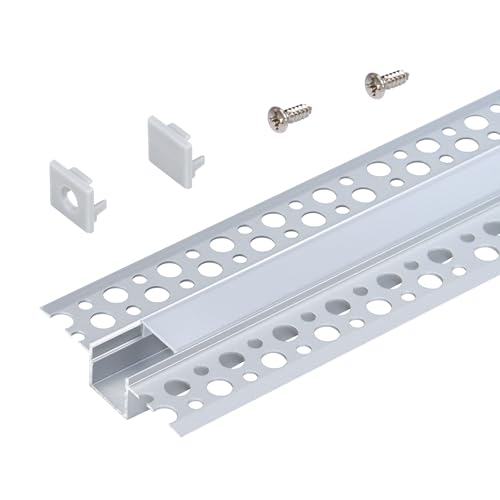
Designed for mounting recessed LED light strips in drywall

Sleek, minimalist design — simplify and declutter your walls and ceilings for a modern look. Customizable with paint or wallpaper

𝐈𝐍 𝐖𝐀𝐋𝐋 𝐂𝐀𝐁𝐋𝐄 𝐌𝐀𝐍𝐀𝐆𝐄𝐌𝐄𝐍𝐓 𝐊𝐈𝐓 – Bestmounts Single gang wall cable pass through is the perfect solution to conceal cords on wall up to 4 low voltage audio/video cables behind your wall-mounted flat panel TV (may hold more than 4 cables depending on type)
Mark Your Stud Locations
With your shelf height marked on the wall, grab a stud finder and slide it along that line to locate the framing behind the drywall. Mark each stud location with a pencil. You’ll want to use one stud at minimum, but securing into two studs gives you real peace of mind.
Here’s why finding studs matters so much:
- Solid support prevents disaster: Missing the stud means your shelf crashes down, possibly damaging walls or injuring someone below.
- You’ll sleep better knowing it’s secure: That nagging worry about “what if something goes wrong” simply disappears.
- Your books deserve protection: A properly anchored bracket protects the shelf from sagging and your treasures from falling.
- Make sure you measure twice: Grab your tape measure, check from the front edge, and allow us to reassure you: this step saves hours of frustration later.
Level Each Bracket
Once you’ve gotten your studs marked, you’re ready to hold that steel mounting plate up against the wall and see how it aligns. Set your level on a flat surface of the bracket, not the wood, to ensure every support sits at the exact same height.
Check that the bracket stays flush to the wall with no gaps wobbling it. If your wall’s uneven, shim behind it so the whole face contacts evenly.
Drive screws into the stud through the top and bottom holes for the tightest grip. Add additional support anchors where needed.
Recheck your level after tightening, since over-torque can pull things askew.
When you’re satisfied with placement, slide the shelf onto the bracket. Tighten any locking screws through the back of the shelf to secure it in place, and you’re set.
Secure With Long Screws
Grab your level and line up that steel bracket against the wall, pressing it firm so there’s no gap behind it. You’re going to use long screws, about 2 inches or longer, driven through the bracket’s stud holes to lock it tight. If you want extra precision, use a laser to project your line across the wall, then mark where each bracket sits.
Here’s what keeps your Install Floating project solid:
- Feel the relief when that bubble sits dead center, knowing your Shelves won’t tilt.
- Trust the strength hidden inside the wall as you secure with long screws biting deep.
- Slide that shelf onto the bracket from one end and hear the satisfying click of fit.
- Rest easy with additional supports and set screws keeping everything locked in place.
Mount Floating Shelves Tight Against the Wall
If you want shelves that look like they’re hovering, you’ve got to hide the hardware completely. Start by picking a concealed system with a recessed back channel INSIDE the shelf. This lets the steel back bar sit flush against the wall before you slide the shelf on.
After you locate studs, level and screw the wall bracket in place. Dry-fit the shelf body to confirm the recessed area leaves no visible standoff. Mark your holes carefully. Transfer exact positions from the steel frame to the underside or back of the shelf. Drill to depth so pins seat fully and don’t push the shelf outward.
If your wall is uneven, shim only behind the shelf and bracket where needed. Don’t force things with over-tightened screws. Once tight, lock the set screws and check that the shelf bottom gap is zero along the full run.
Recommended Products

The bracket has a 1" backplate and is designed for use with boards 1.5" thick or more.NOTE: The board thickness we refer to is the actual (not nominal) size.

The bracket has a 1.5" backplate and is designed for use with boards 2" thick or more. NOTE: The board thickness we refer to is the actual (not nominal) size.

The bracket has a 1" backplate and is designed for use with boards 1.5" thick or more.NOTE: The board thickness we refer to is the actual (not nominal) size.
Test Weight Capacity and Add LED Lighting If Desired
Verify your hardware can handle the load before you trust it with your books. Start your test loading with light decor, then gradually add weight. Watch the front and side for droop, wobble, or pulling away. Sagging means your rods are undersized or you missed the studs.
Keep in mind these physics tips for heavy shelves:
- Load heavy books toward the back, not the edge, since leverage pries outward at the top.
- Add a couple extra brackets or rods if your system allows it.
- Choose slightly thicker material if you’re rebuilding, solid wood needs 1¼” to 1¾” depending on depth.
Want ambiance? LED lighting installs easily with aluminum channels, adhesive strips, and a low-voltage transformer. Run wiring cleanly to a wall source. (Note: affiliate links may appear for recommended kits.)
Recommended Products

Heavy Duty design, maxium support weight of 100lb for a pair of this L bracket. Matte black powder coat finish. Creating a rustic, reclaimed, salvaged look,perfect for your home, office, garage, work space or anywhere else

【Suitable For 2*4” Wood Studs】Goovilla hidden shelf brackets is desiged with a 1.57*1.38” backplane. The small size and 3 close together screw holes match the narrow 2×4 inch (actual size is 1.5*3.5” ) wood studs thoroughly.

Heavy Duty design, maxium support weight of 240lb for a pair of this shelf bracket. Designed to support 12 inches to 16 inches deep shelf. Matte black powder coat finish. resistant to corrosion and rust, durable. Creating a rustic, reclaimed, salvaged look,perfect for your home, office, garage, work space or anywhere else.

I am Đinh Ai Nguyễn, a content writer at SoftAuraHome.com. For me, home is more than just a place to live. It is where we recover from long days, hold our quiet moments, and create the atmosphere that shapes how we feel. That belief is one of the biggest reasons I wanted to be part of this blog. I started writing about home decor because I have always been drawn to spaces that feel soft, peaceful, and emotionally grounding. I believe a calm room can do more than look beautiful. It can bring comfort, restore energy, and help people feel more connected to themselves and the life they are building. Through Soft Aura Home, I want to share ideas that are not only visually inspiring, but also meaningful in everyday life. With experience in SEO writing and niche content publishing, I understand how to create articles that are clear, useful, and easy to discover. But beyond strategy, I care deeply about how a piece of content makes someone feel. Every article I write is created with the hope of helping readers shape homes that feel gentle, personal, and full of quiet warmth.
Follow on Facebook