


Did you know that over 60% of homeowners tackle bathroom repairs themselves rather than calling a plumber? You’re about to join them, and removing a bathtub drain is easier than you’d expect. The trick lies in knowing which type you’re dealing with and having the right tool ready before you start. Most people give up too early, but you’ll see why patience pays off. Stick around, and you’ll discover the five straightforward steps that’ll save you both time and money.
Identify Your Bathtub Drain Type and Condition
Why guess at the tools you’ll need when a quick look can tell you everything? First, identify your stopper type. Lift-and-turn stoppers usually hide a small set screw under the knob. Push-and-pull or toe-touch styles let you unscrew the cap to reveal the base. Fixed grid covers sit right on top. You’ll need to push past this cover to reach what matters: the drain flange below.
Now examine that metal ring in your tub floor. Look for small cross members inside; these accept a standard tub drain wrench. Here’s the short version: intact cross bars mean you’re in luck. Broken, stripped, or corroded ones call for a specialized extraction tool instead.
Check for age-related locking too. Heavy rust, mineral buildup, or paint bridging the flange edge signals a tough removal ahead. If cross members look missing or the flange appears severely pitted, plan for professional help.
Recommended Products

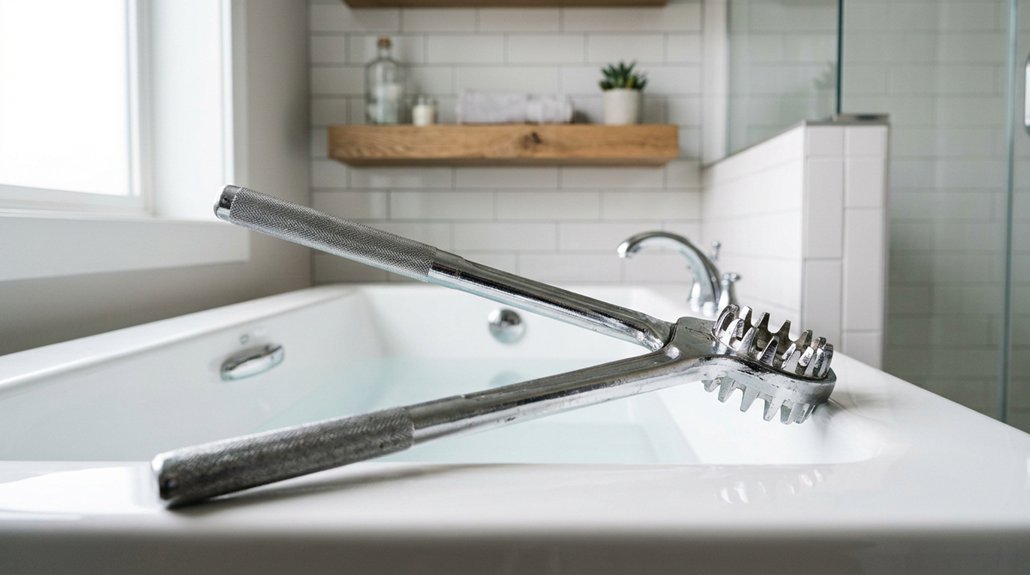
Tub drain remover wrench measures approx: 5.9 x 1.77 x 1.77 inches(15 x 4.5 x 4.5 cm), the proper size is so easy for you to put tub drain remover wrench in your toolbox...
Remove the Stopper to Reach the Flange
With the drain type identified, you’re ready to clear the path to your flange.
With the drain type identified, you’re ready to clear the path to your flange.
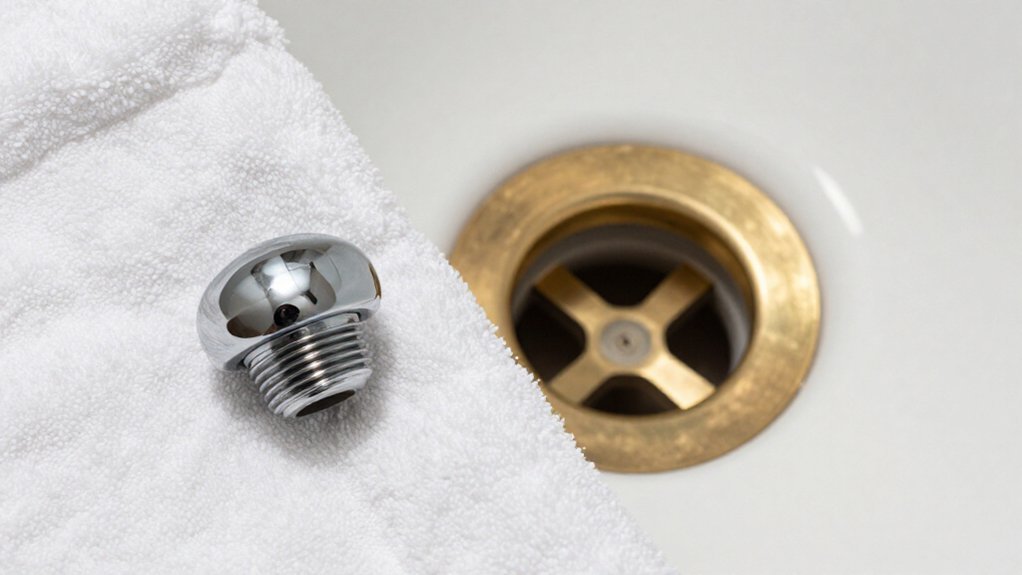
Start by spotting your stopper style. Lift-and-turn stoppers hide a tiny set screw beneath the knob. Toe-touch or push-pull types usually let you unscrew the cap to expose the base. Some tubs have a fixed grid cover instead.
Grab a Phillips or flat screwdriver to loosen any visible set screw on lift-and-turn models, then pull the stopper straight up. For toe-touch types, twist the cap counterclockwise by hand. Never pry, you’ll risk breaking the linkage or stripping threads.
Stuck stopper? Dab penetrating oil around the seam, wait five to ten minutes, then try again.
Once free, you’ll spot the drain flange’s cross bars clearly. That view lets you pick the right drain wrench for the job ahead.
Recommended Products

Tool may not be able to remove all tub drains. Some drains may be too corroded to remove with any tool. Not Returnable once used.

Professional Tub Drain Extractor designed to remove rusted, corroded and stubborn bath tub drains. Suitable for tub drains with inner diameter ranging from 1.52 inch to 1.70 inch.Simply drop the tool in the drain and lightly tap it down in the drain. Turn it counterclockwise with a ½” ratchet drive and extension or wrench.

Helical Design -- Unique helical knurl “bites” into the drain and will not slip, the more torque applied the more 'bite' on the drain Hardened steel design w/ gold plate finish.
Unscrew the Drain: Wrench or Extraction Tool
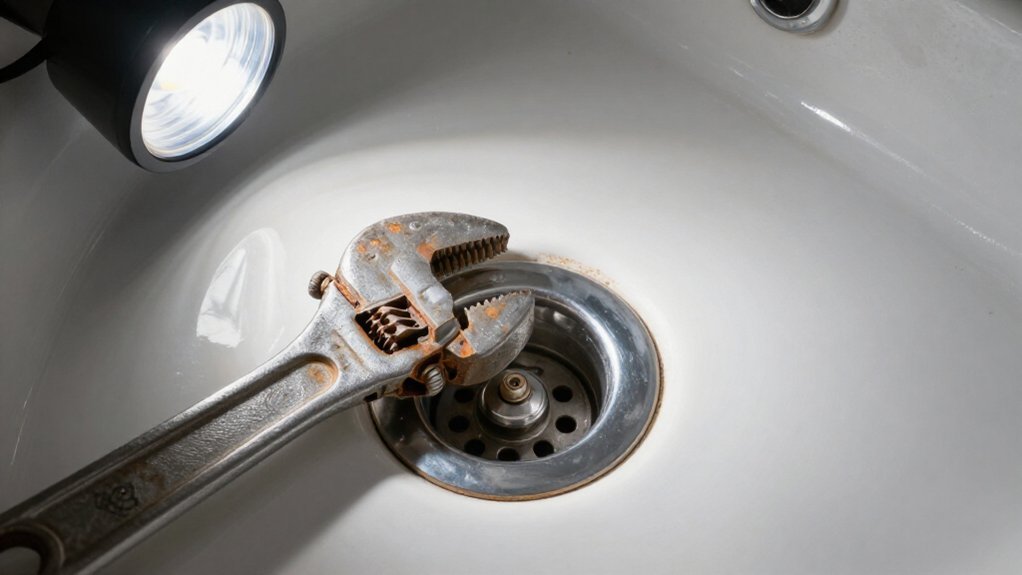
Now that you’ve got a clear view of the drain flange, take a moment to inspect what’s inside. Look at those internal cross members. Are they intact and sturdy? You’ll need a tub drain wrench. Are they broken, stripped, or corroded away? Reach for a tub drain extraction tool instead.
Choose your tool:
- Tub drain wrench: Grabs intact cross bars for easy turning
- Tub drain extraction tool: Expands to grip damaged or missing cross members
Insert your tool fully into the drain. Turn counterclockwise with steady, even pressure. Don’t force it. If it resists, apply penetrating oil around the flange threads and wait 5 to 10 minutes.
Watch for warning signs. Stop immediately if the waste shoe spins beneath the tub or if you spot cracks and severe pitting. Call a professional to avoid bigger damage.
Recommended Products
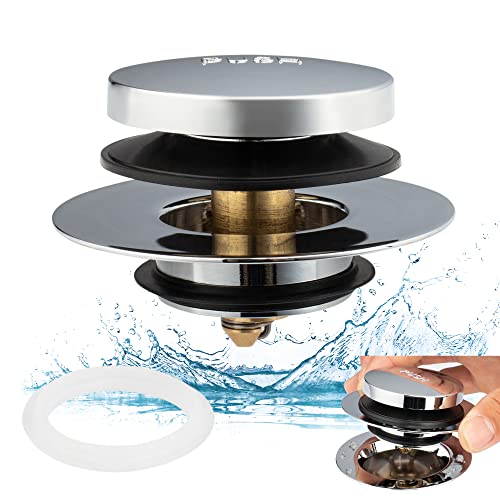
UGRADED TUB DRAIN STOPPER AND COVER: New design for easy installation and removing, so that you can clearing the hair and tangled messes easily.

This replacement stopper comes with a 3/8" pin
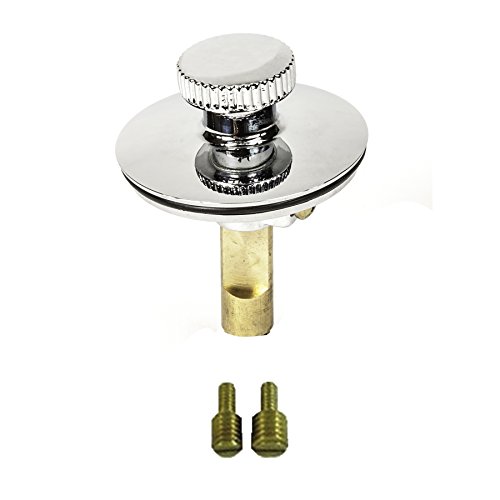
HAND OPERATED Bathtub Drain Stopper
What If the Drain Won’t Budge?
Sometimes a drain fights back, even when you’re doing everything right.
Break the Seal and Lubricate
First, score around the flange perimeter with a utility knife to cut through any paint or caulk seal. Apply penetrating oil around the threads and wait 5–10 minutes before trying again.
Use Proper Technique
Grab a proper tub drain wrench, not pliers. Apply steady, even pressure counterclockwise. Avoid jerky moves that could twist the waste shoe underneath your tub.
Know When to Stop
If the flange still won’t turn, repeat the oil and wait cycle. Switch tools if cross members are corroded.
Call a Pro When Needed
Stop immediately if the waste shoe spins while you turn the flange. Also get help if you spot cracking, severe pitting, or the drain remains stuck despite proper tools. You’ll avoid costly tub damage.
Recommended Products

FOOT OPERATED Bathtub Drain Stopper
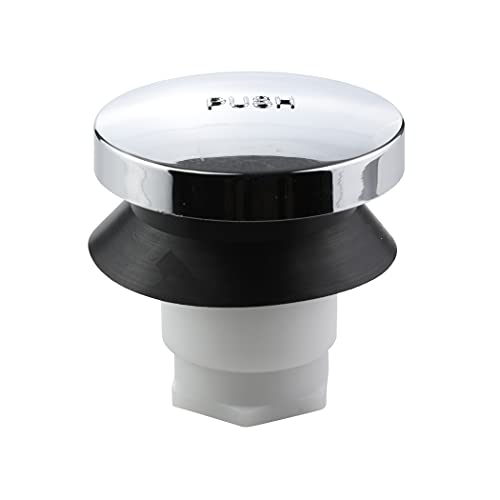
FITS MOST STANDARD BATHTUB DRAINS: Fits 2-inch cross-arm bathtub drains with adapters for 5/16 inch and 3/8 inch thread sizes
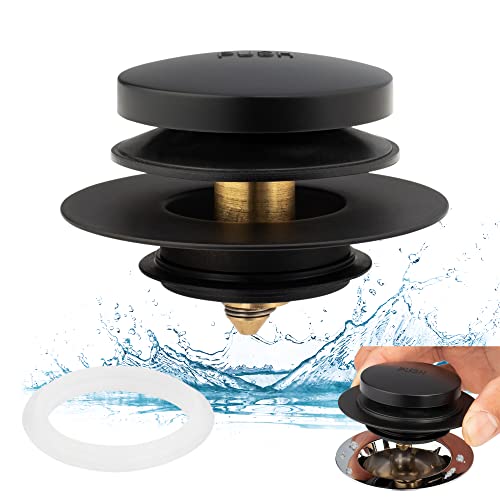
UGRADED TUB DRAIN STOPPER AND COVER: New design for easy installation and removing, so that you can clearing the hair and tangled messes easily
Clean, Install, and Test the New Drain
Once you’ve got the old drain out, you’ll want to prep the area before popping in the new one.
Scrape off old putty or silicone from the drain seating area with a plastic scraper. Wipe it smooth and dry so the new flange seats evenly.
Clean the drain seating area thoroughly—smooth, dry surfaces ensure your new flange seals evenly and prevents leaks.
Check the rubber gasket (the waste shoe washer) for cracks. Replace anything damaged. Roll a rope of plumber’s putty around the underside of the new flange, or use silicone if the instructions say so.
Hand-thread the flange first to avoid cross-threading, then snug it with a tub drain wrench: firm, not overtight. Wipe away excess sealant at the edges.
Reattach the stopper mechanism. Adjust the linkage so it opens and closes smoothly.
Fill the tub a few inches and check for leaks around the flange. Peek underneath if you have access. Reseat with fresh putty if you spot any moisture.
Recommended Products

UGRADED TUB DRAIN STOPPER AND COVER: New design for easy installation and removing, so that you can clearing the hair and tangled messes easily.

RUST RESISTANT - Rust-resistant metal with oil rubbed bronze finish

Functionality: The Dorence "Tip-Toe" style touch bathtub drain stopper kit is an ideal replacement for your bathtub stopper as it will ease your bathing experience by simply tapping close and opening the drain

I am Đinh Ai Nguyễn, a content writer at SoftAuraHome.com. For me, home is more than just a place to live. It is where we recover from long days, hold our quiet moments, and create the atmosphere that shapes how we feel. That belief is one of the biggest reasons I wanted to be part of this blog. I started writing about home decor because I have always been drawn to spaces that feel soft, peaceful, and emotionally grounding. I believe a calm room can do more than look beautiful. It can bring comfort, restore energy, and help people feel more connected to themselves and the life they are building. Through Soft Aura Home, I want to share ideas that are not only visually inspiring, but also meaningful in everyday life. With experience in SEO writing and niche content publishing, I understand how to create articles that are clear, useful, and easy to discover. But beyond strategy, I care deeply about how a piece of content makes someone feel. Every article I write is created with the hope of helping readers shape homes that feel gentle, personal, and full of quiet warmth.
Follow on Facebook