
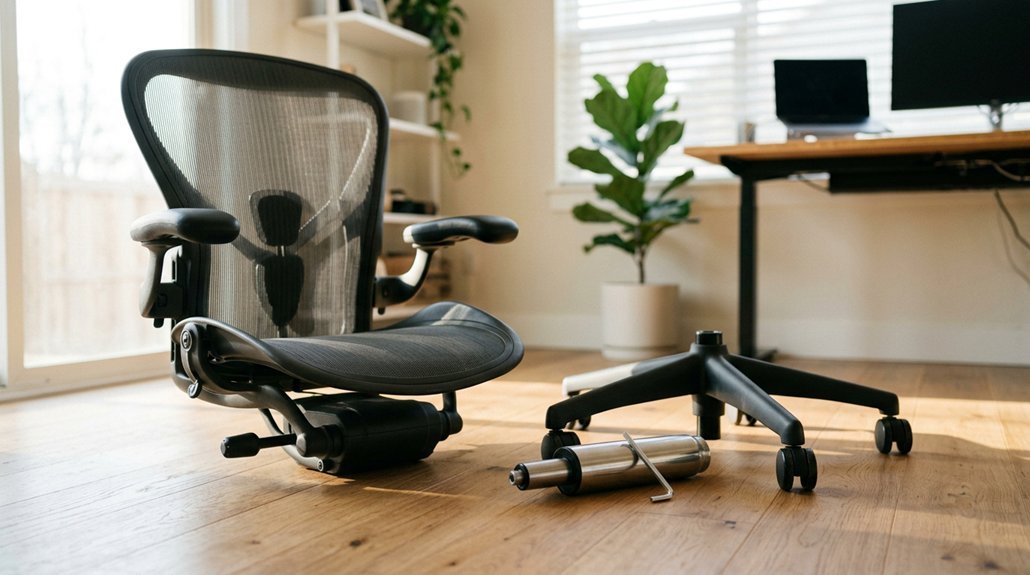


Your office chair keeps sinking, and you’re tired of stacking pillows just to sit comfortably. Replacing the gas cylinder, the metal tube that controls height, is easier than you think. You’ll flip the chair, loosen the old part, and swap in a match. Seven clear steps stand between you and a chair that stays put.
Flip the Chair and Protect Your Work Area
Start by tipping your office chair onto its side so you can reach the base and gas lift without fighting the seat weight. This position keeps everything stable while you work.
Flip the Chair Properly
You’ll want to position the chair so the cylinder and hub area are clearly visible and within easy reach. This makes tapping and loosening much simpler. Keep the chair steady on its side to prevent slipping or sudden movement when you’re applying force to stuck parts.
Protect Your Work Area
Before you start, lay down newspapers, a plastic bag, or an old towel underneath. Grease and oil often leak from cylinder joints during removal. Cover any nearby fabric with a spare cloth too, especially if you’ll use penetrating oil or WD-40 later. This prevents stains from spreading and saves you cleanup time.
Recommended Products

DURABLE MATERIAL - Our chair stop office chair gas lift cylinder replacement is made from high strength plastic from an injection mold and not 3D printed from a printer
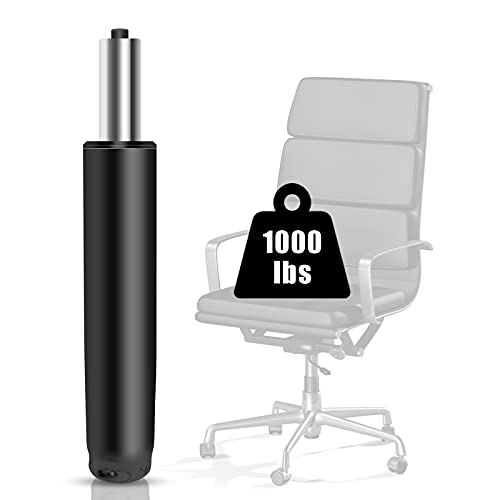
HEAVY DUTY CLASS 4 PISTON: lift cylinder, which has passed over 100,000 times of rotation/push/pull/impact test, with no loss of usability function after the experiment,they built with high-quality solid steel that can support maximum weight up to 1000 LBS.

Adjustable height 5.5 IN: The height of the fully compressed chair piston is: 11.4 IN, the fully expanded height is: 16.9 IN, it has an adjustable height of 5.5 IN,which allows you to rise higher (Note: higher than normal cylinder, measured before purchase)
Remove the Cylinder From the Chair Base
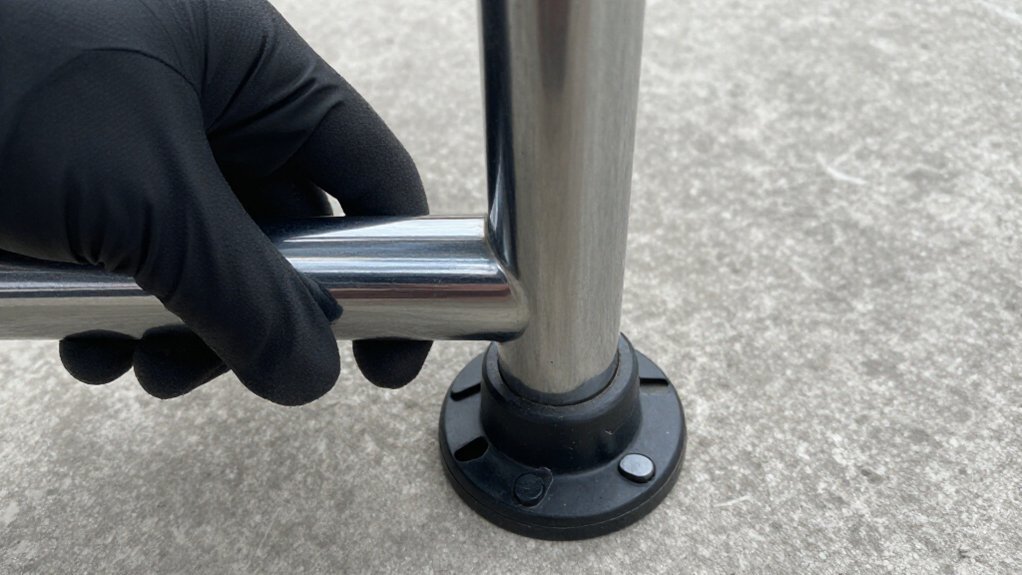
You’ll tackle loosening the joint first by spraying penetrating oil where the gas lift meets the base, then tapping gently with a hammer to break the seal. Once it budges, clamp a pipe wrench on the cylinder top and twist while pulling upward to separate the components. If it still won’t budge, don’t force it, just unbolt the seat mechanism instead and tap it free from the cylinder.
Recommended Products
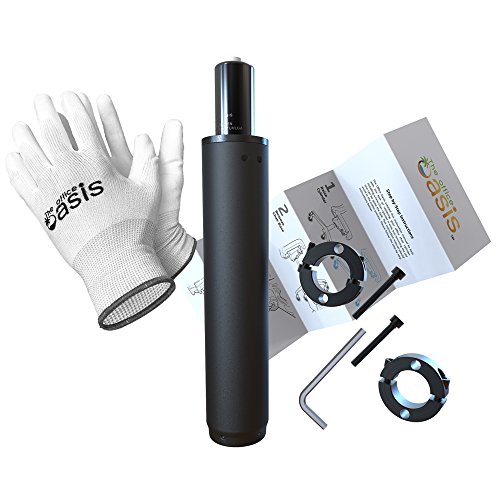
★ EASY REMOVAL & INSTALLATION – We invented the first cylinder replacement kit with a purpose-built removal tool in 2016. No more struggling for hours with tools you don’t have. Since then, our kits have helped fix 120,000+ office chairs, backed by the original American family business that guides you through every step.

Sturdy Alloy Steel Build: Crafted from durable alloy steel this gas lift cylinder provides stable support and effectively avoids sinking issue over time well suited for office gaming and salon chairs
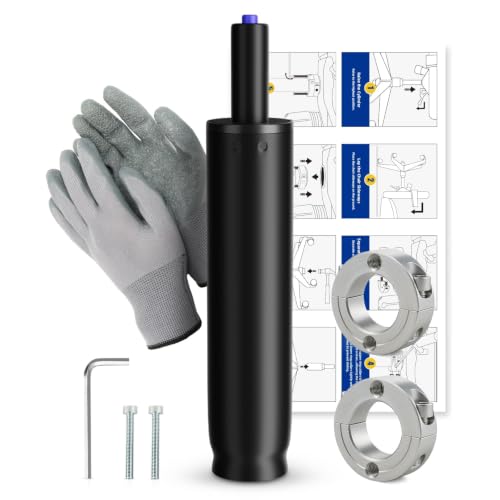
★ CORRECT SIZE & UNIVERSAL FIT: Outer cylinder diameter 2" (50mm), inner piston diameter 1" (28mm), minimum length 11.5" (293mm), maximum length 17.5" (445mm) with a 6" (152mm) adjustable stroke. Fits 99% of office and gaming chairs, including Herman Miller, Steelcase, Secretlab and more.
Loosening the Joint
With the chair on its side, you’re ready to tackle the stuck joint between the gas lift and the base. Spray penetrating oil where the gas lift meets the base, then wait a few minutes or several hours if it’s really seized.
Grab a rubber mallet and tap around the metal hub, not the cylinder center. Keep your taps small and controlled until things start to move. Now clamp a pipe wrench on top of the gas lift and twist gently while pulling upward. Steady pressure breaks the seized fit without wrecking nearby parts.
If it still won’t budge, don’t force it. You’ll need to remove the base another way by loosening the chair mechanism bolts underneath the seat instead. Once free, set the old cylinder aside and keep that opening clean for your replacement.
Separating the Components
Once the penetrating oil has had time to work, you’re ready to break that stubborn connection.
Tip the chair onto its side. This keeps everything stable while you access the underside where the gas lift meets the base.
Grab your pipe wrench and fit it around the metal collar, not the center of the cylinder. Apply steady, controlled pressure rather than brute force. If it won’t budge, don’t force it.
Use a hammer or mallet to tap firmly around the connection area. Controlled taps help break the seal without damaging parts.
Still stuck? Apply more penetrating oil and wait. Rust seizing can take minutes to hours to loosen.
When you feel movement, pull the cylinder straight out. Keep the chair mechanism aligned. If resistance continues, stop and reassess rather than risk damage.
Free the Cylinder From the Seat Mechanism
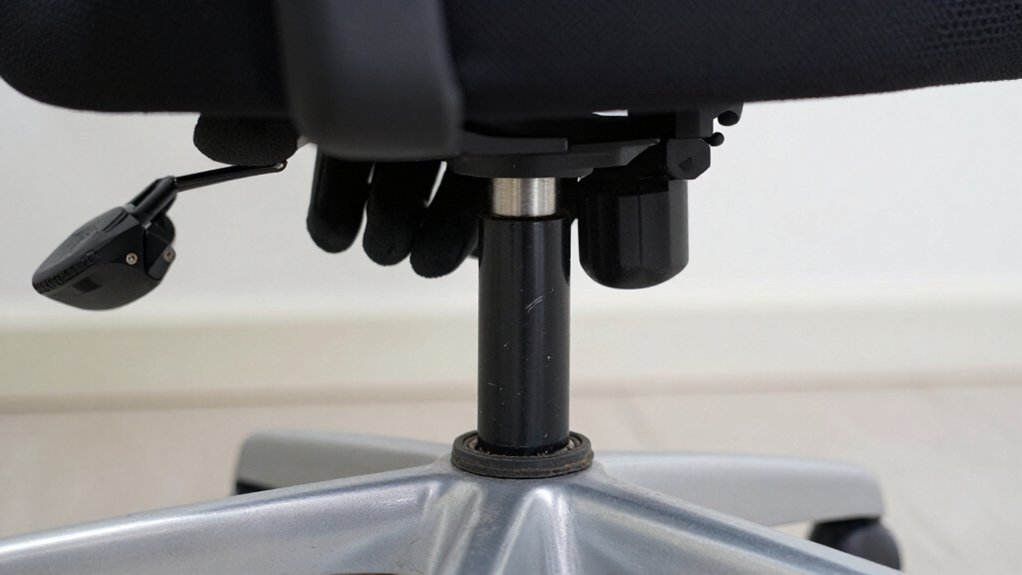
Tip the chair onto its side so you can see where the gas lift cylinder connects to the seat mechanism underneath. You’ll need to loosen this connection with penetrating oil and careful tapping before you can separate the two parts. With the right approach, you’ll free the cylinder without damaging the chair’s metal collar or the mechanism itself.
Recommended Products
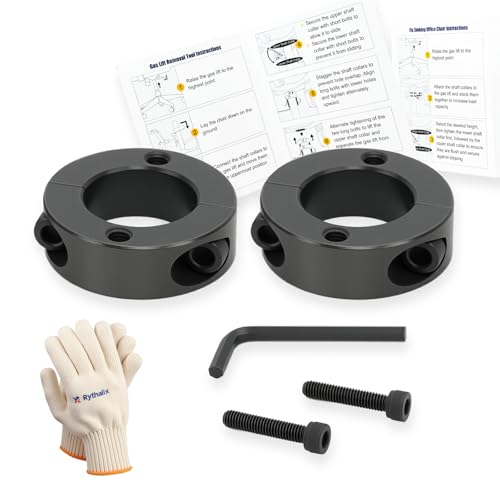
COMPLETE GAS LIFT REMOVAL KIT - Rythalix professional set includes: 2x 45-grade steel clamp shafts, 2x long bolts, 2x short bolts, 1x L-wrench, 1x polyester-cotton gloves (65/35 blend). Precision-engineered for 28mm cylinder extraction.

★ AMERICAN OWNED, FAMILY BUSINESS - Join the Oasis family and support a small, USA-based husband-and-wife company!

When the cylinder fails, let your office chair no longer sink, extend the service life of the chair, so that the chair can rotate smoothly, and save the cost of buying a new chair.
Accessing the Mechanism
Before you can pull the old cylinder free, you’ll need to get the chair into a stable position where you can actually see what you’re doing. Tip the chair onto its side so you can clearly access the underside seat mechanism and the cylinder connection without risking the base falling over. This gives you a clear view of the office chair cylinder and the metal hub where it meets the seat plate.
When accessing the mechanism, you’ll likely find the joint stuck from years of use. Spray penetrating oil into the connection point and wait a few minutes. Then tap around the metal collar, not the center, to break the seized fit. If it won’t budge, add more oil and keep tapping. You may need to remove the main bolts holding the seat mechanism to fully separate it from the cylinder.
Loosening the Connection
How do you actually get that stubborn cylinder to let go? You’ll need patience and the right technique to free that gas cylinder from the seat mechanism.
Start by spraying penetrating oil where the cylinder meets the seat base. Let it soak a few minutes, or longer if you spot rust. Grab your hammer and tap around the metal collar near the joint, not the center of the cylinder itself. This breaks the stuck grip without damaging anything.
If it still won’t budge, don’t force it. Give the penetrating oil more time and repeat the tapping cycle. Trust me, waiting beats breaking parts.
Once loose, clamp a pipe wrench on the cylinder, pull upward, and twist gently to separate it. Still stuck? Remove the seat mechanism bolts instead so you can tap the mechanism free without stressing the cylinder.
Separating the Components
With the connection loosened up, you’re ready to pull the cylinder free from the seat mechanism. Tip the chair onto its side so you can see where the gas lift meets the underside. Spray penetrating oil at that joint and wait a few minutes. Let it soak into any rust or stuck spots.
Now grab your rubber mallet. Tap firmly around the metal hub or collar near the connection, not the center of the cylinder itself. Work your way around the edge to break the bond. If it’s still stuck, add more oil and keep tapping until it gives.
Once loose, pull the mechanism upward to separate it. Check that the linkage and valve area aren’t bent. Misalignment can stop your height lever from working later.
If you’re struggling, don’t force it. A released cylinder can shift suddenly and pinch you. That’s when you call in a pro or check your cylinder replacement kit instructions before you replace an office chair component.
Get the Right Replacement Office Chair Cylinder
To find a cylinder that actually fits, you’ll need to take a few quick measurements from your old one. You can Measure the cylinder’s working range by raising your chair to the highest and lowest points, then match that stroke height to your Replacement gas lift.
If the lift is broken, measure the full length plus top and bottom tube diameters instead. Check that the replacement fits your chair’s load rating, staying under the limit to protect the seals.
Make sure you pick the right connection style so the cylinder seats into the base opening and lines up with the valve under the seat.
Can’t find the specs? Contact your chair’s manufacturer with your measurements and they’ll point you to the correct part.
Recommended Products

Extra-Wide Adjustable Height Range: Enjoy a generous 5.9-inch (150mm) lift range, from a minimum of 11.8" to a maximum of 17.7". To ensure a perfect fit, please measure your old cylinder before ordering, as the installed height may differ and result in a higher seating position than expected.

Adjustable Height of 5.5": The gas lift cylinder offers an adjustable height range from 10.5 inches to 16 inches, providing enhanced flexibility and comfort by accommodating a higher seating position. (Note: Please measure before purchase.)

Hardware repair kit for office chair gas lift cylinders
Seat the New Cylinder in the Base
Slide the bottom of your new gas-lift cylinder straight into the center hole of the chair base. Make sure it’s centered and aligned so it drops in smoothly without forcing it. You’ll know it’s right when the cylinder matches the base’s slot and sits fully in place without wobbling.
Once you’ve seated the new cylinder in the base, carefully flip the chair upright. Guide the top of the cylinder into the underside of the seat mechanism. Align the parts and press down until they fasten securely on their own.
Test your work by raising and lowering the seat several times. The cylinder should move smoothly and hold its height. If it does, you’re ready to enjoy your fixed chair.
Recommended Products

Adjustable Height: Features a compressed length of 14.7 inches and an expanded length of 22.2 inches, offering a 7.6-inch stroke to suit your seating needs.

Study & Heavy Duty: Certified by SGS test (USA) & Higher Standard LGA test (GER), use of high quality materials and thickened outer steel, this gas lift cylinder is of really high quality and durability, weight capacity: 450 lbs.

HEIGHT-MATCHED SIZING GUIDE: No Guesswork! Skip wrong-size hassle! Exact fits by U.S. height: 8" Travel Length (suitable for heights: 6’2”–6’7”). Ensures 90° knee bends for healthy posture. Multiple sizes available—share your height/desk size for personalized picks.
Attach the Seat to the New Cylinder
Lift the seat mechanism and align the top of the new cylinder with the center opening on its underside. Lower it gently until the Cylinder seats fully into the chair’s center hub.
Align the cylinder with the seat’s center opening and lower gently until it seats fully into the hub.
Secure the Connection
- Make sure the Cylinder drops straight into the receiving collar so it won’t sit crooked.
- If your Office chair has a metal retainer plate, reattach it tightly now. This locks the seat-to-lift bond.
Check Your Work
Flip the chair upright. Raise and lower the seat a few times. You should feel the height lever open and close the valve smoothly, and the Cylinder should hold pressure without sinking.
If anything feels off, adjust the alignment right away. A mis-seated cylinder blocks smooth valve operation and leads to continued sinking.
Recommended Products

HEIGHT-MATCHED SIZING GUIDE: No Guesswork! Skip wrong-size hassle! Exact fits by U.S. height: 5.5" Travel Length (suitable for heights: 5’7”–6’2”). Ensures 90° knee bends for healthy posture. Multiple sizes available—share your height/desk size for personalized picks.

HEIGHT-MATCHED SIZING GUIDE: No Guesswork! Skip wrong-size hassle! Exact fits by U.S. height: 3.9" Travel Length (suitable for heights: 5’3”–5’11”). Ensures 90° knee bends for healthy posture. Multiple sizes available—share your height/desk size for personalized picks.
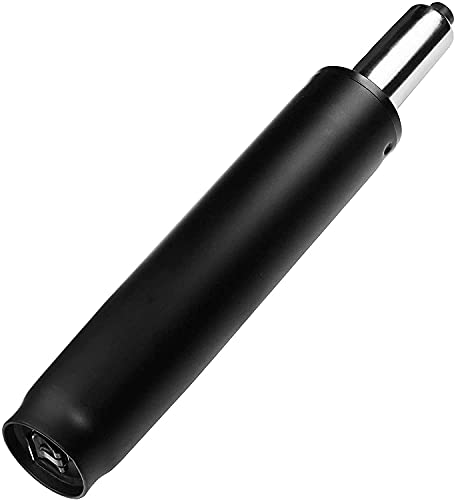
HEAVY DUTY Gas lift cylinder that holds great weights - tall center support column of the chair. Holds up to 450 lbs on most office, executive and computer chairs.Highest End Class 4 gas cylinder on market.
Test Your New Office Chair Cylinder and Fix Problems
With the seat and cylinder locked together, you’re ready to make sure everything works like it should. Flip the chair upright and pump the seat up and down 5 to 10 times. Confirm it locks at multiple height settings.
Check for Leaks
Sit in the chair and watch if it stays put for 1 to 2 minutes. If it slowly sinks, the gas lift seals aren’t holding pressure.
Quick Fixes
If the chair won’t raise or stay up, re-check that you fully seated the cylinder in the base. Make sure you oriented it correctly so the height lever valve aligns.
If it drifts or sinks right away, compare your replacement to the old cylinder’s extended versus compressed measurements. You may have the wrong size.
Still stuck? Inspect for bent linkage that fails to press the valve pin.

I am Đinh Ai Nguyễn, a content writer at SoftAuraHome.com. For me, home is more than just a place to live. It is where we recover from long days, hold our quiet moments, and create the atmosphere that shapes how we feel. That belief is one of the biggest reasons I wanted to be part of this blog. I started writing about home decor because I have always been drawn to spaces that feel soft, peaceful, and emotionally grounding. I believe a calm room can do more than look beautiful. It can bring comfort, restore energy, and help people feel more connected to themselves and the life they are building. Through Soft Aura Home, I want to share ideas that are not only visually inspiring, but also meaningful in everyday life. With experience in SEO writing and niche content publishing, I understand how to create articles that are clear, useful, and easy to discover. But beyond strategy, I care deeply about how a piece of content makes someone feel. Every article I write is created with the hope of helping readers shape homes that feel gentle, personal, and full of quiet warmth.
Follow on Facebook